Grilling or Blackening: Which Method Adds More?
Grill vs. blackened cooking methods represent two popular techniques that bring out incredible flavors in various dishes.
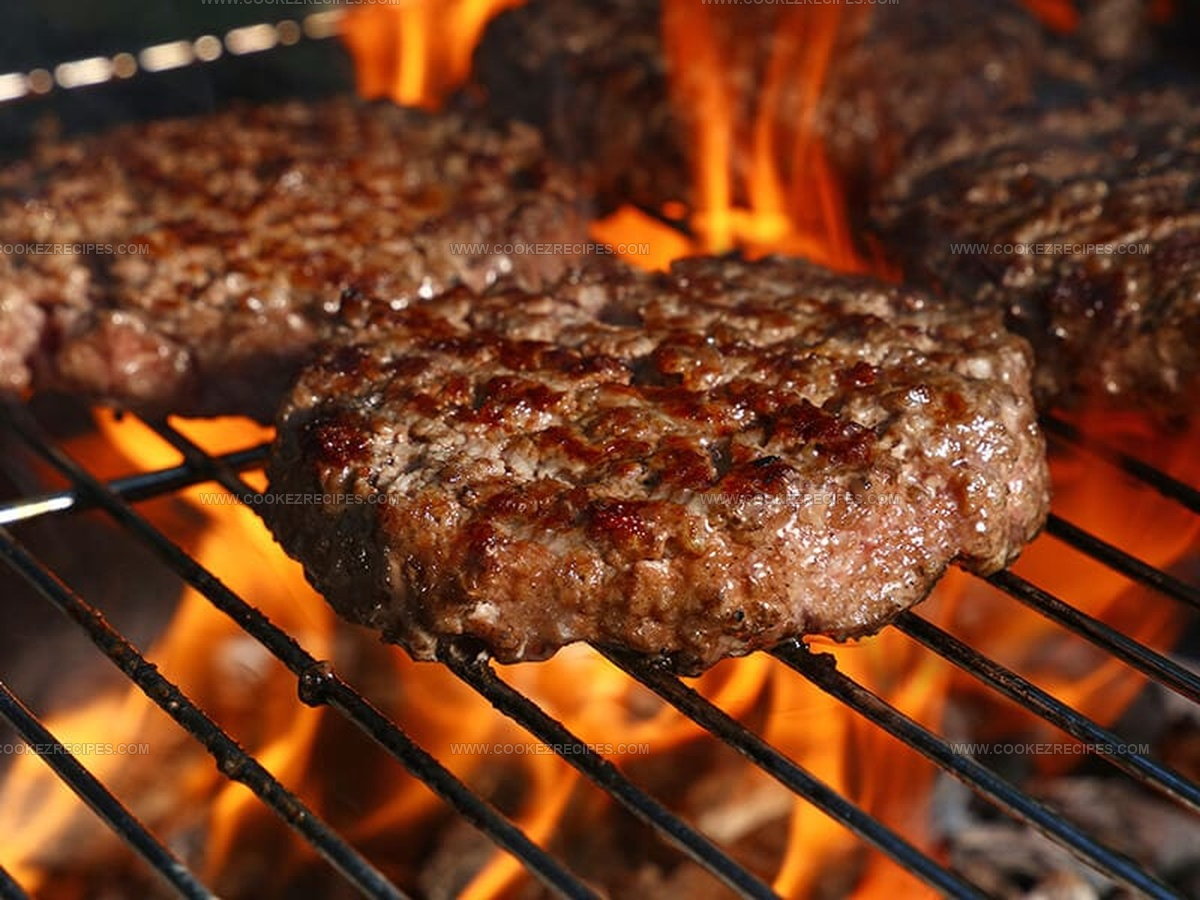
The grill approach relies on direct heat from open flames, creating those distinctive char marks everyone loves on summer favorites.
Many backyard chefs prefer this classic method for its smoky essence and relatively straightforward process.
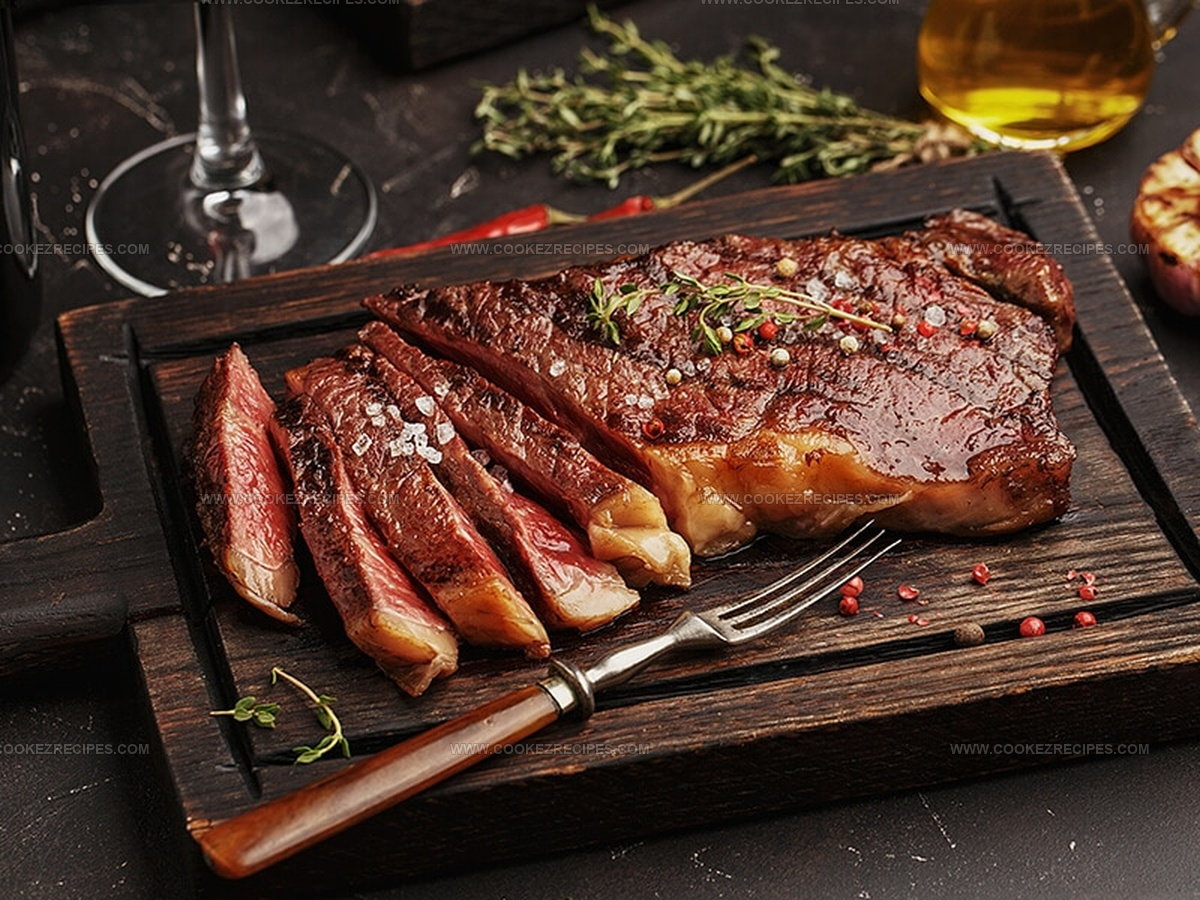
In contrast, blackened cooking involves a special blend of spices and extremely hot cast iron, resulting in a flavorful dark crust.
This technique originated in Louisiana kitchens and has since spread to restaurants worldwide.
Both approaches transform ordinary ingredients into mouthwatering meals with distinctive tastes and textures.
So what exactly makes each method unique, and when should you choose one over the other for your next culinary adventure?
What Blackening Really Means?
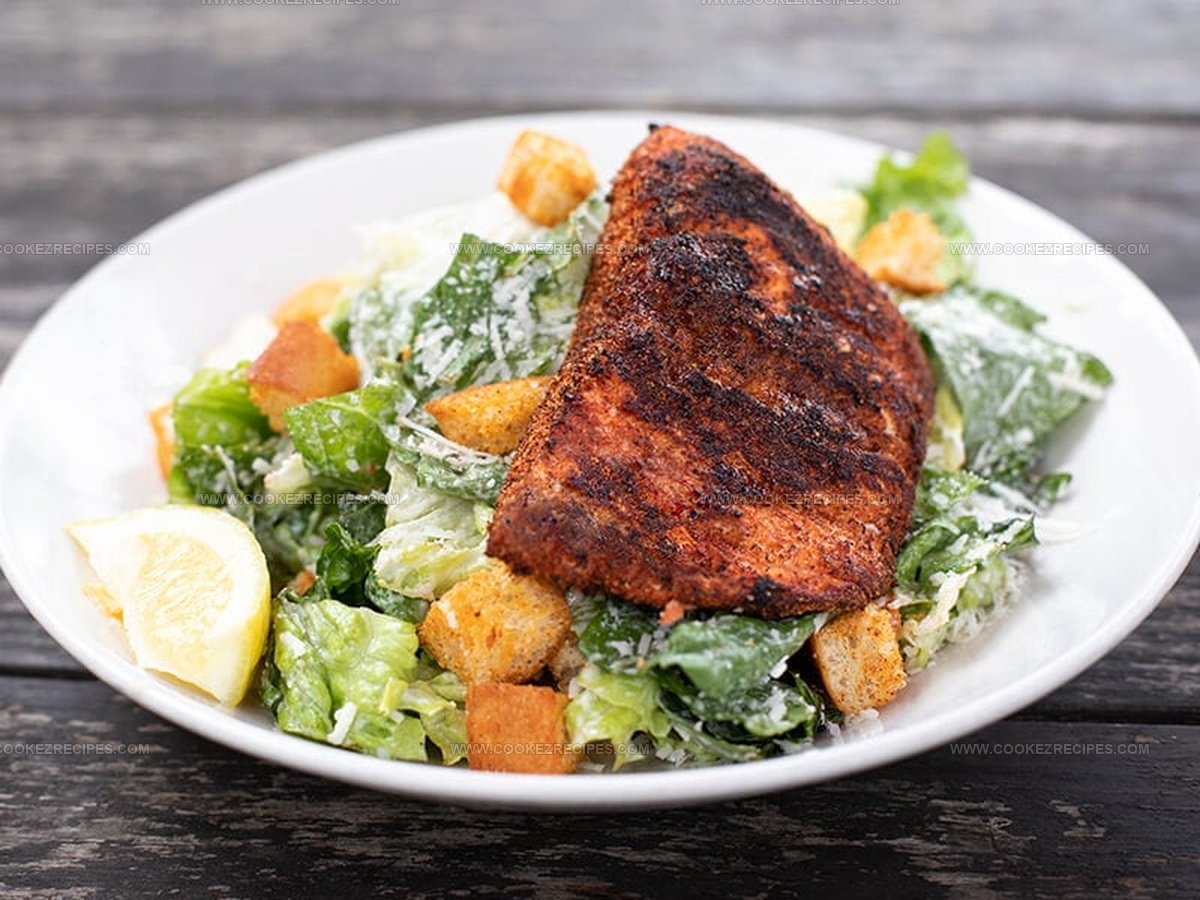
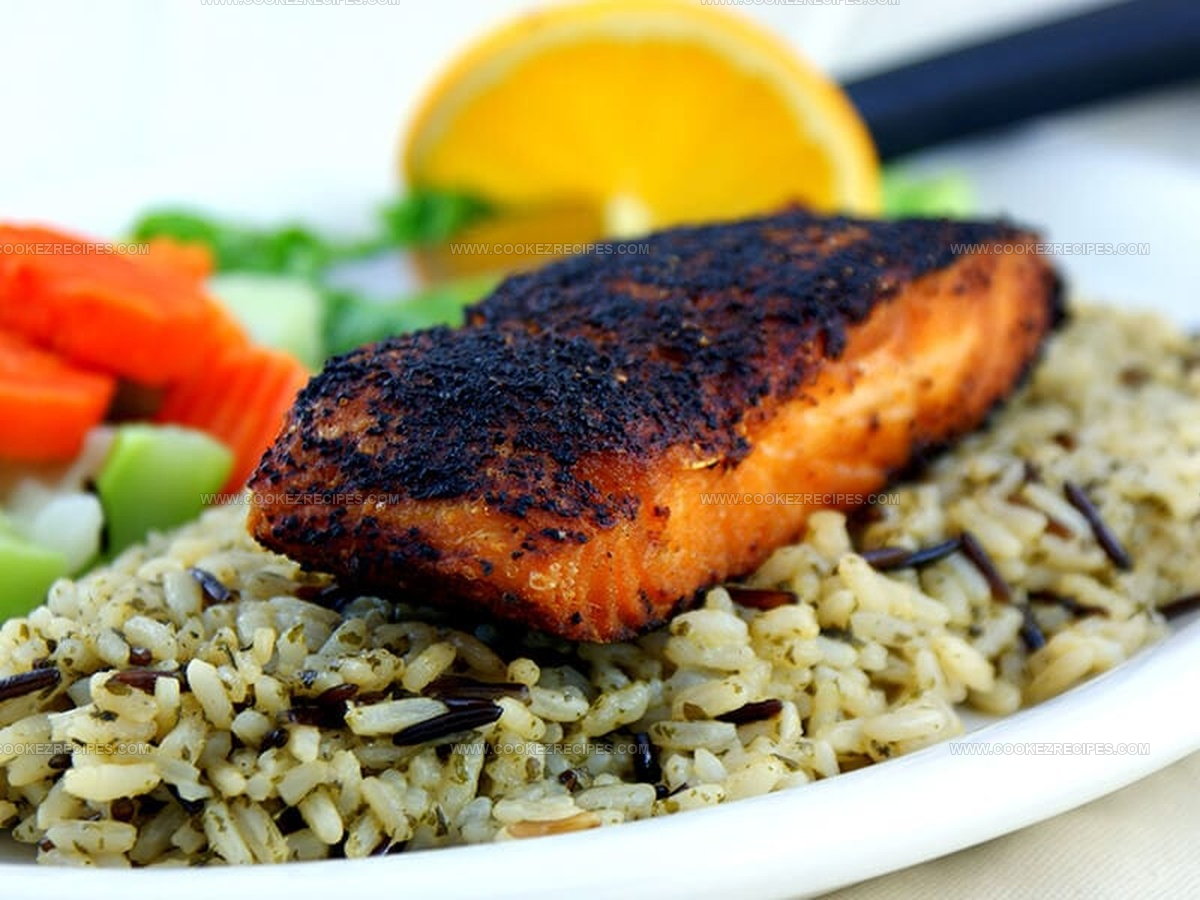
Blackening has earned its spot as a beloved cooking method for fish and various foods, deeply rooted in Cajun cuisine. Celebrity chef Paul Prudhomme deserves credit for making this technique famous during the 1980s with his exceptional blackened redfish dishes that captured everyone's attention.
From its humble beginnings with redfish, home cooks and chefs now apply these same principles to chicken, steak, tofu, and countless fish varieties. The process starts when food gets dipped in melted butter then coated with a flavorful blend of spices - typically including chili pepper, thyme, oregano, garlic powder, peppercorns and salt.
Once prepared, the seasoned food meets an intensely hot cast iron skillet, and with the spices and butter, they create distinctive brown-black crust.
The Overview of Grilling
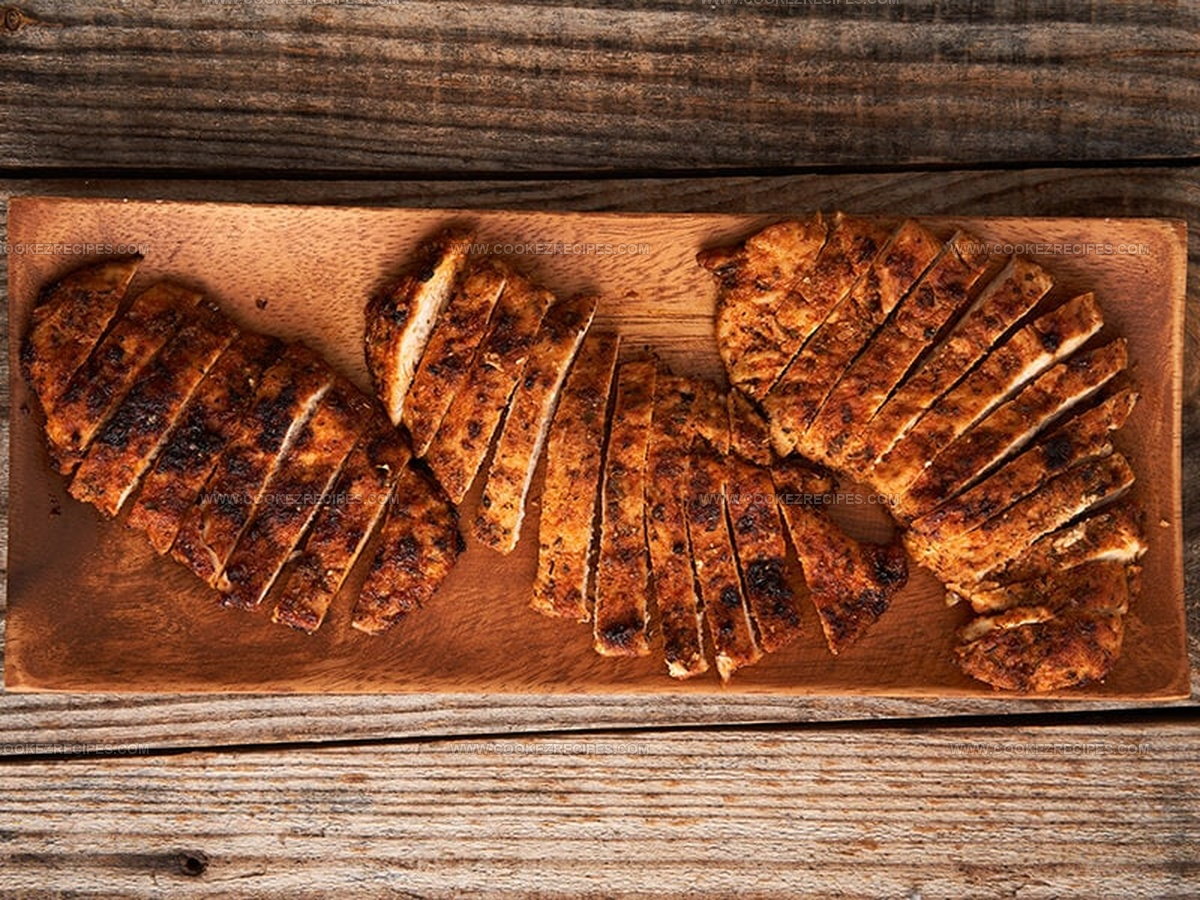
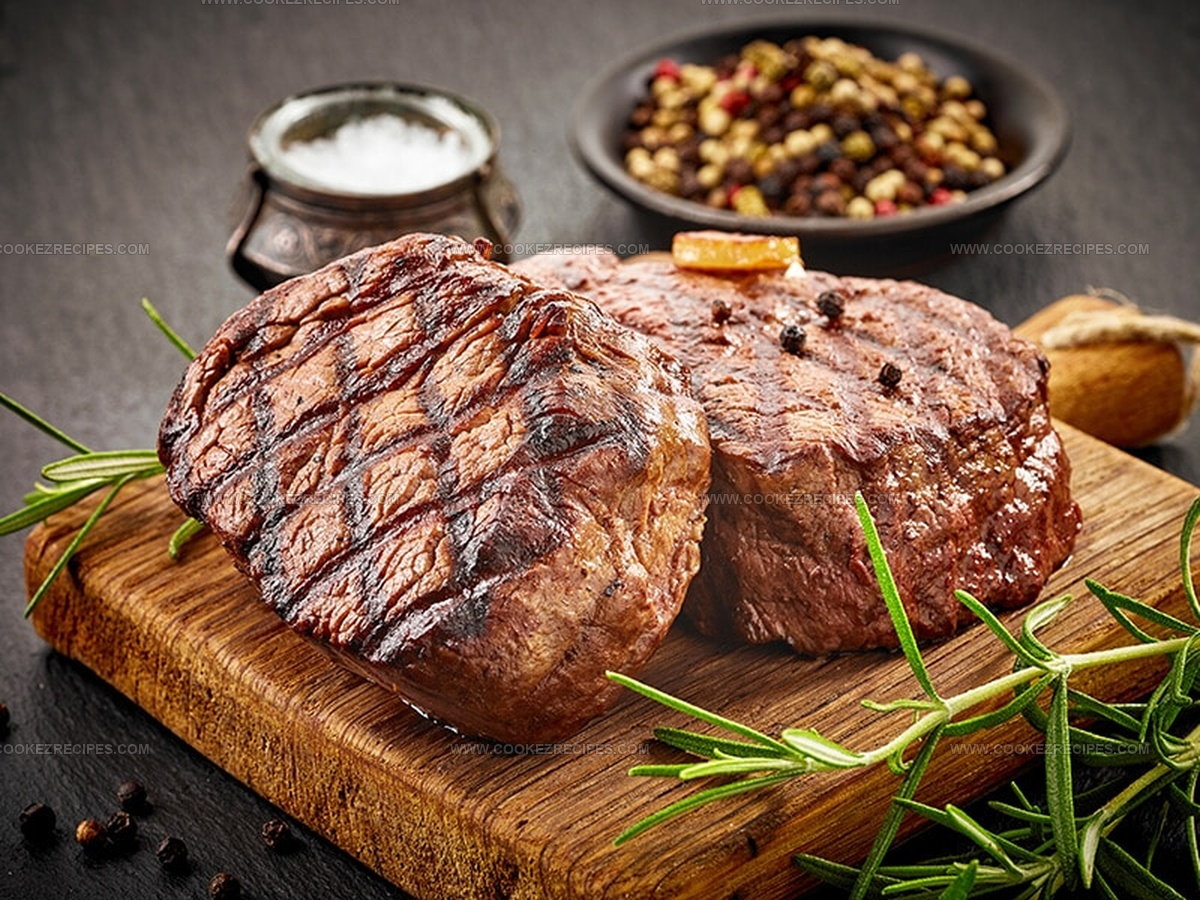
Grilling stands as a classic cooking method where dry heat touches food surfaces from various angles to cook ingredients rapidly. Most people can easily try this approach with a standard grill, grill pan, or cast-iron skillet at home.
Heat reaches the food through thermal radiation on a traditional grill, while pans and skillets transfer it through direct conduction. Many chefs refer to this technique as broiling when heat comes from above the food instead of below.
For best results, direct grilling works well at temperatures between 232-343°C (450-650°F), which creates delicious roasted flavors from what scientists call the Maillard reaction. This special chemical process occurs when food heats to 155°C (310°F), causing reducing sugars and amino acids to interact.
Though some juices may drain away during grilling, making food slightly drier, the method offers health benefits since it requires little to no oil.
Similarities Between Grilled And Blackened
Grilling and blackening share many key similarities worth noting before exploring their differences. Both techniques rely on high heat to seal in juices, enhance flavors, and create that perfect texture in meat.
These methods produce wonderfully charred food with a delicious crispy exterior that many people crave. Not just for meat, these cooking approaches work beautifully with vegetables and even fries for added flavor dimensions.
Simple tools make both methods accessible - whether you're using hibachis, grilling stones, or cooking over wood. Temperature control remains crucial with either technique, as careful monitoring prevents overcooking that could destroy the natural flavors of your dish.
Most home cooks can master these methods with a little practice and attention to detail.
Grilled or Blackened – What’s Your Pick?
This's a concise comparison table summarizing the key differences between blackening and grilling:
| Feature | Blackening | Grilling |
| Technique | Thin slices (½ to ¾ inch), seared briefly in butter with spice rub | Works with any size meat, cooked longer with dry heat, seasoning optional |
| Flavor | Spicy, smoky, charred, with buttery herb aroma (Cajun spices, cayenne) | Varies from natural to mildly savory or salty, customizable seasoning |
| Texture & Appearance | Dark, charred crust, smoky texture; shorter cooking time | Juicy, tender texture with brown crust; longer cooking time |
| Common Ingredients | Mostly fish (salmon, catfish, redfish), Cajun dishes | All meats, vegetables, fries, versatile |
| Health Effects | Safe but with charred food concerns; should be limited | Slightly healthier but also involves charred food risks; limit intake |
| Heat Source & Cooking | High heat (500-600°F) pan searing with butter | Longer cooking on grill with oil or dry heat; smoke influences flavor |
| Seasoning Use | Mandatory spice rub and butter for signature taste | Optional seasoning; can grill plain or marinated |
| Cooking Time | Short (1-2 minutes per side) | Longer cooking times |
| Cultural Origin | Cajun cuisine, invented in 1980s by Chef Paul Prudhomme | Traditional global grilling method |
Techniques
Blackening involves cutting meat into thin slices (about ½ to ¾ inch thick), coating them with a spice rub mixed with herbs, and searing briefly in hot butter at very high temperatures. Grilling, on the other hand, can handle meat or vegetables of any size, cooking them longer over direct or indirect dry heat.
Seasonings are optional in grilling, allowing for a plain or marinated finish.
Flavors
Blackened dishes deliver a bold, spicy, and smoky flavor with a distinct char, thanks to the Cajun spice rub and melted butter. Grilled foods offer a wide flavor range from natural and mild to savory or salty, depending on the seasonings used and the smoking qualities of the grill.
Texture And Appearance
Blackening produces a dark, charred crust with a smoky, slightly crispy texture due to the short, intense cooking. Grilled foods tend to have a juicier and more tender texture with a lighter brown crust, as the cooking time is longer and heat less intense.
Common Ingredients
Seasoning is essential in blackening to achieve its signature spicy, smoky taste, with Cajun spices and cayenne pepper being common. Grilling allows for more flexibility, with some preferring just salt and pepper or no seasoning at all to enjoy the natural flavor.
Plus, blackening is most popular with fish like salmon, catfish, and redfish, often associated with Cajun cuisine. Grilling is much more versatile and works well with all types of meat, vegetables, and even fries.
Heat Source & Cooking Time
Blackening uses very high heat (500-600°F) on a stovetop pan, where butter burns quickly to sear and blacken the spices. Grilling usually involves a longer cook over charcoal or gas, where smoke and heat influence the food’s flavor.
Blackening requires only a short cooking time, about one to two minutes per side, to prevent burning while achieving a charred crust. Grilling takes longer, which helps cook thicker cuts evenly and retain juiciness.
Health Effects
Both methods produce charred foods, which can create harmful chemicals linked to health risks. Blackened food is safe in moderation, but the heavy use of spices and butter means it should be eaten sparingly.
Grilled food is slightly healthier but still carries risks from the smoke and charring, so limiting intake is advisable.
Cultural Origin
Blackening is a relatively modern technique developed in the 1980s by Chef Paul Prudhomme and is closely tied to Cajun cooking. Grilling is a traditional cooking method practiced worldwide in various forms for centuries.
Homemade Blackened Seasoning
Making blackened seasoning helps you understand its smoky, heated flavor profile with delicious herbaceous undertones. Here is how to make it at home:
Ingredients for Homemade Blackened Seasoning
Instruction
How To Grill Meat Perfectly
Mastering a perfect grilled steak comes down to a few key steps that anyone can learn with practice. Read on to learn how to make it.
Step 1: Pat And Dry The Meat
Thoroughly clean the meat to remove any dirt and bacteria. Then, use a clean towel or paper towels to pat it dry, removing excess moisture for better grilling.
Step 2: Season Your Meat
Rub the meat with your favorite herbs and seasonings, or keep it simple with salt and pepper to enjoy the natural beef flavor.
Step 3: Grill The Meat
Place the meat on the grill and avoid flipping it too soon. Let it cook for 4-5 minutes on the first side until browned, then flip and cook for another 3-5 minutes for medium-rare.
Adjust cooking time for your preferred doneness.
Step 4: Allow Resting Time And Serve
Let the meat rest for at least 10 minutes after grilling. This allows juices to redistribute and enhances flavor.
For large cuts, slice against the grain to make the meat more tender.
How to Perfectly Blackened Meat
Blackening meat takes some skill to master because the high heat can easily dry it out if not watched carefully. Here is how to make sure perfect blackening meat.
Step 1: Prepare The Meat
If frozen, defrost the meat overnight and rinse it with cold water. Pat it dry with clean paper towels and get your spice mix ready.
Step 2: Mix The Spices And Season
Combine Cajun seasoning with salt, pepper, and your favorite herbs and spices in a bowl. Rub this mixture evenly over the meat.
If you don’t have Cajun seasoning, mix salt, pepper, oregano, basil, thyme, paprika, and cayenne as a substitute.
Step 3: Prepare The Skillet
Heat your grill and place a cast iron skillet on it. Let the skillet heat for about 20 minutes while you prepare your cooking tools and seasoned meat.
Step 4: Blackening The Meat
Add one tablespoon of butter to the hot skillet and wait for it to melt. Carefully place the steak in the butter.
Don’t worry if the butter flames up - that’s normal. Cook one side for 4 minutes (for well-done), then flip and cook the other side for 3 minutes.
Once done, move the steak to a cooler spot on the grill.
Step 5: Allow Resting Time And Serve
Remove the steak once it’s blackened and place it on a clean plate. Let it rest for 10 minutes before slicing and serving with your favorite BBQ sauce.
Got Questions? We’ve Got Solutions
1. Can I use any type of fish for both grilling and blackening?
Yes, you can use most firm-fleshed fish like salmon, mahi-mahi, and tuna for both methods. However, delicate fish like flounder works better blackened than grilled since it might fall apart on grill grates.
2. Which method is healthier, grilling or blackening?
Grilling is generally healthier as it allows fat to drip away. Blackening uses butter in the process, adding more calories, but both methods are healthier alternatives to deep frying.
3. Do I need special equipment for these cooking methods?
For grilling, you need a grill (gas or charcoal). For blackening, a heavy cast-iron skillet is essential to achieve proper heat and that characteristic crust.
4. Which method produces more smoke?
Blackening typically produces more smoke than grilling because of the high-heat searing in a pan with butter and spices. Always ensure good ventilation when blackening.
Katherine Pierce
Recipe Curator & Food Educator
Expertise
Education
Boston University Metropolitan College
Certificate Program in the Culinary Arts
Focus: French and international cuisine techniques, Hands-on culinary training with industry professionals, Food industry insights and operations
Katherine grew up believing every dish has a story. She studied the art of food at Boston University and explored the history behind it. She loves pulling easy recipes from every corner of the world and putting them at your fingertips.
When Katherine’s not writing or testing new flavors, she’s teaching cooking classes, baking colorful mooncakes, or dreaming up new ways to mix old favorites with new twists.