3-Ingredient Bounty Balls Recipe That’s Quick and Tasty
Crafting delectable bounty balls with just three ingredients feels like culinary magic.
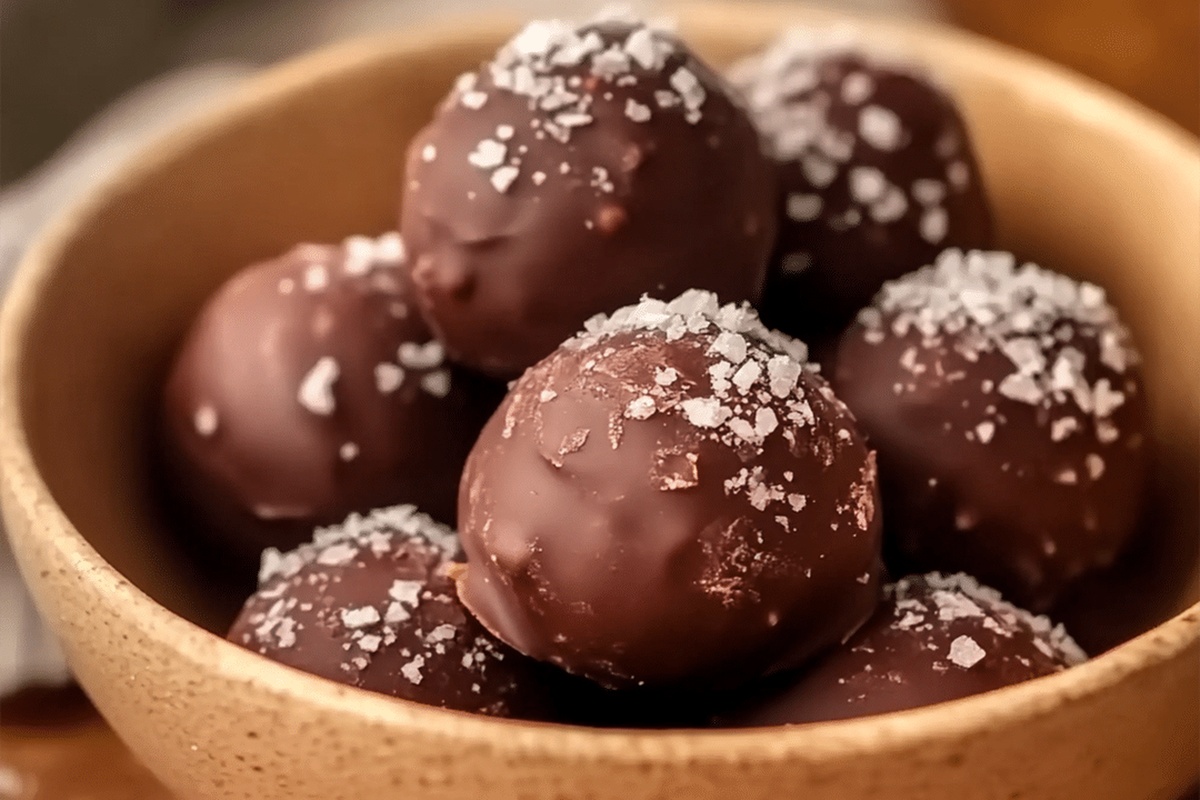
Chocolate, coconut, and sweetened condensed milk merge into a dreamy treat that melts in you mouth.
Simple recipes often surprise us with their incredible taste and texture.
Minimal effort produces maximum satisfaction when you blend these components together.
No complicated techniques or professional skills required for this delightful confection.
Anyone can create these luxurious little bites in mere minutes.
3-Ingredient Bounty Balls That Feel Like Tropical Candy

Coconut and Chocolate in Bounty Balls
Base Ingredients:Coating Ingredient:Optional Garnish:Follow This Method For 3-Ingredient Bounty Balls

Step 1: Blend Coconut and Sweetened Condensed Milk
In a spacious mixing bowl, combine coconut powder and sweetened condensed milk.
Stir the ingredients thoroughly until they transform into a thick, cohesive dough with a smooth consistency.
The mixture should hold together easily when pressed.
Step 2: Shape Delightful Treats
Using clean hands or a small scoop, create uniform balls or petite log-shaped treats from the coconut mixture.
Roll each piece gently between your palms to ensure a perfect, round shape.
Place the formed treats on a parchment-lined baking tray.
Step 3: Chill and Firm
Transfer the tray of shaped coconut treats to the refrigerator.
Allow them to rest and firm up for approximately 30 minutes.
This chilling process helps the balls maintain their shape during the chocolate coating stage.
Step 4: Prepare Chocolate Coating
Melt chocolate in a microwave-safe bowl or using a double boiler.
Stir occasionally to ensure smooth, even melting.
Let the chocolate cool slightly to prevent cracking when coating the chilled coconut balls.
Step 5: Dip in Chocolate
Remove the chilled coconut balls from the refrigerator.
Using a fork, carefully dip each ball into the melted chocolate, ensuring complete and even coverage.
Gently tap the fork to remove excess chocolate, creating a thin, smooth coating.
Step 6: Final Chill and Set
Return the chocolate-coated balls to the parchment-lined tray.
Place back in the refrigerator for about 20 minutes, allowing the chocolate to completely set and create a crisp shell.
The treats will develop a glossy, firm exterior.
Step 7: Serve and Enjoy
Remove the bounty balls from the refrigerator just before serving.
Arrange on a decorative plate or store in an airtight container.
These delectable treats are perfect for a sweet snack or elegant dessert.
Bounty Ball Tips With Only 3 Ingredients
Best Way to Chill and Store Bounty Balls
Sweet Additions To Bounty Balls
Pair Perfectly with Bounty Balls
Chocolatey Versions of Bounty Balls
FAQs
Yes, this recipe is super simple and requires only three ingredients. Even someone with minimal cooking experience can successfully create these delicious treats in just a few steps.
Sweetened coconut powder works best for binding and sweetness. If using unsweetened coconut, you’ll need to add some sugar or adjust the condensed milk to ensure proper texture and sweetness.
When stored in an airtight container in the refrigerator, these bounty balls can last up to 5-7 days. They maintain their flavor and texture well during this period.
No special equipment is required. You’ll just need a mixing bowl, a baking tray, parchment paper, and a fork for dipping the balls in chocolate. Basic kitchen tools will work perfectly.
Print
3-Ingredient Bounty Balls Recipe
- Total Time: 15 minutes
- Yield: 10 1x
Description
Chocolate-covered coconut bliss meets pure indulgence with these 3-ingredient bounty balls. Creamy coconut, rich chocolate, and sweet condensed milk unite in a simple yet irresistible treat you’ll crave again and again.
Ingredients
Main Ingredients:
- 200 grams (7.05 ounces) coconut powder
- 200 milliliters (6.76 fluid ounces) sweetened condensed milk
- 200 grams (7.05 ounces) melted chocolate (milk or dark, as preferred)
Instructions
- Create a smooth, uniform mixture by thoroughly blending shredded coconut with sweetened condensed milk until the texture becomes dense and cohesive.
- Carefully craft compact spheres or cylindrical shapes using the coconut mixture, ensuring consistent sizing for even coating and appearance.
- Transfer the formed coconut morsels onto a parchment-lined tray, then refrigerate for approximately half an hour to solidify their structure and enhance handling.
- Gently melt chocolate using a double boiler or microwave, stirring periodically to achieve a silky, uniform consistency without scorching.
- Immerse each chilled coconut morsel completely in the molten chocolate, using a specialized dipping fork to allow excess chocolate to cascade back into the bowl.
- Delicately position the chocolate-enrobed coconut treats onto the prepared tray, maintaining spacing to prevent them from touching.
- Return the chocolate-covered delicacies to the refrigerator, allowing them to set and develop a glossy, crisp chocolate shell for approximately 20-25 minutes.
- Once the chocolate has completely solidified, retrieve the bounty balls and serve at room temperature for optimal flavor and texture enjoyment.
Notes
- Adjust coconut powder quantity to control sweetness and texture, ensuring the mixture holds together without being too dry or wet.
- Use room temperature condensed milk for smoother mixing and easier ball formation.
- Dampen hands slightly when shaping balls to prevent sticky mixture from clinging to fingers.
- Choose high-quality chocolate with at least 60% cocoa for richer flavor and smoother coating.
- Experiment with dark, milk, or white chocolate for different taste variations.
- Add a pinch of vanilla extract or almond essence to enhance the coconut flavor.
- Create gluten-free version by using certified gluten-free coconut powder.
- Make vegan alternative by substituting condensed milk with coconut cream and dairy-free chocolate.
- Store in an airtight container in the refrigerator for up to one week.
- Freeze for longer storage, allowing them to sit at room temperature for 10 minutes before serving.
- Prep Time: 15 minutes
- Cook Time: 0 minutes
- Category: Snacks, Desserts
- Method: Chilling
- Cuisine: American
Nutrition
- Serving Size: 10
- Calories: 233
- Sugar: 16g
- Sodium: 33mg
- Fat: 14g
- Saturated Fat: 9g
- Unsaturated Fat: 5g
- Trans Fat: 0g
- Carbohydrates: 27g
- Fiber: 3g
- Protein: 2g
- Cholesterol: 5mg
Daniel Bruns
Founder & Culinary Innovator
Expertise
Recipe development for home cooks, Nutritional analysis and meal planning, Culinary education and food writing
Education
Auguste Escoffier School of Culinary Arts
Diploma in Culinary Arts and Operations
Focus: Classical and contemporary cooking techniques, Culinary entrepreneurship and kitchen management, Menu development and food cost analysis
Daniel’s story started with flour on his face and a pie in the oven at his grandma’s house. He later sharpened his skills at the Auguste Escoffier School of Culinary Arts.
His goal? Recipes so simple you’ll want to cook every night. When he’s not whipping up one-pan wonders, Daniel’s outside picking herbs, hosting neighborhood cook-offs, or baking chocolate cakes with his kids, messy, sweet, and unforgettable.