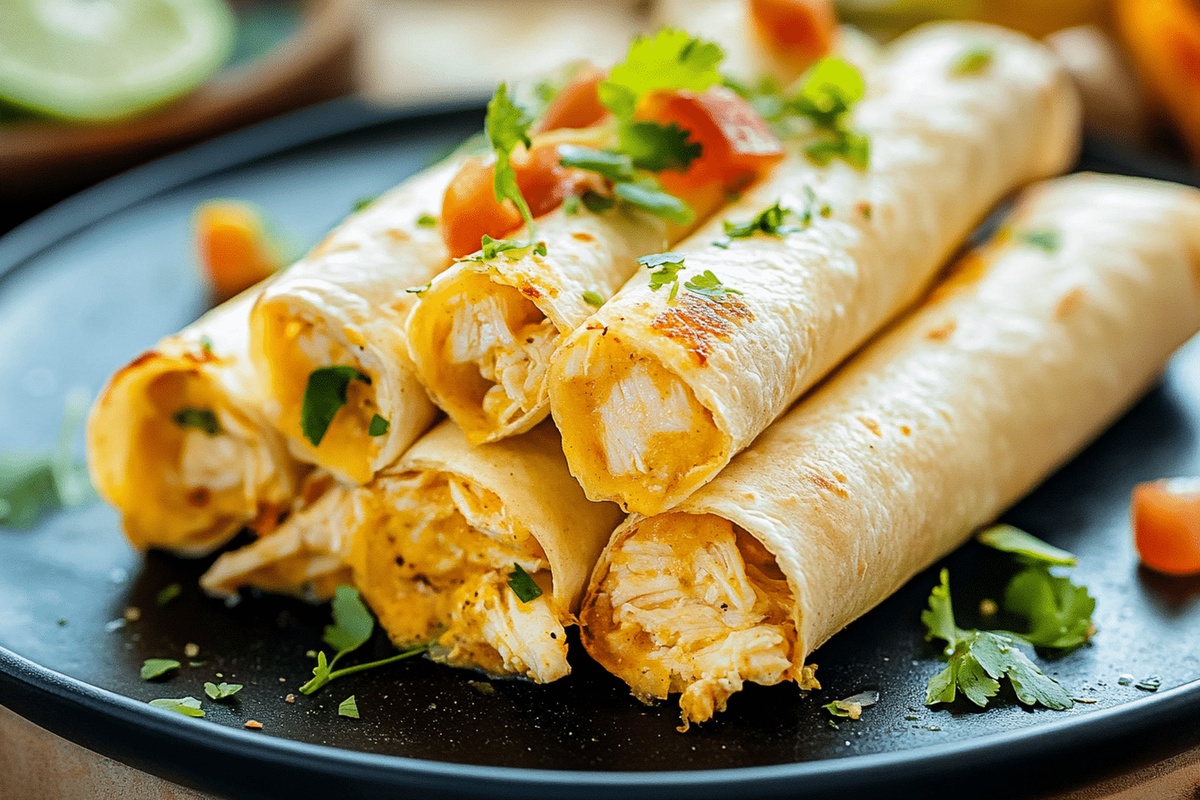
Baked Chicken and Cheese Taquitos Recipe Made Simple
Crispy, golden baked chicken and cheese taquitos have become my weekend comfort obsession.
Rolling tortillas around savory fillings brings pure culinary joy to our table.
My kitchen always smells incredible when these little flavor bombs are sizzling.
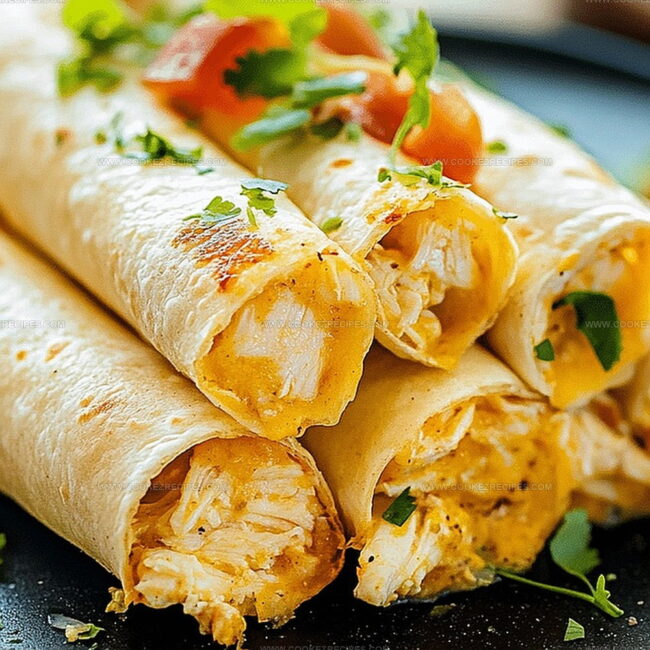
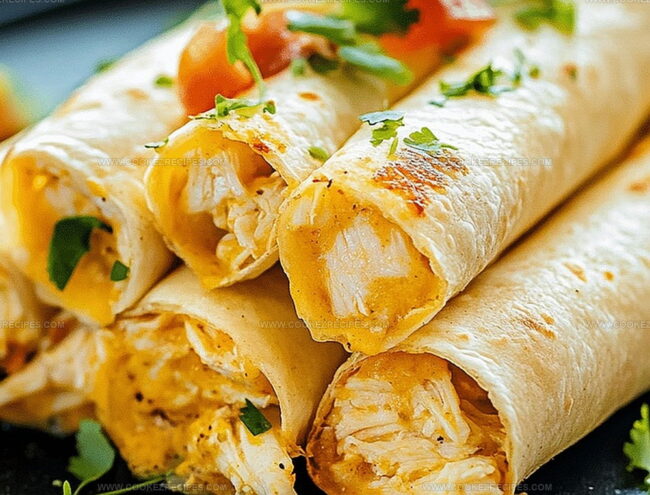
Cheesy interior meets perfectly crunchy exterior in each delightful bite.
Minimal effort delivers maximum satisfaction with this simple yet impressive appetizer.
Quick assembly means you can whip up these taquitos faster than ordering takeout.
These crowd-pleasing treats will have everyone asking for seconds before the first plate is empty.
Baked Chicken Cheese Taquitos That Are Crisp And Fun
What Fills Baked Chicken and Cheese Taquitos
Main Protein:Cheese and Dairy:Tortilla and Seasoning:Preparation Extras:Baked Chicken and Cheese Taquitos – Preparation Instructions
Step 1: Warm Up the Oven
Fire up your oven to a toasty 425°F (220°C) so it’s perfectly ready for our tasty taquito adventure.
Step 2: Prepare Baking Surfaces
Grab two baking sheets and line them with aluminum foil.
Give each sheet a quick spritz of non-stick cooking spray to prevent any sticky situations.
Step 3: Shred the Chicken
Transform your cooked chicken breast into delicate, fine shreds using a food processor, stand mixer, or high-powered blender.
No processor?
Simply dice or shred by hand.
Step 4: Create Flavor Fusion
In a spacious mixing bowl, combine these delightful ingredients:Stir everything until it becomes a harmonious mixture.
Step 5: Add Cheesy Goodness
Fold in these delectable additions:Mix until perfectly blended.
Step 6: Roll Your Taquitos
Lay out 4 tortillas and distribute the chicken mixture:Carefully roll each tortilla tightly, keeping the seam underneath.
Step 7: Arrange on Baking Sheets
Position the rolled taquitos on prepared baking sheets, ensuring some space between each roll.
Step 8: Prep for Baking
Lightly spray taquitos with non-stick cooking spray and sprinkle a pinch of kosher salt on top.
Step 9: Bake to Perfection
Slide the baking sheets into the oven and bake for 12-15 minutes.
Watch for golden, crispy tortillas with beautifully browned edges.
Step 10: Serve and Devour
Pull out your sizzling taquitos and get ready to enjoy your culinary creation!
Taquito Tips With Cheesy Chicken Wrap
Reheating Chicken Taquitos for Crispy Crunch Again
What Works With Chicken Taquitos
Craving Cool Companions: Perfect Pairings for Baked Chicken and Cheese Taquitos
Baked Chicken and Cheese Taquitos Remixes
FAQs
Yes, you can use flour or corn tortillas. Flour tortillas work best for easier rolling, while corn tortillas may require extra care to prevent tearing.
No, you can use hand-shredded, diced, or pre-shredded chicken if you prefer. The goal is to have finely chopped chicken that mixes well with other ingredients.
You can prepare the filling and assemble the taquitos in advance, storing them in the refrigerator for up to 24 hours before baking. Just add a few extra minutes to the baking time if they’re cold.
Use toothpicks to secure the seam, or place them seam-side down on the baking sheet. Ensure you’re not overfilling the tortillas and roll them tightly but gently.
Print
Baked Chicken and Cheese Taquitos Recipe
- Total Time: 50 minutes
- Yield: 6 1x
Description
Crispy Baked Chicken and Cheese Taquitos bring Mexican street cuisine straight to your kitchen, offering a perfect blend of shredded chicken, melted cheese, and crunchy tortilla edges. Packed with flavor and easy to prepare, these golden rolls deliver a delightful meal you’ll crave again and again.
Ingredients
Protein:
- 8 ounces (226 grams) cooked chicken breast, shredded
- 2 cups (227 grams) shredded Colby Jack cheese
Flavor Enhancers and Seasonings:
- 4 ounces (113 grams) cream cheese, softened
- 6 tablespoons Hidden Valley Sweet Chili Ranch
- 1/4 cup (60 milliliters) lime juice
- 1 tablespoon New Mexico chili powder
- 1/2 teaspoon kosher salt (plus more for topping taquitos)
- 2 tablespoons chopped scallions
Tortillas and Cooking Ingredients:
- 20 small flour tortillas (6 each) or 40 small corn tortillas
- Cooking spray
Instructions
- Warm the kitchen oven to a toasty 425°F (220°C), preparing for crispy taquito magic.
- Drape aluminum foil across two baking trays, misting with non-stick spray to prevent sticking.
- Transform cooked chicken breast into fine, delicate shreds using a food processor or blender, ensuring uniform texture.
- Blend shredded chicken with velvety cream cheese, zesty Hidden Valley® Sweet Chili Ranch dressing, and a tangy splash of lime juice in a spacious mixing vessel.
- Incorporate shredded Colby Jack cheese and freshly chopped scallions, mixing until ingredients harmonize completely.
- Arrange four tortillas, spreading a generous dollop of chicken mixture across the lower third of each wrap (adjusting quantity for corn tortillas).
- Carefully roll tortillas into tight cylinders, maintaining structural integrity and preventing potential tears.
- Position rolled taquitos seam-side down on prepared baking sheets, allowing slight separation between each morsel.
- Delicately mist taquitos with non-stick spray and sprinkle a whisper of kosher salt for enhanced flavor.
- Slide trays into the preheated oven, baking for 12-15 minutes until tortillas transform into golden, crispy perfection with beautifully bronzed edges.
- Present these delectable taquitos immediately, ready to delight eager taste buds.
Notes
- Use room temperature ingredients to ensure smooth mixing and better flavor blending.
- Choose flour tortillas for easier rolling and a softer texture, or corn tortillas for a more traditional crunch.
- Prevent taquitos from unraveling by securing them with toothpicks before baking or using a slightly dampened edge to seal.
- Experiment with different cheese varieties like pepper jack or sharp cheddar to customize flavor profiles and add excitement to the dish.
- Prep Time: 35 minutes
- Cook Time: 15 minutes
- Category: Lunch, Dinner, Appetizer
- Method: Baking
- Cuisine: Mexican
Nutrition
- Serving Size: 6
- Calories: 375
- Sugar: 2 g
- Sodium: 550 mg
- Fat: 22 g
- Saturated Fat: 10 g
- Unsaturated Fat: 9 g
- Trans Fat: 0 g
- Carbohydrates: 30 g
- Fiber: 1 g
- Protein: 18 g
- Cholesterol: 70 mg
Daniel Bruns
Founder & Culinary Innovator
Expertise
Recipe development for home cooks, Nutritional analysis and meal planning, Culinary education and food writing
Education
Auguste Escoffier School of Culinary Arts
Diploma in Culinary Arts and Operations
Focus: Classical and contemporary cooking techniques, Culinary entrepreneurship and kitchen management, Menu development and food cost analysis
Daniel’s story started with flour on his face and a pie in the oven at his grandma’s house. He later sharpened his skills at the Auguste Escoffier School of Culinary Arts.
His goal? Recipes so simple you’ll want to cook every night. When he’s not whipping up one-pan wonders, Daniel’s outside picking herbs, hosting neighborhood cook-offs, or baking chocolate cakes with his kids, messy, sweet, and unforgettable.