Quick & Tasty Banana Bread Energy Balls Recipe for Daily Fuel
Crafting delectable banana bread energy balls brings pure joy to snack time.
Packed with wholesome ingredients, these bite-sized treats pack a nutritional punch.
Nuts, dates, and ripe bananas blend seamlessly into a delightful no-bake sensation.
Rolled perfectly and chilled, they offer a quick burst of natural sweetness.
Each morsel delivers a powerful protein kick without processed sugars.
Little rounds of goodness await you, promising sustained energy and incredible flavor.
Whip up a batch and watch them disappear in moments.
Banana Bread Energy Balls Soft Fuel For Busy Days

Energy Ball Base in Banana Bread Recipe
Banana Base:Dry Ingredients:Mix-Ins and Flavor Enhancers:Rolling Banana Bread Energy Balls The Easy Way

Step 1: Whip Up the Base
Grab a spacious mixing bowl and toss in rolled oats, fully ripe mashed banana, creamy cottage cheese, golden honey, smooth almond butter, fragrant vanilla extract, warm cinnamon, and a pinch of salt.
Blend everything together until the mixture looks uniform and feels slightly sticky.
Step 2: Enhance with Tasty Extras
Time to amp up the flavor!
Gently fold in your favorite mix-ins:Stir until the additions are evenly distributed throughout the mixture.
Step 3: Shape Into Adorable Bites
Using a tablespoon, scoop out portions of the mixture.
Roll each scoop between your palms to create perfect little spheres.
Place each energy ball onto a parchment-lined baking sheet, giving them a bit of breathing room.
Step 4: Chill and Solidify
Pop the baking sheet into the refrigerator.
Let the energy balls hang out and firm up for a minimum of 30 minutes.
This helps them hold their shape and intensifies their delicious flavor.
Step 5: Enjoy and Preserve
Your banana bread energy balls are ready!
Devour them immediately or store in an airtight container inside the refrigerator.
They’ll stay fresh and delectable for up to 5 days – if they last that long!
Energy Ball Ideas With Banana Bread Sweetness
Energy Balls Keep Firm in the Fridge
What Goes With Bread Energy Balls
Quick Banana Bread Ball Ideas
FAQs
These energy balls pack nutrition with whole oats, protein from cottage cheese, potassium from bananas, and healthy fats from almond butter. They provide sustained energy without processed sugars.
Absolutely! You can skip walnuts entirely or replace them with seeds like sunflower or pumpkin seeds for crunch and added nutrition. The recipe is flexible.
No special equipment required. You just need a mixing bowl, spoon, and your hands to mix and roll the balls. A basic kitchen setup works perfectly.
Yes! These energy balls are excellent workout companions. They offer quick carbohydrates from bananas and honey, protein from cottage cheese, and sustained energy from oats and almond butter.
Print
Banana Bread Energy Balls Recipe
- Total Time: 40 minutes
- Yield: 12 1x
Description
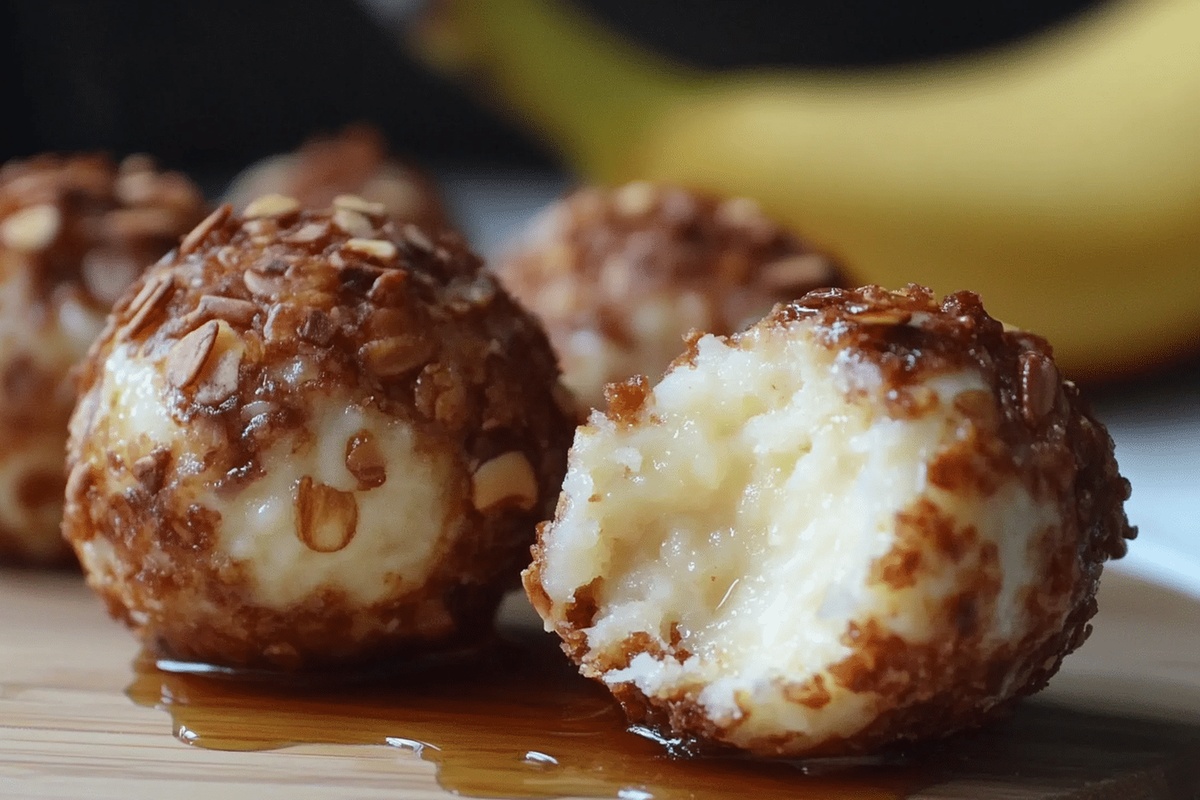
Delectable banana bread energy balls merge classic comfort with wholesome nutrition, offering a portable snack packed with natural sweetness. Rolled in chopped nuts and infused with cinnamon, these bite-sized treats provide quick energy and satisfy sweet cravings wherever you go.
Ingredients
Main Ingredients:
- 1 medium ripe banana
- 1 cup old-fashioned oats
- 1/2 cup cottage cheese
- 1/4 cup almond butter
Binding and Flavor Ingredients:
- 2 tablespoons honey
- 1/2 teaspoon vanilla extract
- 1/2 teaspoon ground cinnamon
- Pinch of salt
Optional Mix-ins:
- 1/4 cup chopped walnuts
- 1/4 cup mini chocolate chips
Instructions
- Gather all ingredients and prepare a spacious mixing vessel for blending components thoroughly, ensuring smooth incorporation of each element.
- Mash ripe bananas to create a creamy base, then integrate oats, cottage cheese, and honey into a consistent mixture, stirring with a robust wooden spoon or spatula.
- Drizzle almond butter and vanilla extract into the blend, sprinkling cinnamon and salt to enhance flavor complexity and depth.
- Gently fold chopped walnuts and miniature chocolate chips into the mixture, distributing them evenly throughout the developing texture.
- Using clean hands, carefully portion the mixture into uniform spherical shapes, applying gentle pressure to compact ingredients and create cohesive energy balls.
- Transfer the newly formed orbs onto a parchment-lined tray, ensuring slight separation between each ball to prevent sticking.
- Place the tray in the refrigerator, allowing the energy balls to solidify and develop a firmer consistency for approximately 30 minutes.
- Once chilled, remove from refrigerator and serve immediately, or store in a sealed container within the refrigerator for optimal freshness and consumption within five days.
Notes
- Swap almond butter with sunflower seed butter for a nut-free version perfect for school lunches or allergy-sensitive diets.
- Roll energy balls in unsweetened shredded coconut or crushed graham crackers for extra texture and flavor complexity.
- Enhance protein content by adding a scoop of vanilla or banana-flavored protein powder during initial mixing for post-workout fuel.
- Freeze these energy balls for up to 3 months, creating convenient grab-and-go snacks that maintain their delicious texture and taste.
- Prep Time: 10 minutes
- Cook Time: 30 minutes
- Category: Snacks, Breakfast
- Method: Rolling
- Cuisine: American
Nutrition
- Serving Size: 12
- Calories: 143
- Sugar: 5 g
- Sodium: 45 mg
- Fat: 7 g
- Saturated Fat: 1 g
- Unsaturated Fat: 6 g
- Trans Fat: 0 g
- Carbohydrates: 17 g
- Fiber: 2 g
- Protein: 4 g
- Cholesterol: 3 mg
Daniel Bruns
Founder & Culinary Innovator
Expertise
Recipe development for home cooks, Nutritional analysis and meal planning, Culinary education and food writing
Education
Auguste Escoffier School of Culinary Arts
Diploma in Culinary Arts and Operations
Focus: Classical and contemporary cooking techniques, Culinary entrepreneurship and kitchen management, Menu development and food cost analysis
Daniel’s story started with flour on his face and a pie in the oven at his grandma’s house. He later sharpened his skills at the Auguste Escoffier School of Culinary Arts.
His goal? Recipes so simple you’ll want to cook every night. When he’s not whipping up one-pan wonders, Daniel’s outside picking herbs, hosting neighborhood cook-offs, or baking chocolate cakes with his kids, messy, sweet, and unforgettable.