
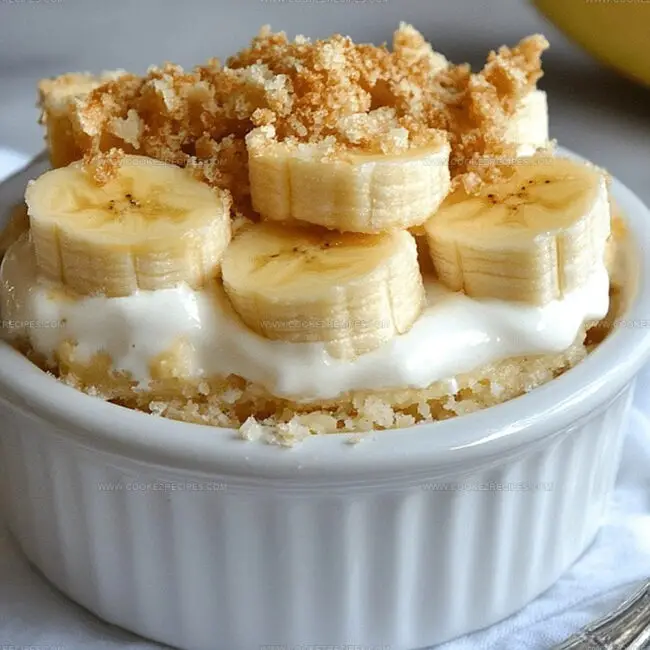
Banana Pudding Recipe: A Classic Comfort Dessert
Sweet memories of childhood summers dance through every creamy banana pudding bite.
Southern kitchens hold magical secrets about transforming simple ingredients into extraordinary desserts.
Layers of velvety custard and ripe fruit create a nostalgic comfort that feels like a warm embrace.
Soft vanilla wafers add delightful crunch between silky smooth textures.
Chilled pudding promises refreshing moments of pure happiness.
Grandmothers’ cherished recipes inspire this classic treat that connects generations through delicious tradition.
Banana Pudding Classic Southern Creamy Dessert
Ingredients Used in Banana Pudding
Pudding Base:Dairy and Cream:Layering Ingredients:Layer Your Banana Pudding With This Easy Guide
Step 1: Create Creamy Pudding Base
Grab a spacious mixing bowl and combine sweetened condensed milk with cold water.
Sprinkle in instant vanilla pudding mix and whisk energetically until everything blends smoothly and becomes completely uniform.
Step 2: Enhance Pudding Consistency
Pour in milk and continue whisking vigorously for another minute.
The mixture should transform into a silky, luxurious texture.
Cover the bowl and let it chill in the refrigerator for several hours or overnight.
Step 3: Whip Fluffy Cream Topping
Take a separate bowl and combine:Whip these ingredients using an electric mixer or whisk until they form stiff, cloud-like peaks.
Your cream should stand up tall and look wonderfully airy.
Step 4: Merge Pudding and Cream
Gently fold the whipped cream into the chilled pudding mixture.
Add the cream in small portions, carefully blending until you achieve a light, dreamy consistency.
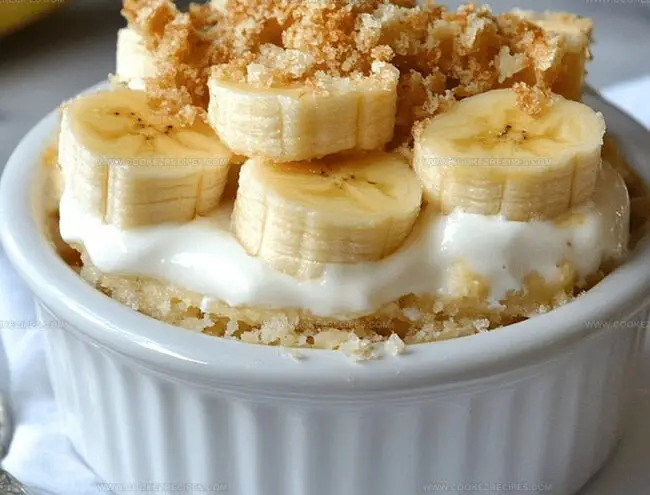
Step 5: Construct Delightful Layers
In a serving dish, create beautiful layers with:Repeat these layers until your dish is beautifully assembled.
Step 6: Chill and Serve
Refrigerate the banana pudding for approximately 4 hours.
This allows flavors to meld and the dessert to set perfectly.
Serve chilled and enjoy your creamy, dreamy treat!
Banana Pudding Layering Tips That Work
Banana Pudding Stores Creamy for Second Servings
Classic Bites For Banana Pudding
Creamy Banana Pudding Riffs
FAQs
Toss banana slices in a bit of lemon juice before layering. The citric acid helps slow down oxidation and keeps bananas looking fresh.
Yes, you can prepare banana pudding up to 24 hours in advance. Just wait to add banana slices until right before serving to maintain their texture and prevent browning.
You can substitute with graham crackers, shortbread cookies, or vanilla wafers. Choose a crisp, sweet cookie that complements the creamy pudding.
Use gluten-free vanilla wafers or graham crackers. Ensure your instant pudding mix is also gluten-free, and the recipe becomes suitable for those with gluten sensitivities.
Print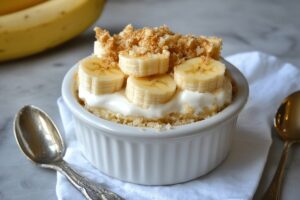
Banana Pudding Recipe
- Total Time: 15 minutes
- Yield: 8 1x
Description
Southern comfort shines through this classic Banana Pudding, layering creamy vanilla custard, ripe bananas, and crisp vanilla wafers into a nostalgic dessert. Rich flavors blend seamlessly, inviting you to savor each spoonful of this beloved Southern treat.
Ingredients
Main Ingredients:
- 4 cups bananas, sliced
- 1 box Nilla wafers
- 3 cups heavy cream
Dairy & Liquid Ingredients:
- 12 13 ounces (355 milliliters) sweetened condensed milk
- 3/4 cup (180 milliliters) cold water
- 3/4 cup (180 milliliters) milk
Seasoning & Flavor Enhancers:
- 1 box (3.4 ounces/96 grams) instant vanilla pudding mix
- 1 tablespoon vanilla extract or paste
- 1/2 teaspoon salt
Instructions
- Whisk sweetened condensed milk with cold water in a spacious mixing vessel, incorporating instant vanilla pudding powder until the mixture achieves a silky, uniform consistency.
- Pour in milk and continue whisking vigorously for approximately one minute, ensuring no lumps remain, then seal and chill the mixture in the refrigerator for a minimum of three hours.
- Prepare a luxurious whipped cream by combining heavy cream with a delicate touch of salt and pure vanilla extract, beating until stiff, voluminous peaks emerge.
- After the pudding base has thoroughly chilled, gently integrate the whipped cream, folding in gradual portions to maintain a light, airy texture.
- Construct elegant layers in a serving vessel, alternating between the creamy pudding mixture, ripe banana slices, and crisp Nilla wafers, creating a visually appealing and delectable dessert profile.
- Allow the assembled dessert to rest and meld flavors in the refrigerator for approximately four hours, enabling the components to harmonize and develop a sublime, classic banana pudding experience.
Notes
- Customize sweetness by adjusting condensed milk quantity for a lighter or richer pudding experience.
- Replace whole milk with almond or oat milk to create a dairy-free version that’s equally creamy and delicious.
- Prevent banana browning by tossing sliced bananas in a bit of lemon juice before layering, keeping the dessert looking fresh and appetizing.
- Enhance texture by toasting Nilla wafers briefly before layering to add a delightful crunch and deeper flavor profile to the classic dessert.
- Prep Time: 15 minutes
- Cook Time: 0 minutes
- Category: Desserts
- Method: Chilling
- Cuisine: American
Nutrition
- Serving Size: 8
- Calories: 400
- Sugar: 30 g
- Sodium: 200 mg
- Fat: 30 g
- Saturated Fat: 18 g
- Unsaturated Fat: 10 g
- Trans Fat: 0 g
- Carbohydrates: 38 g
- Fiber: 2 g
- Protein: 4 g
- Cholesterol: 90 mg
Daniel Bruns
Founder & Culinary Innovator
Expertise
Recipe development for home cooks, Nutritional analysis and meal planning, Culinary education and food writing
Education
Auguste Escoffier School of Culinary Arts
Diploma in Culinary Arts and Operations
Focus: Classical and contemporary cooking techniques, Culinary entrepreneurship and kitchen management, Menu development and food cost analysis
Daniel’s story started with flour on his face and a pie in the oven at his grandma’s house. He later sharpened his skills at the Auguste Escoffier School of Culinary Arts.
His goal? Recipes so simple you’ll want to cook every night. When he’s not whipping up one-pan wonders, Daniel’s outside picking herbs, hosting neighborhood cook-offs, or baking chocolate cakes with his kids, messy, sweet, and unforgettable.