Cozy Southern Biscuits and Gravy Recipe: Breakfast Comfort Joy
Southern kitchens come alive with this hearty biscuits and gravy that whispers comfort and nostalgia.
Memories of grandmother’s cooking dance through every creamy bite.
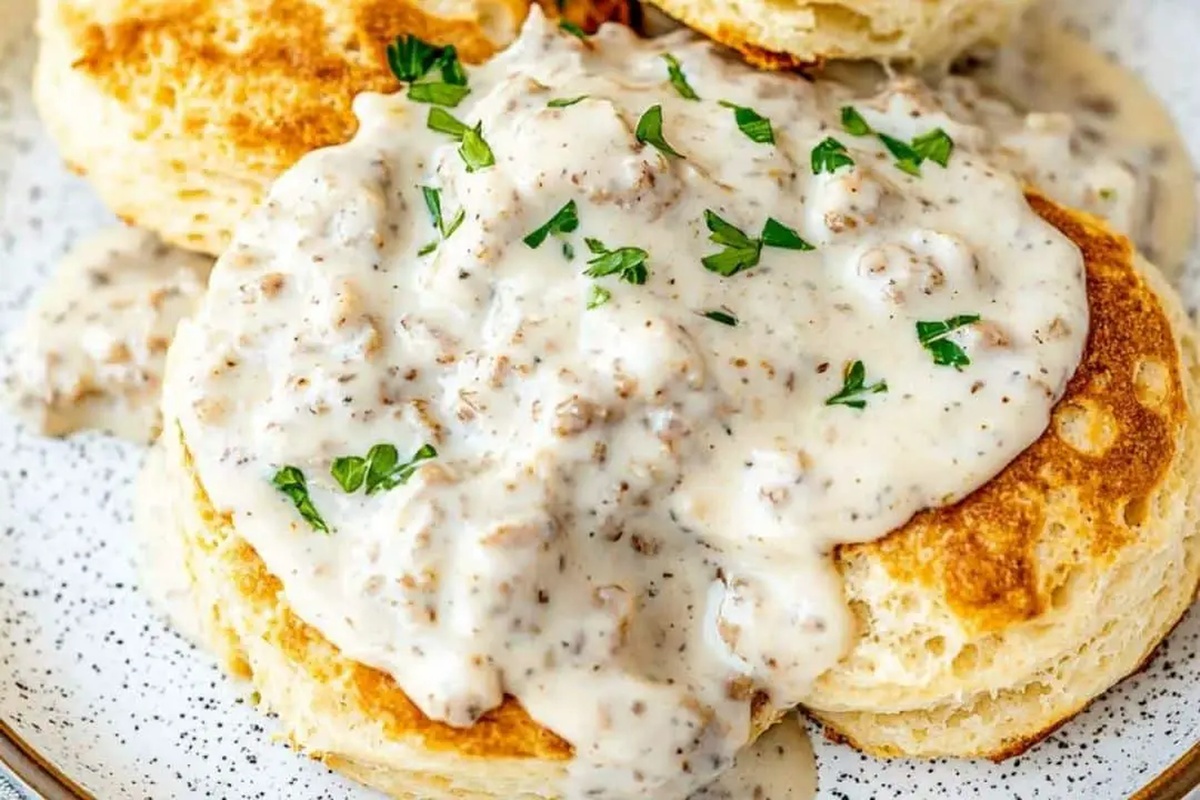
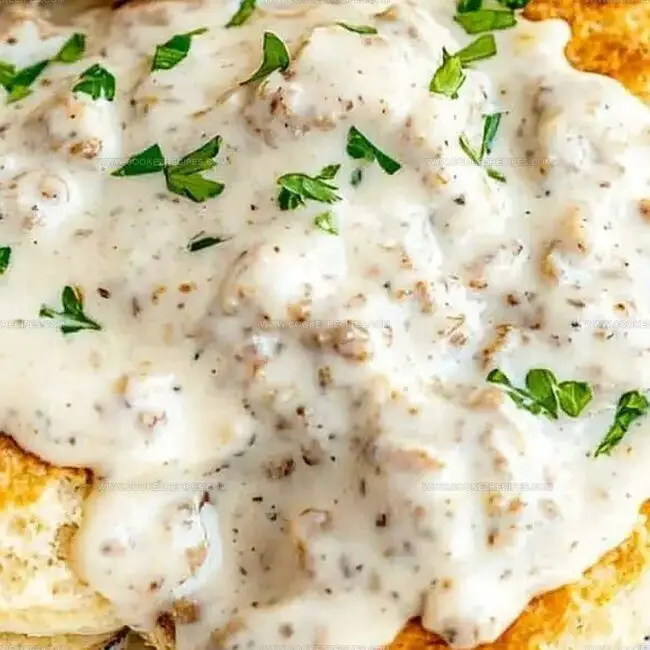
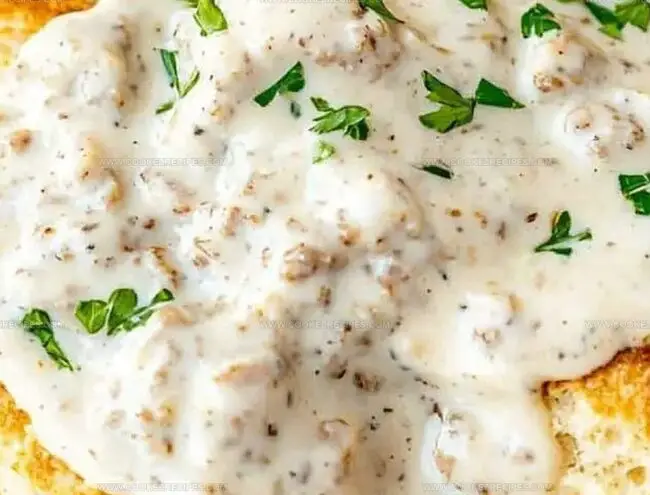
Soft, pillowy biscuits cradle a rich, peppery gravy that hugs your taste buds.
Crispy bits of sausage peek through the velvety sauce, adding unexpected texture and depth.
Weekend mornings feel magical when you pull this classic dish from the oven.
Warm plates and steaming mugs set the stage for a breakfast that feels like pure love.
We bet you’ll want seconds before the first bite is gone.
Why Biscuits and Gravy Will Always Be a Classic
Whip Up Comfort: Irresistible Biscuits and Gravy Reasons to Love
Biscuits & Gravy Pantry List
Flour Ingredients:Dairy Components:Seasoning Ingredients:Biscuits and Gravy Southern Method
Step 1: Prep The Oven And Baking Surface
Heat your oven to a toasty 425°F and line a baking sheet with parchment paper for perfect biscuit baking.
Step 2: Mix Dry Biscuit Ingredients
Grab a spacious mixing bowl and combine:Whisk these ingredients until they’re evenly blended and ready for butter magic.
Step 3: Incorporate Cold Butter
Drop cold butter into the flour mixture and use a pastry cutter or your fingertips to break it down.
You want the texture to look like rough, bumpy breadcrumbs that will create those irresistible flaky layers.
Step 4: Create Biscuit Dough
Pour in milk and stir gently until a soft, shaggy dough emerges.
Don’t overmix – a gentle touch keeps biscuits tender.
Step 5: Shape The Biscuits
Transfer dough onto a flour-dusted countertop.
Softly fold the dough a few times, then pat it into a rectangle about one inch thick.
Use a round cutter to shape your biscuits, pressing straight down without twisting.
Step 6: Bake To Golden Perfection
Arrange biscuits on the prepared baking sheet, ensuring they’re close but not touching.
Slide into the preheated oven and bake until they transform into gorgeous golden-brown beauties, typically 12-15 minutes.
Gravy and Biscuit Comfort Tips
Biscuits and Gravy That Stay Tasty the Next Day
Sides for Biscuits and Gravy
Pair Hearty Southern Breakfast with Complementary Flavors:Different Ways to Serve Biscuits and Gravy
FAQs
Yes, you can prepare the biscuit dough in advance. Cut the biscuits and place them on a baking sheet, then refrigerate for up to 24 hours before baking. You can also freeze the unbaked biscuits for up to a month.
All-purpose flour is ideal for making tender, flaky biscuits. Avoid bread flour, which has too much protein and can make biscuits tough. For an extra tender texture, you can use a soft wheat flour like White Lily.
Keep your butter very cold and work quickly when incorporating it into the flour. Use a light touch when mixing and avoid overworking the dough. This helps create those signature flaky layers that make biscuits delicious.
Yes, you can substitute buttermilk, which adds extra tanginess, or use non-dairy milk like almond or oat milk. Just ensure the milk is cold when adding it to the dry ingredients for the best results.
Print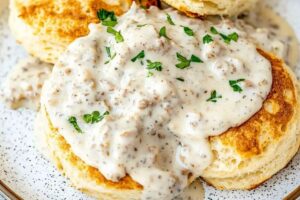
Biscuits and Gravy Recipe
- Total Time: 50 minutes
- Yield: 4 1x
Description
Hearty Southern “biscuits and gravy” bring comfort straight from rustic kitchen tables, delivering pure breakfast bliss. Creamy pepper-infused sausage gravy cascades over golden buttermilk biscuits, promising a satisfying morning meal you’ll savor with pure delight.
Ingredients
Main Ingredients:
- 1/2 pound breakfast sausage
- 2 cups all-purpose flour
- 2 cups whole milk
- 6 tablespoons cold unsalted butter
- 3/4 cup whole milk
Leavening and Seasoning Ingredients:
- 1 tablespoon baking powder
- 1 teaspoon ground black pepper
- 1/2 teaspoon salt
Thickening Ingredients:
- 3 tablespoons all-purpose flour
- 1/2 teaspoon salt
Instructions
- Prepare the oven environment by setting the temperature to 425°F and lining a baking sheet with parchment paper to prevent sticking.
- Combine dry ingredients – flour, baking powder, and salt – in a spacious mixing vessel, ensuring thorough incorporation through careful whisking.
- Introduce cold butter into the flour mixture, utilizing a cutting technique to transform the ingredients into a texture resembling coarse, uneven crumbs.
- Gradually introduce milk to the crumbly mixture, gently stirring until a cohesive dough emerges.
- Transfer the nascent dough onto a generously floured work surface, executing delicate folding motions to enhance texture and consistency.
- Shape the dough into a uniform rectangle approximately one inch thick, creating an even foundation for biscuit formation.
- Employ a circular cutter to transform the dough rectangle into individual biscuit shapes, strategically positioning them on the prepared baking sheet.
- Slide the baking sheet into the preheated oven, allowing the biscuits to undergo a transformative golden-brown metamorphosis over 12-15 minutes.
- Remove the biscuits once they achieve a sun-kissed, golden appearance, signaling their readiness for consumption.
Notes
- Chill butter thoroughly before cutting into flour to ensure flakier, more tender biscuits.
- Use buttermilk instead of regular milk for deeper tangy flavor and softer texture.
- Avoid overworking dough to prevent tough, dense biscuits; handle gently and minimally.
- For gluten-free option, substitute all-purpose flour with cup-for-cup gluten-free blend and add xanthan gum for better binding.
- Prep Time: 20 minutes
- Cook Time: 30 minutes
- Category: Breakfast
- Method: Baking
- Cuisine: American
Nutrition
- Serving Size: 4
- Calories: 445
- Sugar: 3 g
- Sodium: 717 mg
- Fat: 30 g
- Saturated Fat: 16 g
- Unsaturated Fat: 10 g
- Trans Fat: 1 g
- Carbohydrates: 35 g
- Fiber: 1 g
- Protein: 14 g
- Cholesterol: 66 mg
Katherine Pierce
Recipe Curator & Food Educator
Expertise
Education
Boston University Metropolitan College
Certificate Program in the Culinary Arts
Focus: French and international cuisine techniques, Hands-on culinary training with industry professionals, Food industry insights and operations
Katherine grew up believing every dish has a story. She studied the art of food at Boston University and explored the history behind it. She loves pulling easy recipes from every corner of the world and putting them at your fingertips.
When Katherine’s not writing or testing new flavors, she’s teaching cooking classes, baking colorful mooncakes, or dreaming up new ways to mix old favorites with new twists.