Quick & Fluffy Bread in 20 Minutes Recipe: Homemade Joy
Quick homemade bread rushes to life in mere 20 minutes, defying traditional baking expectations.
Kitchen magic happens when simple ingredients blend with minimal effort.
Soft, warm slices beckon you toward instant satisfaction.
Novice bakers can confidently tackle this speedy recipe without complex techniques.
Minimal kneading and swift rising create delectable results that surprise everyone.
Flour, yeast, and a dash of creativity become your culinary companions.
Dive into this straightforward method that promises delightful, fresh-baked goodness in less time than watching a sitcom episode.
Fresh Bread In 20 Minutes That Feels Like Magic
Essentials for Bread in 20 Minutes
Dry Ingredients:Wet Ingredients:Preparation Considerations:Baking Instructions for Bread in 20 Minutes
Step 1: Fire Up The Oven
Turn your oven to a toasty 425°F (220°C).
Grab a baking pan and give it a light coating of cooking spray or butter to prevent sticking.
Step 2: Create Dry Base
In a spacious mixing bowl, blend together:Whisk these ingredients until they’re perfectly combined and lump-free.
Step 3: Bring Ingredients Together
Pour into your dry mixture:Stir gently with a wooden spoon until the dough looks soft and just comes together.
Don’t go crazy mixing – lumpy is okay!
Step 4: Shape And Bake
Transfer the dough into your prepared pan.
Use a spatula to spread it evenly across the surface.
Slide the pan into the preheated oven and bake for 12-15 minutes.
Your bread is ready when the top turns a gorgeous golden brown and a toothpick inserted in the center comes out clean.
Step 5: Serve And Enjoy
Allow the bread to cool for a few minutes.
Slice into delicious pieces and serve warm.
Spread with butter, jam, or your favorite topping for an amazing treat.
20-Minute Bread Success Shortcuts
Bread You Can Store for Next-Day Perfection
Great Add-Ons For Quick Bread
20-Minute Bread Add-Ins
FAQs
Yes! This recipe is extremely simple, requires no kneading, and takes just 20 minutes from start to finish. Perfect for anyone new to baking or with limited kitchen skills.
Absolutely! You can substitute dairy milk with almond milk, soy milk, or even water. Just ensure the liquid maintains a similar consistency for the dough.
All-purpose flour is ideal, but you can also use whole wheat flour or a 50/50 mix. Just remember that whole wheat might make the bread slightly denser.
Look for a golden-brown top and test with a toothpick. When inserted in the center, it should come out clean with no wet dough clinging to it. The edges will also start pulling away from the pan’s sides.
Print
Bread in 20 Minutes Recipe
- Total Time: 20 minutes
- Yield: 8 1x
Description
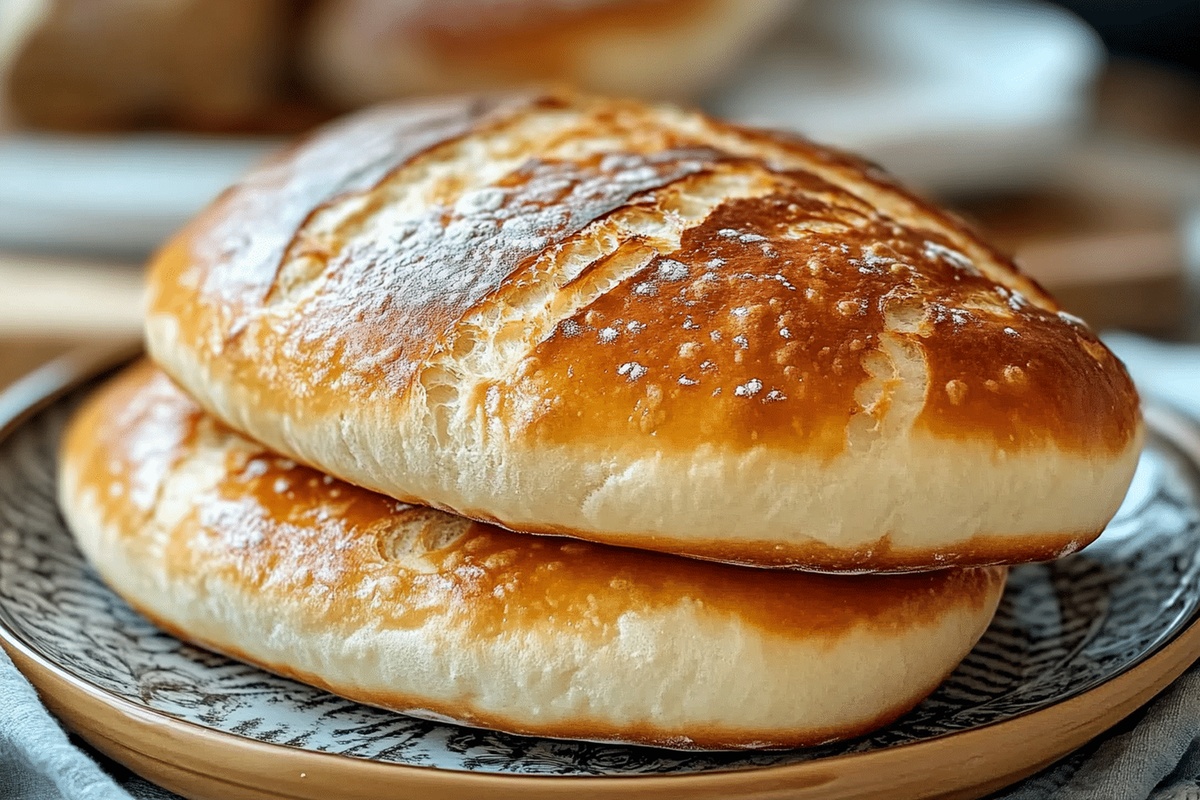
Quick homemade no-knead bread delivers comfort straight from your kitchen. Crusty exterior and tender interior promise a delightful slice of warm, fresh goodness you’ll savor with every bite.
Ingredients
Dry Ingredients:
- 2 cups (480 milliliters) all-purpose flour
- 1 tablespoon (15 grams) baking powder
- 1/2 teaspoon (2.5 grams) salt
- 1 tablespoon (15 grams) sugar
Liquid Ingredients:
- 3/4 cup (180 milliliters) milk
- 1/4 cup (60 milliliters) olive oil
Fat Ingredients:
- 1/4 cup (60 milliliters) melted butter (alternative to olive oil)
Instructions
- Gather essential tools: mixing bowl, whisk, measuring cups, baking pan, and oven mitts.
- Position oven rack in the center and warm to 425°F, ensuring even heat distribution for optimal bread texture.
- Thoroughly coat baking pan with cooking spray or light oil to prevent potential sticking.
- Combine dry ingredients in a spacious mixing bowl, using a whisk to eliminate potential flour lumps and ensure uniform mixture.
- Create a gentle well in the center of the dry ingredients to facilitate smooth liquid incorporation.
- Introduce milk and olive oil (or melted butter) into the flour mixture, stirring with minimal intervention to maintain dough’s delicate structure.
- Mix ingredients until just combined, avoiding aggressive stirring that could develop tough gluten networks.
- Gently transfer dough into prepared baking pan, using a spatula to spread evenly and create uniform thickness.
- Slide pan into preheated oven, positioning centrally for consistent browning and heat circulation.
- Monitor bread during baking, watching for golden-brown coloration and checking internal doneness with a toothpick test.
- Remove bread from oven once perfectly golden and structural integrity is confirmed.
- Allow bread to rest momentarily, permitting residual heat to complete internal cooking process.
- Slice and serve warm, accompanied by butter, jam, or preferred condiment for enhanced enjoyment.
Notes
- Swap flour for gluten-free alternatives like almond or coconut flour to accommodate dietary restrictions.
- Add herbs like rosemary or thyme to the dry ingredients for a flavor-packed bread variation.
- Experiment with different milk options such as almond, oat, or buttermilk to create unique taste profiles.
- Brush the top with melted butter or egg wash before baking to achieve a golden, glossy crust that looks professionally baked.
- Prep Time: 5 minutes
- Cook Time: 15 minutes
- Category: Breakfast, Snacks
- Method: Baking
- Cuisine: American
Nutrition
- Serving Size: 8
- Calories: 188
- Sugar: 1.5 g
- Sodium: 150 mg
- Fat: 8 g
- Saturated Fat: 1 g
- Unsaturated Fat: 7 g
- Trans Fat: 0 g
- Carbohydrates: 25 g
- Fiber: 1 g
- Protein: 4 g
- Cholesterol: 0 mg
Daniel Bruns
Founder & Culinary Innovator
Expertise
Recipe development for home cooks, Nutritional analysis and meal planning, Culinary education and food writing
Education
Auguste Escoffier School of Culinary Arts
Diploma in Culinary Arts and Operations
Focus: Classical and contemporary cooking techniques, Culinary entrepreneurship and kitchen management, Menu development and food cost analysis
Daniel’s story started with flour on his face and a pie in the oven at his grandma’s house. He later sharpened his skills at the Auguste Escoffier School of Culinary Arts.
His goal? Recipes so simple you’ll want to cook every night. When he’s not whipping up one-pan wonders, Daniel’s outside picking herbs, hosting neighborhood cook-offs, or baking chocolate cakes with his kids, messy, sweet, and unforgettable.