
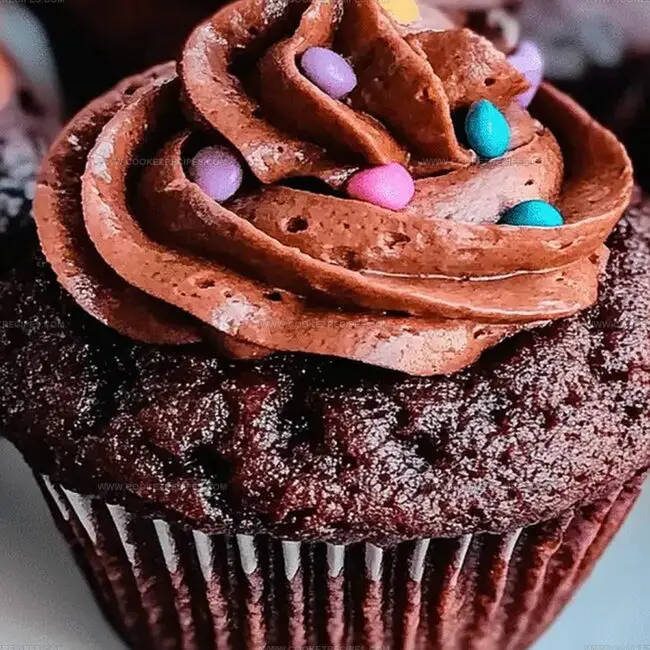
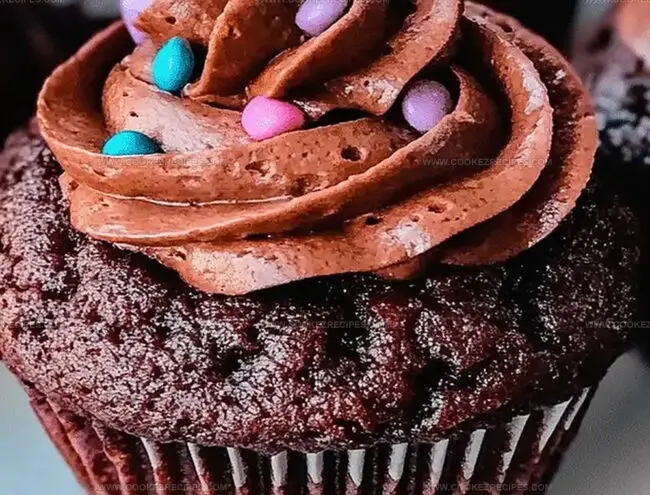
Brownie Cupcakes Recipe with a Fudgy Center
Sweet meets decadent in these irresistible brownie cupcakes that blend rich chocolate magic with classic dessert charm.
Chocolate lovers recognize an instant classic when they see one.
Compact and adorable, these treats deliver intense flavor in every single bite.
Soft interiors give way to deeply fudgy centers that melt perfectly on your tongue.
Each miniature dessert brings intense satisfaction without overwhelming your appetite.
Layers of chocolate intensity promise a delightful experience that will make you swoon.
Dive into these delectable morsels and savor pure indulgence.
Brownie Cupcakes Rich Chocolate In Every Bite
Brownie Cupcake Baking Mix
Baking Essentials:Moisture and Coating Ingredients:Baking Preparation:Whip Up Brownie Cupcakes In Minutes
Step 1: Warm Up The Oven
Turn your oven to 350°F and let it heat while you prepare the delicious treats.
This temperature ensures perfect brownie cupcake texture.
Step 2: Spray Muffin Trays
Coat your muffin pans generously with nonstick cooking spray.
This prevents your cupcakes from sticking and makes removal super easy.
Step 3: Create Brownie Magic
Grab your favorite brownie mix and prepare it with these ingredients:Whisk everything together until the batter looks smooth and glossy.
Add one extra egg to make these cupcakes extra rich and moist.
Step 4: Fill Cupcake Spaces
Carefully pour the brownie batter into each muffin cup.
Fill each about two-thirds full to allow room for rising during baking.
This technique creates perfectly shaped cupcakes.
Step 5: Bake Until Perfection
Slide the muffin trays into the hot oven.
Bake for approximately 20 minutes.
Check doneness by inserting a toothpick – it should come out with a few moist crumbs, indicating a wonderfully fudgy center.
Step 6: Cool And Enjoy
Remove the trays from the oven.
Let the brownie cupcakes rest for 5 minutes.
Use a butter knife to gently loosen edges.
Transfer to a cooling rack and get ready to bite into chocolatey heaven!
Cupcake Tips With Brownie Richness
Brownie Cupcakes Stay Moist and Chocolatey
Sweet Complements For Brownie Cupcakes
Chocolate Cupcake Reworks
FAQs
Yes, you can use a homemade brownie recipe, but ensure the batter consistency matches the box mix volume to get 24 cupcakes.
The extra egg adds moisture and creates a more gooey, rich texture to the brownie cupcakes, making them softer and more decadent.
Insert a toothpick in the center – it should come out with a few moist crumbs. If it’s completely clean, the cupcakes might be overbaked and dry.
You can use butter or cooking oil to grease the muffin pans, but nonstick spray provides the most even coverage and easiest release.
Print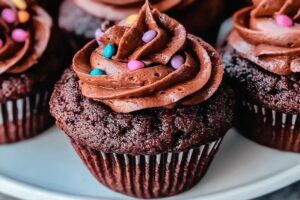
Brownie Cupcakes Recipe
- Total Time: 30 minutes
- Yield: 24 1x
Description
Indulgent brownie cupcakes merge chocolate’s rich intensity with cupcake’s delightful charm, creating a dessert that delights sweet-seeking souls. Chocolate lovers will savor each moist, fudgy bite of this irresistible treat that promises pure decadence in every delectable morsel.
Ingredients
Main Ingredients:
- 2 boxes brownie mix
- 3 large eggs
Preparation Ingredients:
- 1 nonstick spray (cooking spray)
Instructions
- Prepare the culinary workspace by warming the oven to a precise 350°F (175°C), ensuring an ideal baking environment.
- Thoroughly coat the muffin cavities with a nonstick spray, creating a seamless release surface for the decadent treats.
- Craft the brownie mixture by combining the packaged blend with an additional egg, whisking until the batter achieves a smooth, luxurious consistency that promises rich, fudgy texture.
- Distribute the velvety batter evenly across the muffin compartments, filling each to approximately two-thirds capacity to allow proper rising and prevent overflow.
- Position the loaded muffin tray in the preheated oven, allowing the cupcakes to transform for roughly 20 minutes. Monitor their doneness by inserting a toothpick – it should emerge with a few moist crumbs, indicating perfect moistness without raw batter.
- After removing from the oven, let the brownie cupcakes rest within the pan for 5 minutes, enabling them to set and stabilize. Gently release each cupcake using a butter knife, creating clean edges and preventing potential crumbling.
- Transfer the luscious brownie cupcakes to a serving platter, ready to delight eager dessert enthusiasts with their intense chocolate essence and tender crumb.
Notes
- Customize texture by adjusting egg quantity, with an extra egg creating more fudgy and dense brownie cupcakes.
- Prevent sticking completely by using parchment paper liners or double-spraying muffin pan with nonstick cooking spray.
- Test doneness precisely by checking internal temperature around 165°F, which guarantees perfectly moist brownies without raw centers.
- Experiment with mix-ins like chocolate chips, nuts, or caramel pieces to elevate basic brownie cupcake recipe and add unexpected flavor dimensions.
- Prep Time: 10 minutes
- Cook Time: 20 minutes
- Category: Desserts, Snacks
- Method: Baking
- Cuisine: American
Nutrition
- Serving Size: 24
- Calories: 150
- Sugar: 10 g
- Sodium: 200 mg
- Fat: 7 g
- Saturated Fat: 2 g
- Unsaturated Fat: 5 g
- Trans Fat: 0 g
- Carbohydrates: 20 g
- Fiber: 1 g
- Protein: 2 g
- Cholesterol: 30 mg
Daniel Bruns
Founder & Culinary Innovator
Expertise
Recipe development for home cooks, Nutritional analysis and meal planning, Culinary education and food writing
Education
Auguste Escoffier School of Culinary Arts
Diploma in Culinary Arts and Operations
Focus: Classical and contemporary cooking techniques, Culinary entrepreneurship and kitchen management, Menu development and food cost analysis
Daniel’s story started with flour on his face and a pie in the oven at his grandma’s house. He later sharpened his skills at the Auguste Escoffier School of Culinary Arts.
His goal? Recipes so simple you’ll want to cook every night. When he’s not whipping up one-pan wonders, Daniel’s outside picking herbs, hosting neighborhood cook-offs, or baking chocolate cakes with his kids, messy, sweet, and unforgettable.