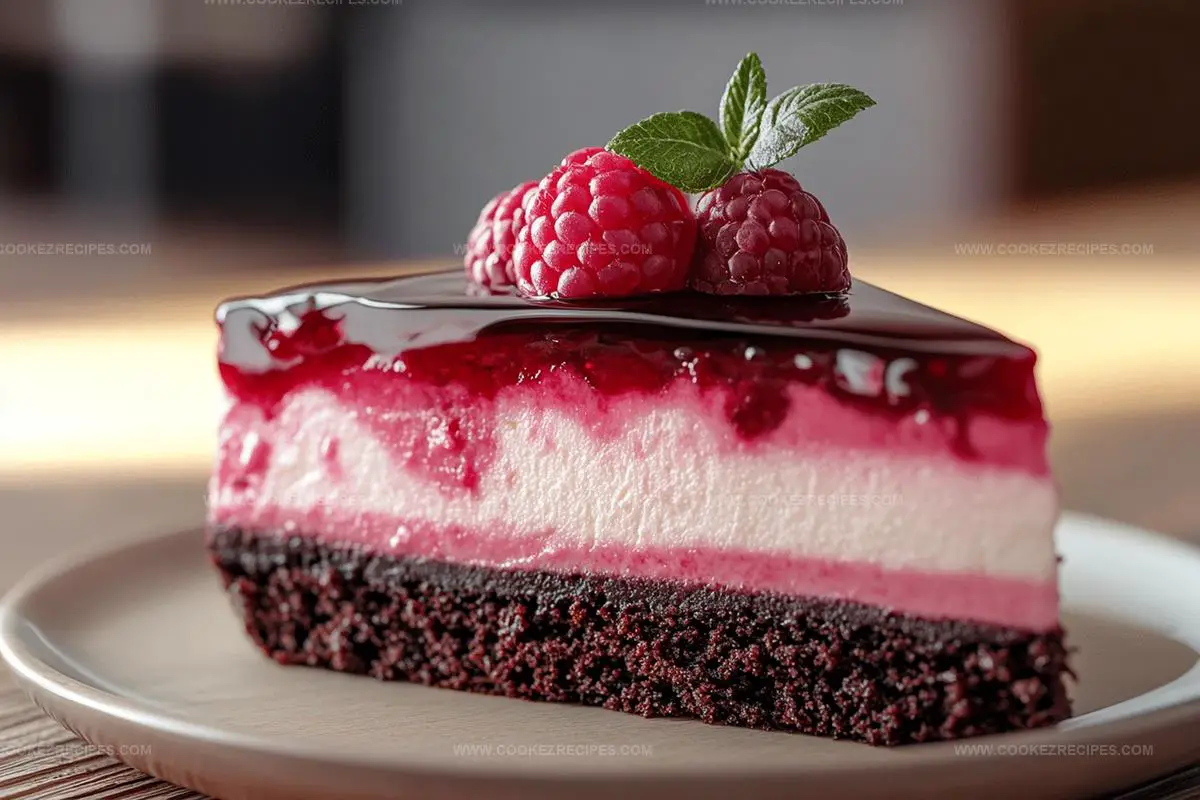
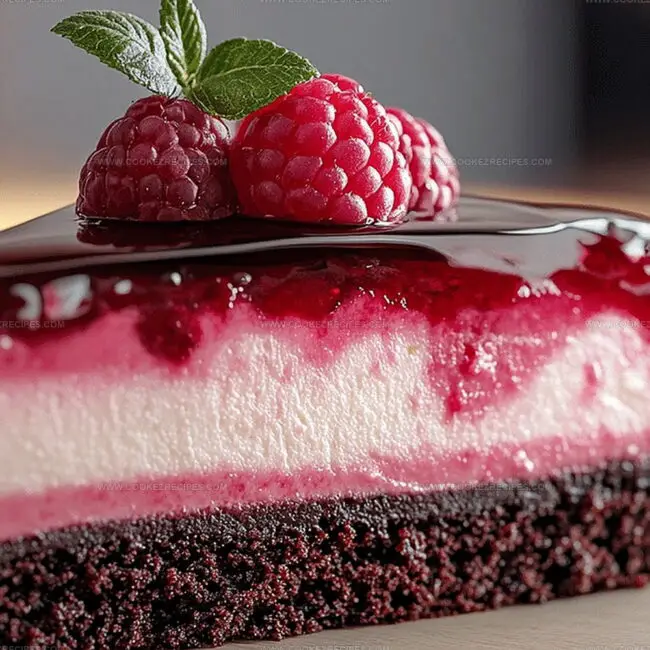
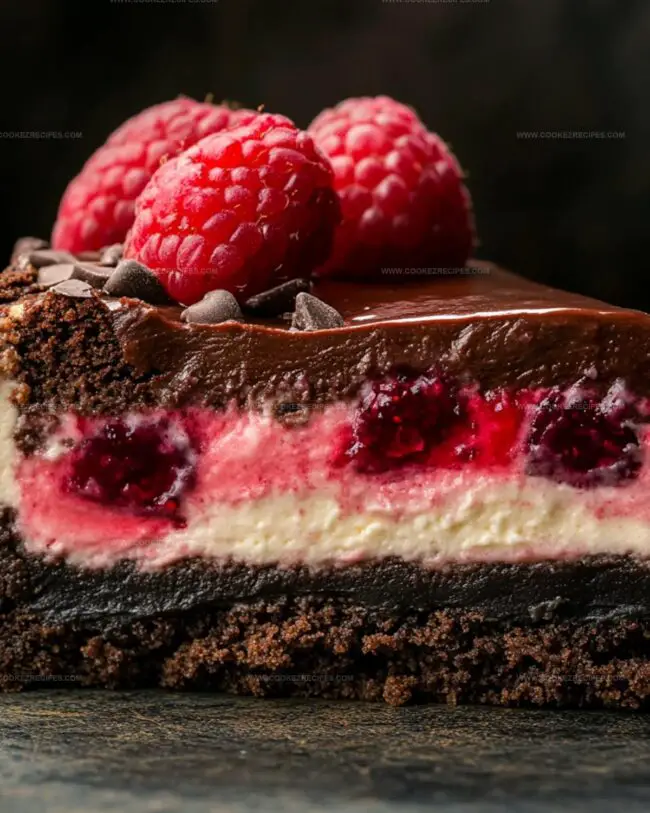
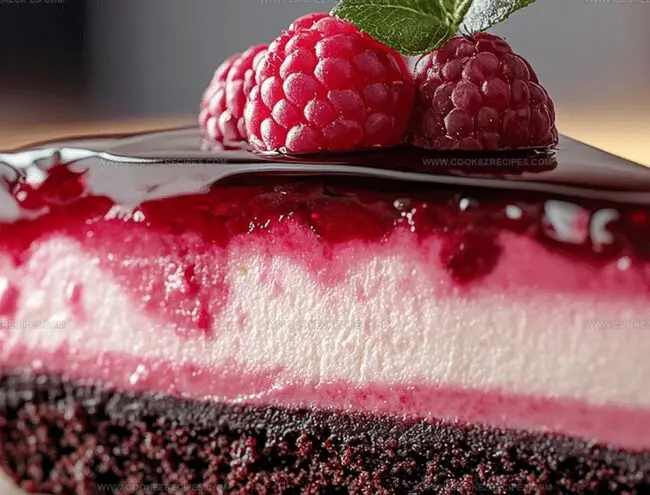
Brownie Raspberry Cheesecake Recipe with Silky Layers
My recent raspberry cheesecake brownie experiment blew my mind with its decadent layers of chocolate and creamy goodness.
Friends couldn’t stop raving about the unexpected flavor combinations.
Rich cocoa notes mingle beautifully with tangy raspberry swirls, creating a dessert that feels both indulgent and sophisticated.
Chocolate lovers will appreciate the fudgy brownie base that provides a robust foundation for the silky cheesecake topping.
Each bite promises a symphony of textures and flavors that dance across your palate.
Soft cream cheese melts into deep chocolate waves, while bright raspberry hints cut through the richness.
Pack this showstopper for your next potluck and watch everyone’s eyes light up with pure dessert excitement.
Brownie Raspberry Cheesecake That Feels Bakery Worthy
What Layers Into Brownie Raspberry Cheesecake
Brownie Base Ingredients:Wet Ingredients:Cheesecake Layer Ingredients:Topping Ingredients:Brownie Raspberry Cheesecake Assembly Instructions
Step 1: Warm Up the Oven
Crank your oven to a cozy 325°F.
Grab an 8×8-inch baking pan and give it a quick spray with cooking oil.
Line the bottom with parchment paper, letting the edges hang over for easy removal.
Step 2: Create Chocolate Magic
In a large mixing bowl, whisk together:Crack in the eggs and splash of vanilla extract.
Blend until silky smooth.
Gently fold in:Spread half of this luscious chocolate mixture across the pan’s bottom.
Step 3: Whip Up Creamy Cheesecake Layer
In a separate bowl, beat cream cheese and sugar until clouds of pure creaminess form.
Add an egg and vanilla, mixing until absolutely smooth and dreamy.
Step 4: Artful Assembly
Pour the creamy cheesecake mixture over the brownie base.
Dollop remaining chocolate batter in random spots.
Take a knife and create mesmerizing swirls throughout the surface.
Step 5: Berry Beautiful Topping
Sprinkle fresh raspberries across the top, gently pressing them into the batter so they nestle perfectly.
Step 6: Bake to Perfection
Slide the pan into the oven.
Bake for 35-40 minutes.
You’ll know it’s ready when the cheesecake looks set and a toothpick inserted into the brownie comes out with just a few moist crumbs.
Step 7: Chill and Slice
Let the masterpiece cool completely.
Pop it in the refrigerator for at least 2 hours to firm up.
Slice into squares and watch everyone’s eyes light up with pure delight.
Cheesecake Tips For Brownie Swirls
Raspberry Cheesecake Brownies That Reheat Rich and Fudgy
Best Matches For Raspberry Cheesecake
Cheesecake Brownie Layer Swaps
FAQs
Yes, you can use frozen raspberries. Just make sure to thaw and drain them completely before adding to the batter to prevent excess moisture.
Use a knife or toothpick and gently drag it through the layers in a figure-eight or zigzag motion. Don’t overmix, as you want distinct marbled patterns.
Dutch-processed cocoa powder provides the richest chocolate flavor and creates a deeper color. Natural unsweetened cocoa powder also works well in this recipe.
Some slight cracking is normal. To minimize this, avoid overmixing the cheesecake batter and bake at a consistent, moderate temperature. The cracks won’t affect the taste or overall texture of the dessert.
Print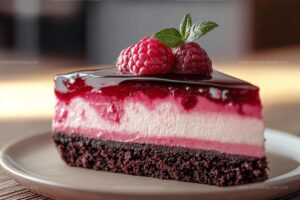
Brownie Raspberry Cheesecake Recipe
- Total Time: 55 minutes
- Yield: 12 1x
Description
Sinful layers of rich chocolate brownie meld perfectly with creamy raspberry cheesecake in this irresistible dessert. Sweet-tart raspberries and velvety cream cheese create a luxurious experience you won’t forget.
Ingredients
Brownie Base:
- 1 cup (200g) granulated sugar
- 1/2 cup (115g) unsalted butter, melted
- 2 large eggs
- 1/3 cup (40g) unsweetened cocoa powder
- 1/2 cup (65g) all-purpose flour
- 1/4 teaspoon salt
- 1/4 teaspoon baking powder
- 1 teaspoon vanilla extract
Cheesecake Layer:
- 8 ounces (225g) cream cheese, softened
- 1/4 cup (50g) granulated sugar
- 1 large egg
- 1/2 teaspoon vanilla extract
Topping:
- 1/2 cup (120g) fresh raspberries
Instructions
- Prepare the baking environment by warming the oven to 325°F and lining an 8×8-inch pan with parchment paper, ensuring complete coverage and smooth edges.
- Craft the decadent brownie foundation by whisking melted butter with sugar until silky, then incorporating eggs and vanilla for rich depth. Gently fold in cocoa powder, flour, salt, and baking powder, creating a smooth, glossy batter.
- Distribute half the brownie mixture evenly across the prepared pan, creating a foundational layer with uniform thickness.
- Transition to the creamy cheesecake component by blending cream cheese and sugar until velvety and free of lumps. Introduce egg and vanilla, mixing until achieving a harmonious, silky texture.
- Carefully layer the cheesecake mixture atop the brownie base, maintaining a gentle, even spread.
- Artfully dot the remaining brownie batter across the cheesecake surface, then use a knife to create elegant swirling patterns that intertwine the two distinct layers.
- Delicately nestle fresh raspberries into the batter, allowing them to slightly sink and distribute their vibrant color and flavor.
- Place in the preheated oven and bake for 35-40 minutes, monitoring until the cheesecake sets and the brownie develops a moist, slightly fudgy consistency.
- Remove from oven and allow to cool completely at room temperature, then refrigerate for a minimum of 2 hours to enhance flavor and structural integrity.
- Slice and serve chilled, revealing the beautiful marbled layers and bursts of raspberry throughout.
Notes
- Make sure butter is completely melted and cooled before mixing to prevent scrambling eggs and maintain smooth batter texture.
- Use room temperature cream cheese and eggs for easier blending and smoother cheesecake layer.
- Gently swirl brownie and cheesecake batters with a knife to create beautiful marbled effect without overmixing.
- Choose fresh, ripe raspberries and pat them dry to prevent excess moisture from affecting the batter’s consistency.
- For gluten-free version, substitute all-purpose flour with almond or gluten-free flour blend.
- Reduce sugar by 25% if you prefer less sweet desserts or want to lower calorie content.
- Freeze extra brownies for up to 3 months, wrapped tightly in plastic wrap and stored in airtight container.
- Prep Time: 15 minutes
- Cook Time: 40 minutes
- Category: Desserts
- Method: Baking
- Cuisine: American
Nutrition
- Serving Size: 12
- Calories: 265
- Sugar: 18 g
- Sodium: 150 mg
- Fat: 14 g
- Saturated Fat: 8 g
- Unsaturated Fat: 6 g
- Trans Fat: 0 g
- Carbohydrates: 32 g
- Fiber: 1 g
- Protein: 4 g
- Cholesterol: 62 mg
Daniel Bruns
Founder & Culinary Innovator
Expertise
Recipe development for home cooks, Nutritional analysis and meal planning, Culinary education and food writing
Education
Auguste Escoffier School of Culinary Arts
Diploma in Culinary Arts and Operations
Focus: Classical and contemporary cooking techniques, Culinary entrepreneurship and kitchen management, Menu development and food cost analysis
Daniel’s story started with flour on his face and a pie in the oven at his grandma’s house. He later sharpened his skills at the Auguste Escoffier School of Culinary Arts.
His goal? Recipes so simple you’ll want to cook every night. When he’s not whipping up one-pan wonders, Daniel’s outside picking herbs, hosting neighborhood cook-offs, or baking chocolate cakes with his kids, messy, sweet, and unforgettable.