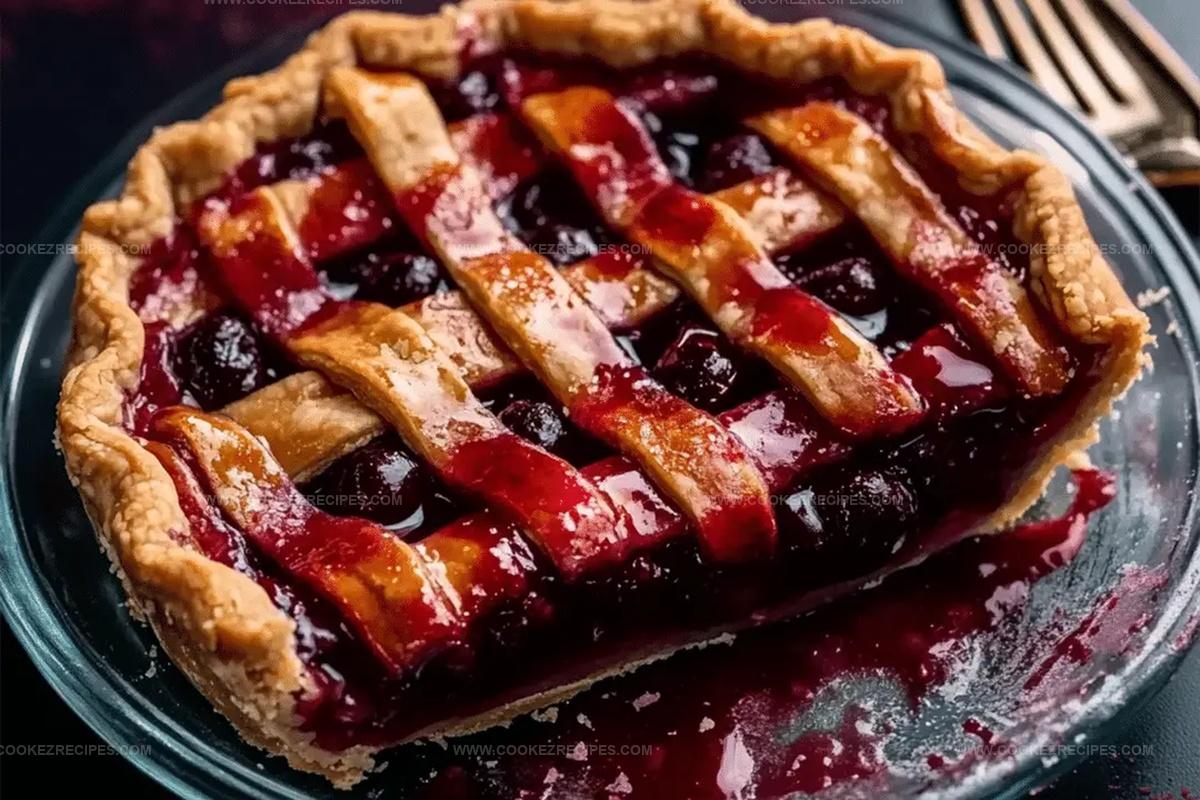
Cherry Pie Recipe That Tastes Like Summer Joy
Sweet summer memories burst through my favorite cherry pie recipe, a delightful dessert that transports you straight to grandma’s kitchen.
Ripe cherries dance with buttery pastry, creating a nostalgic symphony of flavor.
Wild orchards whisper their secrets into each carefully crafted slice.
Rustic and comforting, this classic treat promises pure happiness in every bite.
Crisp, golden crust embraces juicy crimson fruit with delicate precision.
Seasonal ingredients shine brightest when transformed into this magnificent dessert.
Prepare to fall in love with a pie that celebrates pure, simple joy.
What Cherry Pie Does Better Than Store Bought
Ingredients Inside Cherry Pie Filling & Crust
Pie Crust Ingredients:Filling Ingredients:Topping and Finishing Ingredients:Cherry Pie Baking Instructions
Step 1: Prepare Pie Crust
Complete the pie crust recipe through its initial preparation stages.
Ensure the dough is properly chilled and ready for rolling.
Step 2: Combine Cherry Filling
In a mixing bowl, gather these ingredients:Thoroughly mix all ingredients until well combined.
Cover the bowl and refrigerate to allow flavors to meld together.
Step 3: Shape Bottom Crust
Roll out the first chilled dough disc into a circular shape approximately 12 inches wide.
Carefully transfer the dough into a 9-inch pie dish, ensuring smooth placement.
Use a slotted spoon to transfer cherries into the crust, reserving the liquid.
Return the pie to the refrigerator.
Step 4: Reduce Cherry Juices
Pour the reserved cherry liquid into a small saucepan.
Simmer over low heat until the liquid thickens slightly.
Allow the reduced syrup to cool for 5 minutes, then gently pour over the cherries.
Add small butter dots across the filling.
Step 5: Preheat Oven
Heat the oven to 400°F, preparing for baking.
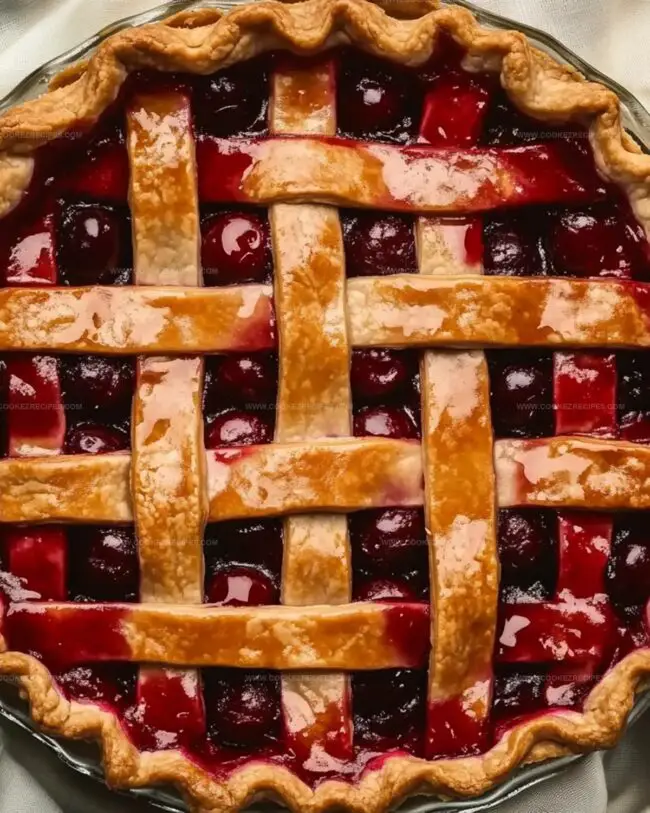
Step 6: Create Lattice Top
Roll the second dough disc into a 12-inch circle.
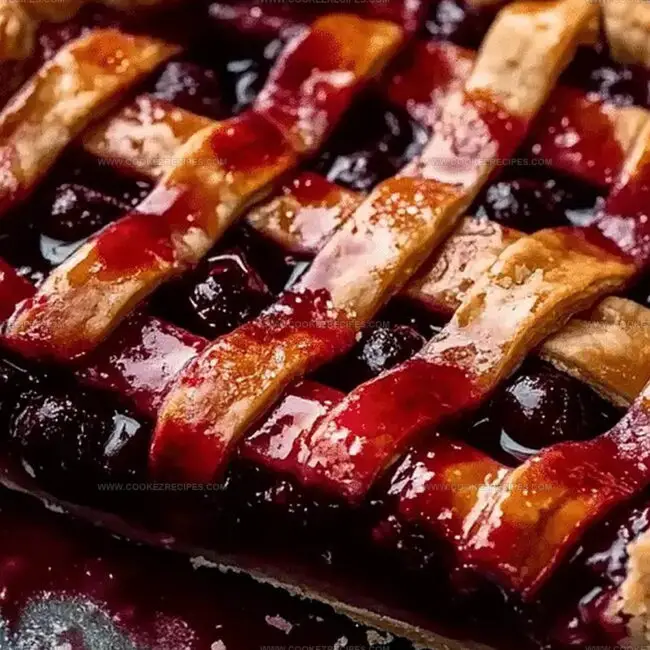
Slice the dough into strips and weave a beautiful lattice pattern across the pie.
Trim excess dough and crimp the edges decoratively.
Step 7: Prepare Pie Exterior
Brush the lattice top with egg wash.
Sprinkle coarse sugar over the surface for added texture and shine.
Step 8: Bake To Perfection
Bake the pie for 20 minutes at 400°F.
Reduce temperature to 375°F and continue baking for 30-40 minutes.
Look for a golden crust and bubbling juices that persist for at least 5 minutes.
Use a pie crust shield after the initial 20 minutes to prevent over-browning.
Step 9: Cool And Serve
Allow the pie to cool completely for 3-4 hours before slicing.
This resting period helps the filling set and enhances flavor development.
Pie Tips For Cherry Filling Perfection

Cherry Pie Stays Juicy and Delicious Cold
What Goes With Cherry Pie
Cherry Pie with Fun Filling Options
FAQs
Sour cherries like Montmorency are ideal because they provide a perfect balance of tartness and sweetness, creating a more complex flavor profile compared to sweet cherries.
Yes, frozen cherries work well. Thaw and drain them completely before using to prevent excess liquid in the pie filling, which could make the crust soggy.
Cooling allows the filling to set properly, helping the juices thicken and making it easier to slice clean, neat pieces without the filling running everywhere.
Look for golden brown crust and bubbling juices that continue to bubble for at least 5 minutes, which indicates the filling has reached the right temperature and consistency.
Print
Cherry Pie Recipe
- Total Time: 3 hours 55 minutes
- Yield: 8 1x
Description
Sweet summer nostalgia blooms in this classic Cherry Pie, capturing the heartwarming essence of homemade desserts. Juicy cherries nestled in a buttery, flaky crust promise a delightful journey through pure, wholesome comfort that calls you to savor each delectable bite.
Ingredients
Pie Crust:
- 2 Homemade Pie Crust or All Butter Pie Crust
Filling Ingredients:
- 4.5 cups halved & quartered pitted fresh cherries (about 1.5 pounds / 680 grams)
- 2/3 cup (135 grams) granulated sugar
- 1/4 cup (28 grams) cornstarch
- 1 tablespoon (15 milliliters) lemon juice
- 1 teaspoon pure vanilla extract
- 1/4 teaspoon almond extract
- 1 tablespoon (14 grams) cold unsalted butter, cubed
Egg Wash and Optional Topping:
- 1 large egg beaten with 1 tablespoon (15 milliliters) milk
- Coarse sugar for sprinkling on crust
Instructions
- Craft the pie crust according to the recipe, ensuring it is thoroughly chilled and prepared.
- Combine fresh cherries with sugar, cornstarch, lemon juice, vanilla, and almond extract in a mixing bowl, creating a vibrant filling. Cover and refrigerate to allow flavors to meld.
- Gently roll out the first chilled dough disc into a 12-inch circular shape, carefully transferring it to a 9-inch pie dish. Using a slotted spoon, arrange the cherry mixture into the crust, preserving the liquid separately.
- Transfer the reserved cherry liquid to a small saucepan, simmering over low heat until it thickens into a glossy syrup. Allow the syrup to cool for approximately 5 minutes, then delicately pour over the cherries and softly toss. Dot the surface with small butter pieces.
- Preheat the oven to a precise 400°F, preparing for baking.
- Transform the second dough disc into a 12-inch circle, then slice into elegant strips. Weave these strips into a classic lattice pattern atop the pie, trimming and crimping the edges for a professional finish.
- Enhance the pie’s appearance by brushing the lattice with egg wash and sprinkling coarse sugar for a glistening, textured crust.
- Initiate baking at 400°F for 20 minutes, then reduce temperature to 375°F. Continue baking for 30-40 minutes until the crust achieves a golden hue and cherry juices bubble consistently for at least 5 minutes. Protect the edges with a pie crust shield during the latter part of baking to prevent excessive browning.
- Exercise patience by allowing the pie to cool completely for 3-4 hours before slicing, ensuring perfect texture and set filling.
Notes
- Choose ripe, sweet cherries for the best flavor and natural sweetness without adding too much sugar.
- Drain excess liquid from cherries to prevent a soggy bottom crust, using a slotted spoon ensures a perfect pie texture.
- Chill the pie dough thoroughly before rolling to create a flakier, more tender crust that holds its shape better during baking.
- Add a sprinkle of almond flour or ground nuts to the bottom crust to absorb excess fruit moisture and prevent sogginess.
- Prep Time: 3 hours
- Cook Time: 55 minutes
- Category: Desserts
- Method: Baking
- Cuisine: American
Nutrition
- Serving Size: 8
- Calories: 292
- Sugar: 17 g
- Sodium: 48 mg
- Fat: 10 g
- Saturated Fat: 6 g
- Unsaturated Fat: 4 g
- Trans Fat: 0 g
- Carbohydrates: 43 g
- Fiber: 2 g
- Protein: 3 g
- Cholesterol: 35 mg
Daniel Bruns
Founder & Culinary Innovator
Expertise
Recipe development for home cooks, Nutritional analysis and meal planning, Culinary education and food writing
Education
Auguste Escoffier School of Culinary Arts
Diploma in Culinary Arts and Operations
Focus: Classical and contemporary cooking techniques, Culinary entrepreneurship and kitchen management, Menu development and food cost analysis
Daniel’s story started with flour on his face and a pie in the oven at his grandma’s house. He later sharpened his skills at the Auguste Escoffier School of Culinary Arts.
His goal? Recipes so simple you’ll want to cook every night. When he’s not whipping up one-pan wonders, Daniel’s outside picking herbs, hosting neighborhood cook-offs, or baking chocolate cakes with his kids, messy, sweet, and unforgettable.