Chocolate Lava Brownie Cookies Recipe for Gooey Bites
Baking a chocolate lava brownie cookie can turn an ordinary afternoon into a delightful adventure.
Rich cocoa notes swirl through each decadent bite, promising pure indulgence.
Molten chocolate centers create unexpected magic in these irresistible treats.
Small yet powerful, these cookies deliver intense flavor in every delicate crumb.
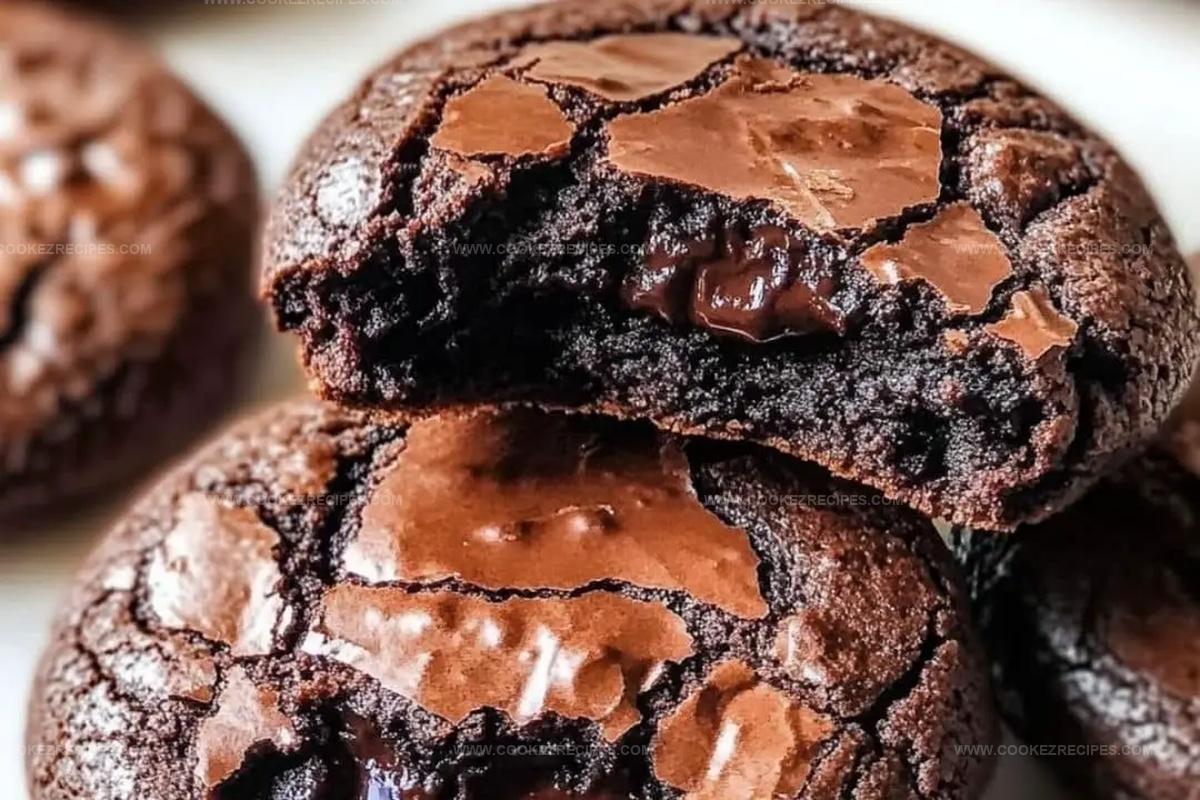
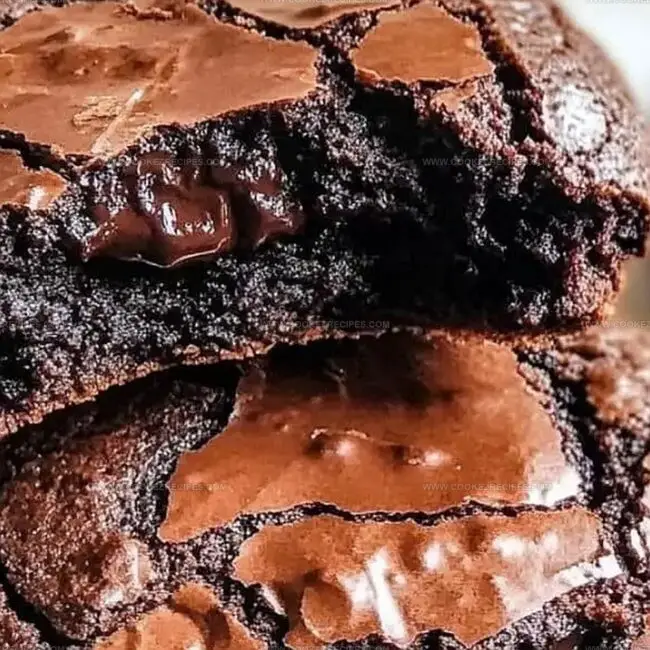
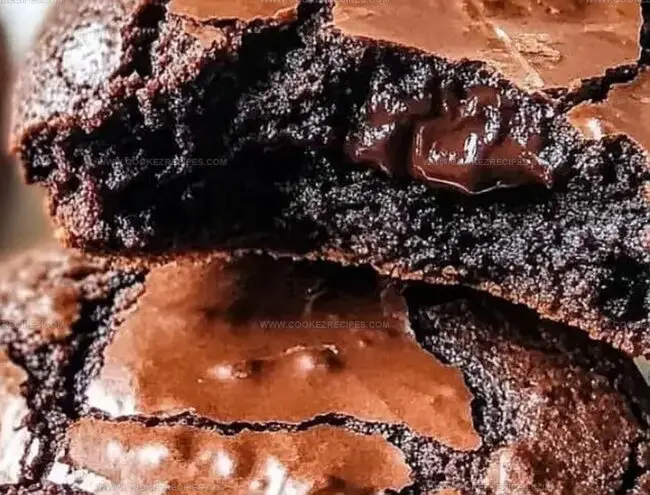
Warm chocolate rivers flow from soft, tender edges when you break them open.
Passionate bakers understand that sometimes the simplest recipes create the most memorable experiences.
Gather your ingredients and let’s craft something extraordinary that will have everyone asking for seconds.
Lava Brownie Cookies That Ooze Chocolate
Chocolate Lava Brownie Cookie Essentials
Chocolate Base:Dry Ingredients:Binding and Sweetening Ingredients:Optional Add-Ins:Lava Brownie Cookies Chocolate Baking Guide
Step 1: Melt Chocolate and Butter
Grab a microwave-safe bowl and combine chocolate chips and butter.
Heat in 30-second bursts, stirring carefully between each interval, until the mixture transforms into a silky, glossy pool of deliciousness.
Allow the mixture to cool down and rest for a few moments.
Step 2: Whisk Eggs and Sugar
In a separate large mixing bowl, vigorously whisk together eggs and sugar until the mixture becomes light, fluffy, and slightly pale.
The goal is to create a smooth, well-incorporated base that will give your cookies incredible texture.
Step 3: Combine Wet Ingredients
Gently fold the slightly cooled chocolate mixture into the egg and sugar blend.
Stir with a spatula, ensuring everything is thoroughly mixed without deflating the airy texture you’ve created.
Step 4: Add Dry Ingredients
Sift together the following dry ingredients:Gradually add these dry ingredients to the wet mixture, stirring until just combined.
Be careful not to overmix, as this can make your cookies tough.
Step 5: Chill the Dough
Cover the cookie dough and refrigerate for about 30 minutes.
This helps the flavors meld and makes the dough easier to handle.
Step 6: Prepare Baking Sheet
Preheat the oven and line a baking sheet with parchment paper.
This prevents sticking and ensures easy cookie removal.
Step 7: Shape and Bake Cookies
Scoop rounded tablespoons of dough onto the prepared baking sheet, leaving space between each cookie.
Bake until the edges are set but the centers remain slightly soft and gooey.
Step 8: Cool and Serve
Let the cookies cool on the baking sheet for a few minutes, then transfer to a wire rack.
The centers will continue to set, creating that luscious lava-like texture.
Serve warm for maximum chocolate enjoyment.
Baking Advice For Chocolate Lava Brownie Cookies
Store Lava Brownie Cookies Softly
What Goes With Lava Brownie Cookies
Chocolate Lava Brownie Cookie Add-Ins
FAQs
Yes, you can substitute dark, milk, or semi-sweet chocolate chips depending on your preference. Just ensure they melt smoothly and provide the rich chocolate flavor you desire.
No, you only need a microwave, mixing bowl, baking sheet, and basic kitchen tools like a whisk and spatula. It’s a straightforward recipe anyone can make at home.
Look for slightly cracked edges and a soft, gooey center. They should be set around the edges but still look slightly underbaked in the middle, which creates the classic lava-like texture.
These cookies are best served warm, but you can prepare the dough in advance and refrigerate it. Just bring the dough to room temperature before baking and add a minute or two to the baking time.
Print
Chocolate Lava Brownie Cookies Recipe
- Total Time: 25 minutes
- Yield: 12 1x
Description
Molten chocolate lava brownie cookies deliver pure indulgence in each rich, gooey bite. Silky chocolate centers ooze with decadent warmth, inviting sweet lovers to savor this irresistible dessert experience.
Ingredients
Main Chocolate Components:
- 1 cup semi-sweet chocolate chips
- 4 ounces (113 grams) dark chocolate, cut into small chunks or squares
- 1/4 cup unsweetened cocoa powder
Fats and Sweeteners:
- 1/2 cup unsalted butter
- 3/4 cup granulated sugar
- 1/4 cup brown sugar, packed
Dry and Binding Ingredients:
- 3/4 cup all-purpose flour
- 2 large eggs
- 1 teaspoon vanilla extract
- 1/2 teaspoon baking powder
- 1/4 teaspoon salt
Instructions
- Carefully melt chocolate chips and butter in a microwave-safe bowl, stirring every 30 seconds until completely smooth and glossy, then allow the mixture to cool for a few minutes.
- Whisk together eggs and sugar in a separate large mixing bowl until the mixture becomes pale and slightly frothy, creating a light, airy texture.
- Gently fold the cooled chocolate mixture into the egg mixture, incorporating it slowly to maintain the delicate air bubbles and create a uniform, rich batter.
- Sift cocoa powder, flour, and salt directly into the wet ingredients, using gentle folding motions to combine without deflating the mixture.
- Refrigerate the cookie dough for 15-20 minutes to firm up, which will help prevent excessive spreading during baking and maintain the cookies’ shape.
- Preheat the oven to 350°F and line baking sheets with parchment paper, ensuring even heat distribution and easy cookie removal.
- Scoop chilled dough into rounded balls using a cookie scoop, placing them approximately 2 inches apart on the prepared baking sheets.
- Bake for 10-12 minutes until the edges look set but the centers remain slightly soft and glossy, creating the signature lava-like texture.
- Remove from oven and let cookies cool on the baking sheet for 5 minutes before transferring to a wire rack to complete cooling.
Notes
- Choose high-quality dark chocolate with at least 60% cocoa for a rich, intense flavor that elevates the entire dessert.
- Ensure the chocolate and butter mixture is slightly cooled before adding eggs to prevent scrambling, creating a smooth and silky texture.
- Use parchment paper or a silicone baking mat to prevent sticking and achieve perfectly shaped lava cookies with clean edges.
- For a gluten-free version, swap regular flour with almond flour or a gluten-free blend, maintaining the decadent chocolate experience for all dietary needs.
- Prep Time: 15 minutes
- Cook Time: 10 minutes
- Category: Desserts, Snacks
- Method: Baking
- Cuisine: American
Nutrition
- Serving Size: 12
- Calories: 210
- Sugar: 16 g
- Sodium: 70 mg
- Fat: 10 g
- Saturated Fat: 6 g
- Unsaturated Fat: 4 g
- Trans Fat: 0 g
- Carbohydrates: 28 g
- Fiber: 1 g
- Protein: 2 g
- Cholesterol: 35 mg
Katherine Pierce
Recipe Curator & Food Educator
Expertise
Education
Boston University Metropolitan College
Certificate Program in the Culinary Arts
Focus: French and international cuisine techniques, Hands-on culinary training with industry professionals, Food industry insights and operations
Katherine grew up believing every dish has a story. She studied the art of food at Boston University and explored the history behind it. She loves pulling easy recipes from every corner of the world and putting them at your fingertips.
When Katherine’s not writing or testing new flavors, she’s teaching cooking classes, baking colorful mooncakes, or dreaming up new ways to mix old favorites with new twists.