Buttery Cinnamon Snowballs: A Sweet Holiday Cookie Recipe
Sweet memories of winter gatherings dance around these delightful cinnamon snowballs that melt softly on your tongue.
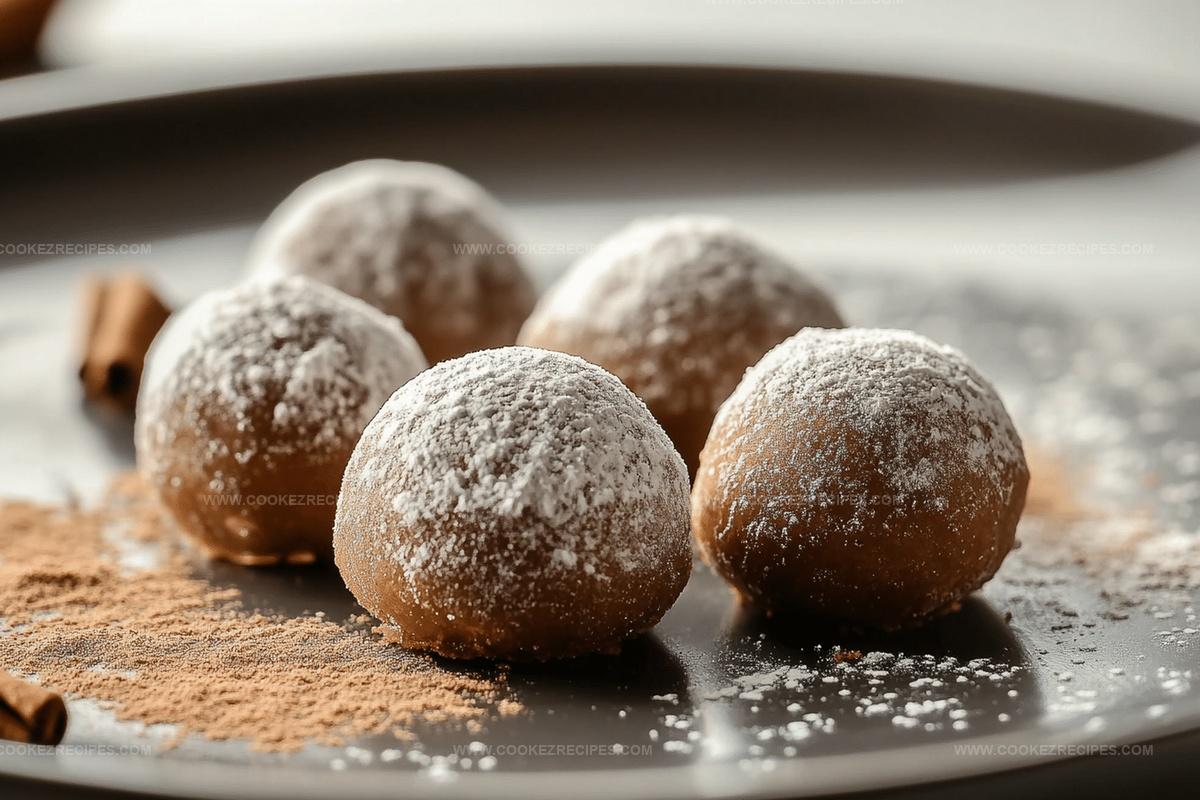
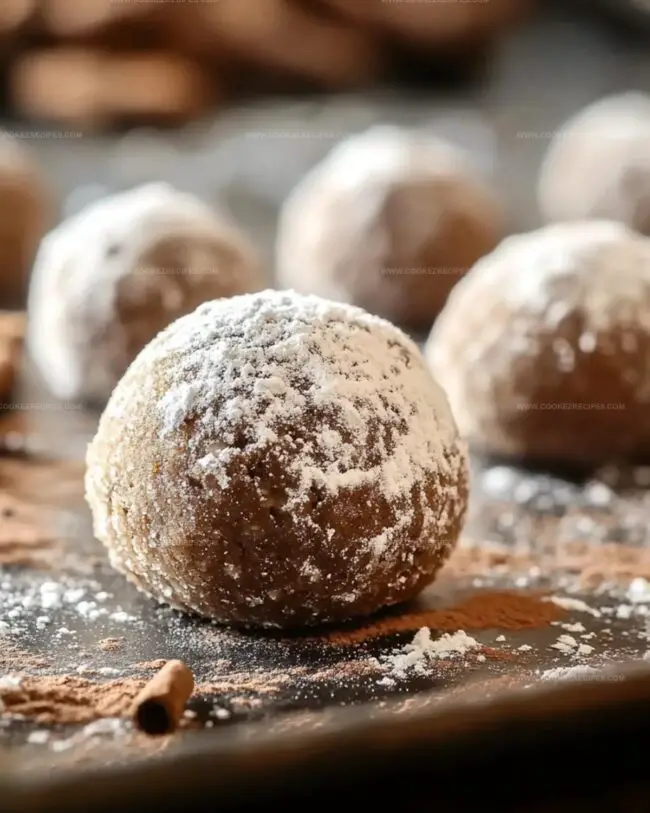
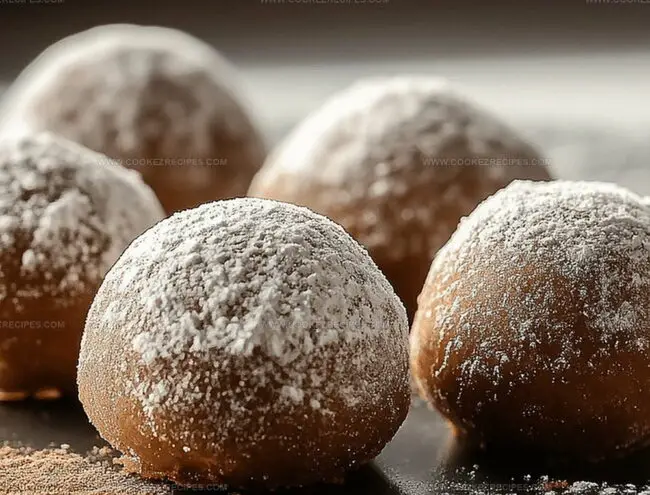
Powdery sugar coats each tender morsel with a delicate embrace.
Childhood nostalgia whispers through every crumbly bite of these classic treats.
Home kitchens come alive with the warm, comforting aroma of spiced goodness.
Grandmothers and bakers alike treasure this simple yet magical recipe passed down through generations.
Crisp edges and soft centers promise a moment of pure bliss that you’ll want to savor slowly.
Bake these little wonders and watch faces light up with joy.
Cinnamon Snowballs That Melt In Your Mouth

Sweet Dusting in Cinnamon Snowballs
Butter and Sugar Base:Dry Ingredients:Optional Mix-In:Coating:Cinnamon Snowballs Preparation Instructions
Step 1: Warm Up the Oven
Prepare your baking space by heating the oven to 350°F.
Grab a baking sheet and line it with parchment paper for easy cookie removal.
Step 2: Whip Up the Base
Grab a large mixing bowl and combine softened butter with powdered sugar.
Beat them together until the mixture becomes light and airy.
Pour in vanilla extract and mix until everything looks creamy and smooth.
Step 3: Build the Cookie Dough
Gradually add your dry ingredients to the creamy mixture:Stir everything together until a soft dough forms.
If you love extra crunch, fold in some chopped nuts for texture.
Step 4: Shape the Cookies
Roll the dough into small, adorable round balls about 1-inch in diameter.
Place each cookie ball gently on the prepared baking sheet, leaving a little space between them.
Step 5: Bake to Perfection
Slide the baking sheet into the preheated oven.
Bake for 12-15 minutes until the edges turn a light golden color.
The cookies should look delicate and slightly set.
Step 6: Create the Snowy Coating
Let the cookies cool for just a few minutes – they should still be warm.
Carefully roll each cookie in powdered sugar, creating a beautiful white coating.
Once completely cooled, give them another gentle roll in powdered sugar for an extra snowy effect.
Step 7: Serve and Store
Arrange your beautiful cinnamon snowball cookies on a serving plate.
They’ll stay fresh in an airtight container for up to a week – if they last that long!
Snowball Cookie Tips For Texture
Snowball Cookies That Keep Their Shape and Sweetness
Light Add-Ons For Cinnamon Snowballs
Snowball Cookie Spice Twists
FAQs
The combination of butter, powdered sugar, and flour creates a delicate, crumbly texture that melts in your mouth, while the cinnamon adds a warm, subtle spice.
Absolutely! The nuts are optional, so you can easily skip them if you have allergies or simply prefer a nut-free version of the snowball cookies.
The first roll while the cookies are still warm helps the sugar stick better, and the second roll after cooling creates a beautiful, snowy white coating that looks festive and adds extra sweetness.
While cinnamon is traditional, you can experiment with other warm spices like nutmeg or cardamom to create your own unique flavor profile.
Print
Cinnamon Snowballs Recipe
- Total Time: 25 minutes
- Yield: 24 1x
Description
Delightful cinnamon snowballs bring winter’s magic to your dessert table with their powdery charm. Melt-in-your-mouth Mexican wedding cookies dusted with warm spices promise sweet comfort that transports you to cozy kitchen memories.
Ingredients
Main Ingredients:
- 2 cups all-purpose flour
- 1 cup unsalted butter, softened
- 3/4 cup finely chopped pecans or walnuts (optional)
Sweeteners and Flavoring:
- 1/2 cup powdered sugar (plus extra for coating)
- 1 teaspoon vanilla extract
Spices and Seasoning:
- 1/2 teaspoon cinnamon
- 1/4 teaspoon salt
Instructions
- Combine softened butter and powdered sugar in a spacious mixing bowl, whipping until the mixture achieves a pillowy, aerated texture. Infuse with fragrant vanilla extract, blending thoroughly.
- Carefully incorporate flour, ground cinnamon, and a delicate pinch of salt into the creamy base. If desired, gently fold in finely chopped nuts for added complexity and crunch.
- Using gentle hands, craft uniform spherical morsels approximately one inch in diameter. Carefully position these delicate orbs onto a parchment-lined baking surface, ensuring consistent spacing.
- Slide the baking sheet into a preheated oven calibrated to 350°F, allowing the delicate cookies to transform for 12-15 minutes. Watch for subtle golden edges signaling perfect doneness.
- Remove from oven and permit cookies to rest momentarily, maintaining their delicate structure. While still radiating gentle warmth, tenderly enrobe each morsel in a cloud of powdered sugar.
- Allow cookies to cool completely on a wire rack. Once temperature normalizes, perform a second dusting of powdered sugar, creating a pristine, snow-like exterior that resembles delicate winter landscapes.
- Transfer the finished confections to an airtight container, where they will maintain their exquisite texture for approximately seven days.
Notes
- Elevate the texture by chilling the dough for 30 minutes before shaping, which helps prevent spreading and maintains a perfect round shape.
- Create gluten-free versions by substituting all-purpose flour with almond or coconut flour, ensuring the same delicate crumbly texture.
- Enhance flavor complexity by toasting nuts before adding them to the dough, which brings out a deeper, richer nutty taste and adds a delightful crunch.
- Keep cookies consistently sized by using a small cookie scoop or measuring tablespoon for uniform balls that bake evenly and look professionally made.
- Prep Time: 10 minutes
- Cook Time: 15 minutes
- Category: Desserts, Snacks
- Method: Baking
- Cuisine: American
Nutrition
- Serving Size: 24
- Calories: 150
- Sugar: 3 g
- Sodium: 40 mg
- Fat: 11 g
- Saturated Fat: 7 g
- Unsaturated Fat: 4 g
- Trans Fat: 0 g
- Carbohydrates: 14 g
- Fiber: 1 g
- Protein: 2 g
- Cholesterol: 30 mg
Daniel Bruns
Founder & Culinary Innovator
Expertise
Recipe development for home cooks, Nutritional analysis and meal planning, Culinary education and food writing
Education
Auguste Escoffier School of Culinary Arts
Diploma in Culinary Arts and Operations
Focus: Classical and contemporary cooking techniques, Culinary entrepreneurship and kitchen management, Menu development and food cost analysis
Daniel’s story started with flour on his face and a pie in the oven at his grandma’s house. He later sharpened his skills at the Auguste Escoffier School of Culinary Arts.
His goal? Recipes so simple you’ll want to cook every night. When he’s not whipping up one-pan wonders, Daniel’s outside picking herbs, hosting neighborhood cook-offs, or baking chocolate cakes with his kids, messy, sweet, and unforgettable.