Sweet Cornflake Candy Recipe That’s Fun to Make
Sweet memories collide with crunchy cornflake candy in a nostalgic treat that dances between childhood comfort and grown-up indulgence.
Crisp cereal becomes the unexpected star of this delightful confection.
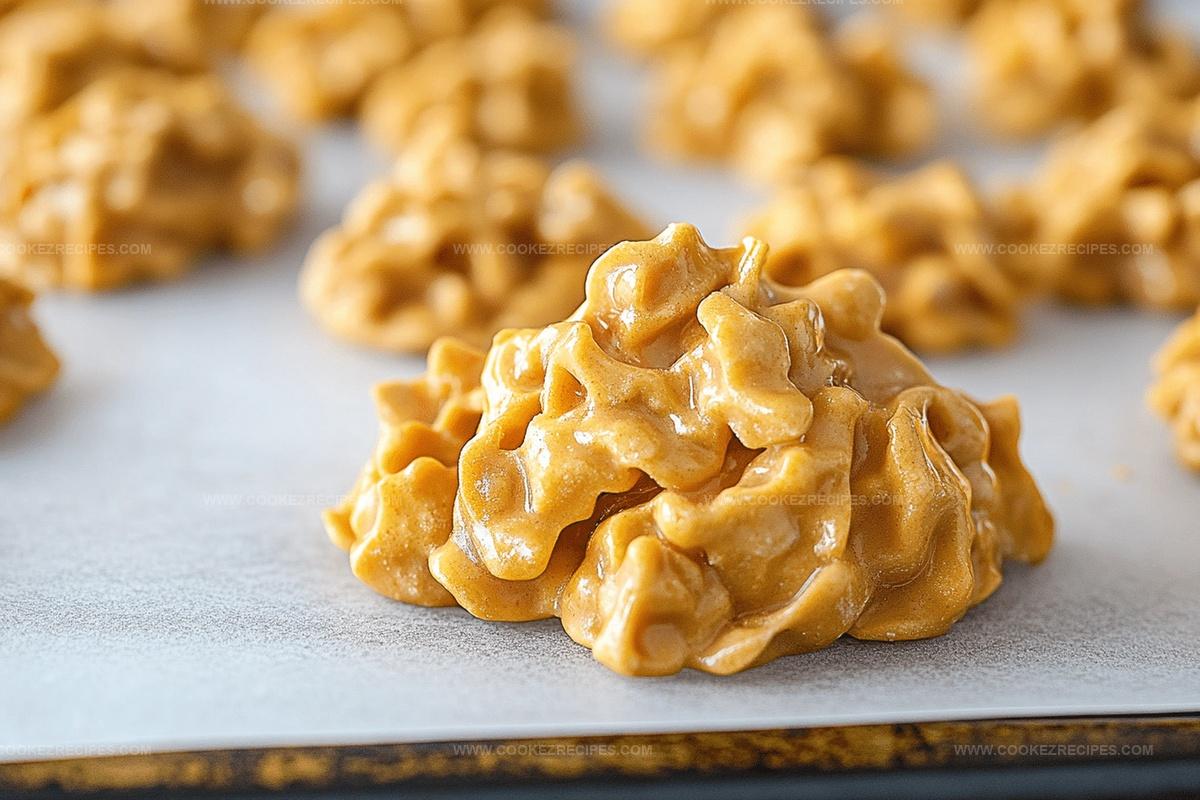
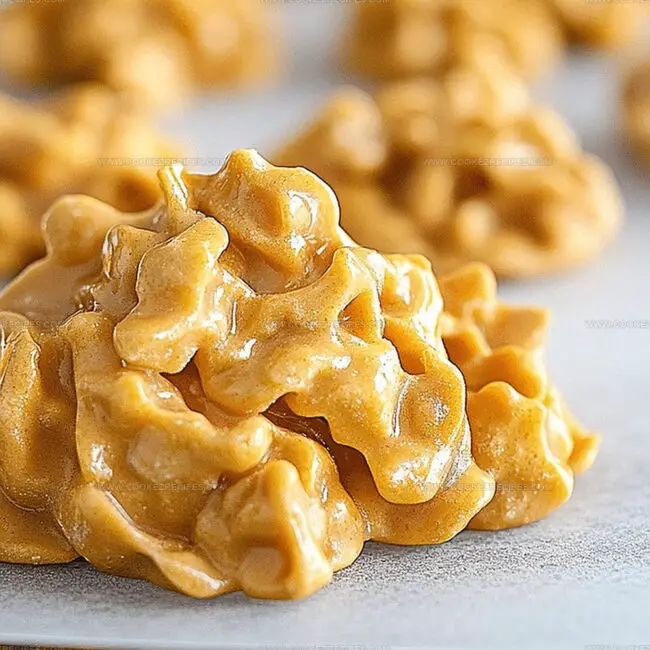
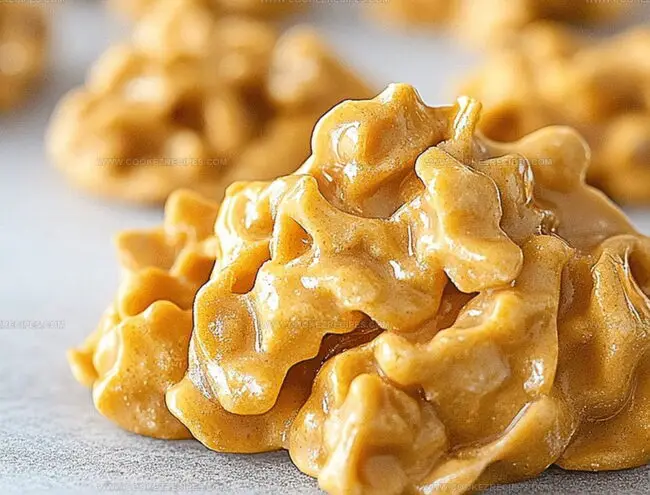
Clusters of golden flakes meld with sugary syrup, creating a magical bite-sized wonder.
Minimal ingredients promise maximum enjoyment in every morsel.
Simple kitchenalchemy turns ordinary pantry staples into something extraordinary.
Chocolate and caramel often join the party, adding layers of decadent flavor.
Cornflake Candy Sweet Crispy And No-Bake
Candy and Cornflake Combo Ingredients
Sweet Base Ingredients:Crunch Component:Preparation Support:Melt Candy Perfectly For Cornflake Candy Treats

Step 1: Craft Sugary Base
In a medium saucepan, combine sugar and corn syrup over medium heat.
Gently stir the mixture until sugar completely melts and transforms into a smooth, glossy liquid.
Watch carefully to prevent burning and ensure a perfect syrupy consistency.
Step 2: Blend Creamy Goodness
Remove the syrup from heat and immediately stir in peanut butter.
Whisk vigorously until the peanut butter melts completely and creates a rich, velvety mixture that looks glossy and uniform.
Step 3: Fold Crunchy Cornflakes
Grab a large mixing bowl filled with crisp cornflakes.
Pour the warm peanut butter syrup over the cornflakes.
Use a spatula to gently fold and coat every single cornflake, ensuring each piece gets covered in the delectable mixture.
Step 4: Spread and Solidify
Select a rectangular baking dish and lightly grease its surface.
Carefully transfer the cornflake mixture into the dish.
Use the back of a spatula to press and spread the mixture evenly, creating a smooth, compact layer.
Allow the candy to cool and set at room temperature or briefly chill in the refrigerator.
Step 5: Slice into Treats
Once the candy has completely solidified, use a sharp knife to cut into neat square or rectangular pieces.
Serve and enjoy these crunchy, sweet delights that combine the best textures and flavors.
Candy Making Notes With Cornflake Crunch
Cornflake Candy Holds Shape in Cool Storage
Crunchy Sips For Cornflake Candy
Festive Cornflake Candy Takes
FAQs
A sweet, crunchy no-bake treat made with cornflakes, sugar, corn syrup, and peanut butter that creates a quick and easy dessert with minimal cooking.
No, you just need a pot for heating the syrup, a mixing bowl for cornflakes, and a pan to set the mixture, making it very beginner-friendly.
You can substitute smooth or crunchy peanut butter, but avoid natural peanut butter. For cornflakes, you might use rice krispies as an alternative, though the texture will be slightly different.
The entire process takes about 15-20 minutes, with most of that time spent preparing the syrup and mixing, and then letting it set at room temperature.
Print
Cornflake Candy Recipe
- Total Time: 15 minutes
- Yield: 12 1x
Description
Sweet, nostalgic cornflake candy blends crispy cereal with gooey marshmallow magic for an irresistible no-bake treat. Holiday memories and childhood comfort merge in this simple, delightful dessert you’ll crave again and again.
Ingredients
Main Ingredients:
- 6 cups cornflakes
- 1 cup peanut butter
Sweeteners:
- 1 cup sugar
- 1 cup corn syrup (dark or light)
Instructions
- Create a rich, golden syrup by heating sugar and corn syrup in a heavy-bottomed saucepan, whisking continuously until the sugar completely melts and the mixture becomes glossy and smooth.
- Remove the syrup from heat and immediately incorporate creamy peanut butter, stirring vigorously until the mixture transforms into a silky, uniform consistency with no visible streaks.
- Pour the warm, glossy syrup over crisp cornflakes in a spacious mixing bowl, gently folding with a rubber spatula to ensure each flake is thoroughly coated and glistening.
- Transfer the coated cornflakes to a pre-greased rectangular baking dish, using clean hands or a spatula to spread and compress the mixture evenly, creating a uniform layer about 1-inch thick.
- Allow the candy to cool and solidify at room temperature for approximately 30-45 minutes, or refrigerate for faster setting. Once firm, slice into bite-sized square or rectangular pieces using a sharp knife.
Notes
- Swap peanut butter with almond or sunflower seed butter for nut-free alternatives perfect for allergy-sensitive diets.
- Use low-sugar corn syrup or honey as a natural sweetener replacement to reduce refined sugar content.
- Line the pan with parchment paper for easier removal and cleaner cutting of candy squares.
- Store in an airtight container at room temperature for up to one week, keeping treats crisp and fresh.
- Prep Time: 10 minutes
- Cook Time: 5 minutes
- Category: Snacks, Desserts
- Method: Blending
- Cuisine: American
Nutrition
- Serving Size: 12
- Calories: 194
- Sugar: 18 g
- Sodium: 130 mg
- Fat: 8 g
- Saturated Fat: 2 g
- Unsaturated Fat: 6 g
- Trans Fat: 0 g
- Carbohydrates: 27 g
- Fiber: 1 g
- Protein: 4 g
- Cholesterol: 0 mg
Daniel Bruns
Founder & Culinary Innovator
Expertise
Recipe development for home cooks, Nutritional analysis and meal planning, Culinary education and food writing
Education
Auguste Escoffier School of Culinary Arts
Diploma in Culinary Arts and Operations
Focus: Classical and contemporary cooking techniques, Culinary entrepreneurship and kitchen management, Menu development and food cost analysis
Daniel’s story started with flour on his face and a pie in the oven at his grandma’s house. He later sharpened his skills at the Auguste Escoffier School of Culinary Arts.
His goal? Recipes so simple you’ll want to cook every night. When he’s not whipping up one-pan wonders, Daniel’s outside picking herbs, hosting neighborhood cook-offs, or baking chocolate cakes with his kids, messy, sweet, and unforgettable.