Cream Cheese Filled Red Velvet Cookies Recipe: Sweet Dreams
Red velvet cookies with a luscious cream cheese filling might just become your next baking obsession.
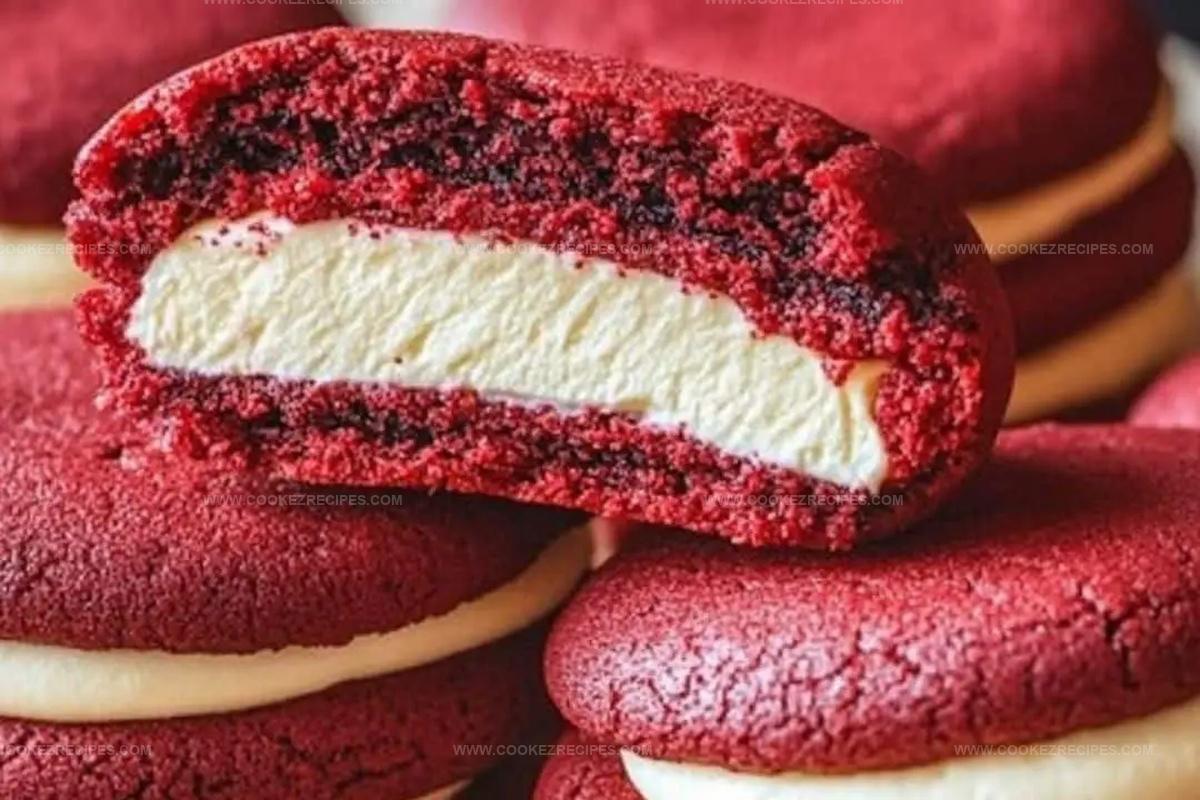
Soft, pillowy dough swirls with deep crimson hues promise decadent moments of pure pleasure.
Chocolate undertones peek through the vibrant cookie landscape, creating a sensory symphony.
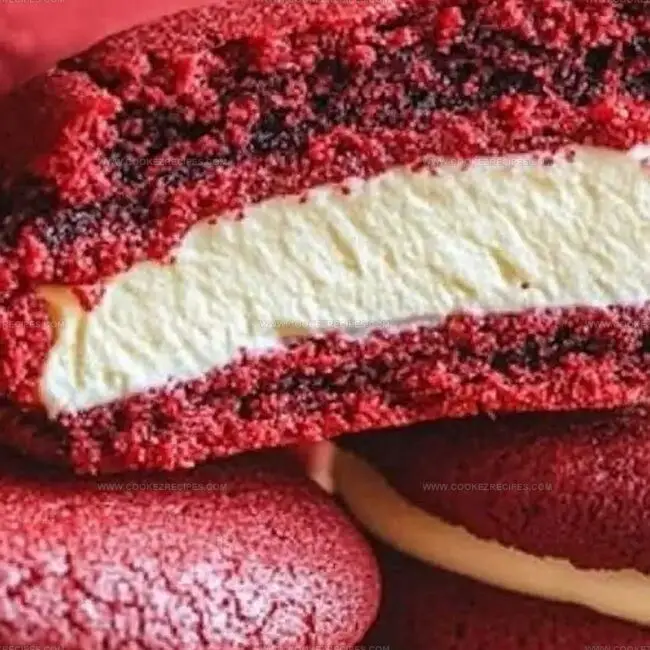
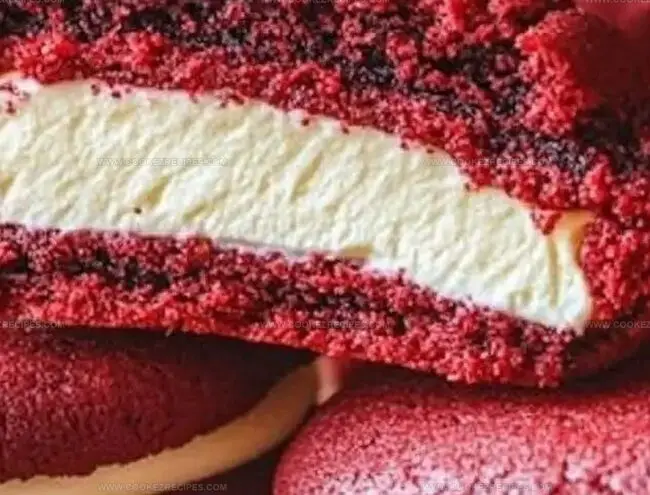
Creamy cheese centers burst with unexpected richness against each tender bite.
Baking enthusiasts will adore how simple ingredients combine into something magical.
Sweet aromas will drift through your kitchen, beckoning everyone near.
These cookies deliver pure indulgence that’ll make you the neighborhood baking star.
Prepare to fall in love with every single crumb.
Red Velvet Cookies Filled with Cream Cheese Taste Like a Bakery Treat
Red Velvet Cookies with Cream Cheese Centers
Main Cookie Ingredients:Flavor Enhancers:Cream Cheese Filling Ingredients:Red Velvet Cookies with Cream Cheese Filling Steps
Step 1: Warm Up the Oven
Crank your oven to a toasty 350°F and grab a baking sheet.
Line it with parchment paper to prevent any sticky situations.
Step 2: Mix Dry Powerhouse Ingredients
Grab a medium bowl and whisk together:Set this magical dry mixture aside for later.
Step 3: Create Butter Bliss
In a large bowl, beat butter and sugar until they transform into a light, fluffy cloud of deliciousness.
This should take around 3 minutes of passionate mixing.
Step 4: Add Vibrant Wet Ingredients
Introduce these flavor champions to your butter mixture:Mix until everything dances together beautifully.
Step 5: Combine Wet and Dry Worlds
Gently fold the dry ingredients into the wet mixture.
Mix just until everything is harmoniously blended – no overmixing allowed!
Step 6: Whip Up Creamy Filling
In a separate bowl, blend cream cheese, powdered sugar, and vanilla extract until silky smooth.
Step 7: Shape Cookie Bases
Scoop out tablespoon-sized portions of red velvet dough.
Flatten each into a perfect disc.
Step 8: Create Filling Pockets
Place a teaspoon of cream cheese filling in the center of each dough disc.
Fold the edges over, sealing the filling completely like a delicious secret.
Step 9: Form Perfect Spheres
Roll each filled pocket into a beautiful round ball.
Arrange them on your prepared baking sheet with loving care.
Step 10: Bake to Perfection
Slide the baking sheet into the oven.
Bake for 10-12 minutes until edges look set and slightly golden brown.
Step 11: Cool and Enjoy
Let cookies rest on the baking sheet for a few minutes.
Transfer to a wire rack and allow them to cool completely before devouring.
Cream Cheese Cookie Filling Tips for Red Velvet Lovers
Red Velvet Cookie Storage Ideas
What to Pair With Red Velvet Filled Cookies
Red Velvet Cookies With Filling Variations
FAQs
Make sure to completely seal the edges of the dough around the cream cheese filling, creating a tight ball. Chilling the filled cookies for 15 minutes before baking can also help prevent leaking.
While you can use low-fat cream cheese, full-fat cream cheese provides the best texture and flavor for the filling. Low-fat versions might make the filling less creamy and stable.
Vinegar helps activate the cocoa powder and creates a chemical reaction that gives red velvet its distinctive tender crumb and subtle tangy flavor. It also helps enhance the red color and improves the cookie’s texture.
Use gel food coloring instead of liquid food coloring. Gel colors are more concentrated and provide a more vibrant red without adding extra liquid to the recipe.
Print
Cream Cheese Filled Red Velvet Cookies Recipe
- Total Time: 30 minutes
- Yield: 24 1x
Description
Indulgent cream cheese filled red velvet cookies promise pure dessert bliss with their rich crimson hue and creamy center. Chocolate lovers will savor each tender, velvety bite that delivers classic Southern charm in one irresistible sweet treat.
Ingredients
Main Dry Ingredients:
- 2 1/2 cups (311 grams) all-purpose flour
- 1 tablespoon cocoa powder
- 1 teaspoon baking soda
- 1/2 teaspoon salt
Wet Ingredients and Flavoring:
- 1 cup (227 grams) unsalted butter, softened
- 1 cup (200 grams) granulated sugar
- 1 large egg
- 2 tablespoons red food coloring
- 1 teaspoon vanilla extract
- 1 tablespoon white vinegar
Cream Cheese Filling:
- 8 ounces (226 grams) cream cheese, softened
- 1/2 cup (60 grams) powdered sugar
- 1/2 teaspoon vanilla extract
Instructions
- Prepare the oven environment by heating to 350°F and lining a baking sheet with parchment paper for optimal cookie performance.
- Combine dry ingredients in a medium mixing vessel, whisking flour, cocoa powder, baking soda, and salt until thoroughly integrated.
- Create a creamy butter base by vigorously blending butter and sugar until the mixture achieves a light, airy texture, approximately 3 minutes.
- Introduce moisture and color elements to the butter mixture: incorporate egg, vibrant red food coloring, vanilla extract, and vinegar, mixing until perfectly harmonized.
- Gently fold dry ingredients into the wet mixture, stirring minimally to maintain a tender cookie texture.
- Craft the luxurious cream cheese filling by combining cream cheese, powdered sugar, and vanilla extract until achieving a silky, uniform consistency.
- Portion the red velvet dough into tablespoon-sized segments, gently flattening each into delicate disc shapes.
- Strategically place a dollop of cream cheese filling at the center of each dough disc, carefully enveloping the filling by folding and sealing the dough edges.
- Tenderly roll each filled dough portion into a perfect sphere, positioning them methodically on the prepared baking sheet.
- Bake the cookies for 10-12 minutes, monitoring until edges develop a golden, crisp appearance.
- Allow cookies to rest briefly on the baking sheet before transferring to a cooling rack, enabling complete temperature stabilization.
Notes
- Chill the dough for 30 minutes before shaping to prevent spreading and maintain cookie structure.
- Use gel food coloring for more vibrant red color without altering cookie consistency.
- Ensure cream cheese filling is cold and firm for easier handling during cookie assembly.
- For gluten-free version, substitute all-purpose flour with almond or gluten-free blend, maintaining same measurement ratios.
- Prep Time: 20 minutes
- Cook Time: 10 minutes
- Category: Desserts, Snacks
- Method: Baking
- Cuisine: American
Nutrition
- Serving Size: 24
- Calories: 200
- Sugar: 15 g
- Sodium: 150 mg
- Fat: 10 g
- Saturated Fat: 6 g
- Unsaturated Fat: 4 g
- Trans Fat: 0 g
- Carbohydrates: 25 g
- Fiber: 1 g
- Protein: 2 g
- Cholesterol: 30 mg
Katherine Pierce
Recipe Curator & Food Educator
Expertise
Education
Boston University Metropolitan College
Certificate Program in the Culinary Arts
Focus: French and international cuisine techniques, Hands-on culinary training with industry professionals, Food industry insights and operations
Katherine grew up believing every dish has a story. She studied the art of food at Boston University and explored the history behind it. She loves pulling easy recipes from every corner of the world and putting them at your fingertips.
When Katherine’s not writing or testing new flavors, she’s teaching cooking classes, baking colorful mooncakes, or dreaming up new ways to mix old favorites with new twists.