Easy Easter Egg Oreo Balls Recipe: Festive Treats Everyone Loves
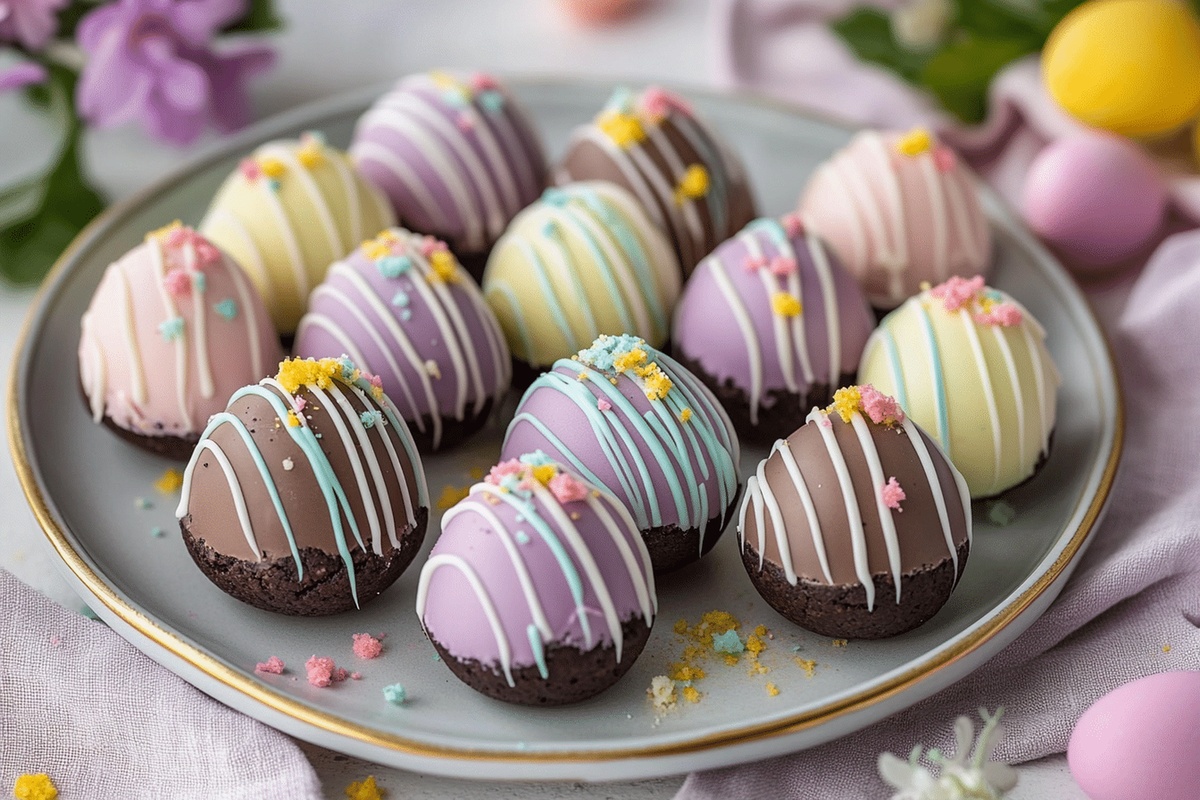
Sweet chocolate lovers often stumble upon the magical world of easter egg oreo balls that blend creamy indulgence with seasonal charm.
Crushed cookies and cream create a delightful base for these bite-sized treats.
Cream cheese binds the ingredients into perfect spheres of deliciousness.
Decorative pastel sprinkles add a festive touch to these no-bake delights.
Kids and adults alike can’t resist the smooth, decadent texture of these adorable confections.
Rolling and dipping becomes a fun kitchen adventure that promises pure enjoyment.
You’ll fall in love with how simple yet spectacular these easter egg oreo balls can be – so grab your apron and let’s make some magic happen!
Easter Egg Oreo Balls: Festive Sweet Bites
Contents of Easter Egg Oreo Balls
Base Ingredients:Coating Ingredients:Decorative Ingredients:How to Shape and Chill Easter Egg Oreo Balls
Step 1: Crush Oreo Cookies
Place Oreo cookies into a food processor or seal them in a plastic bag.
Use a rolling pin to crush the cookies into fine, uniform crumbs.
The goal is to create a texture that’s almost like sand.
Step 2: Blend Creamy Mixture
In a large mixing bowl, add cream cheese to the crushed Oreo crumbs.
Use a spatula or electric mixer to combine the ingredients until they form a smooth, consistent dough.
The mixture should hold together easily when pressed.
Step 3: Craft Egg Shapes
Using clean hands, gently roll the Oreo mixture into small egg-like shapes.
Place each formed egg onto a baking sheet lined with parchment paper.
Ensure the eggs are relatively uniform in size for consistent coating and appearance.
Step 4: Quick Chill
Transfer the baking sheet with egg shapes to the freezer.
Let them chill for 20-30 minutes until they become firm and hold their shape.
This step makes the dipping process much easier.
Step 5: Prepare Candy Coating
Select white, pastel, or colored candy melts for coating.
Melt the candy melts in separate microwave-safe bowls, stirring every 15-20 seconds to prevent burning.
Ensure the coating is smooth and fully melted.
Step 6: Dip and Decorate
Use a fork or dipping tool to carefully lower each chilled Oreo egg into the melted candy coating.
Gently tap to remove excess coating.
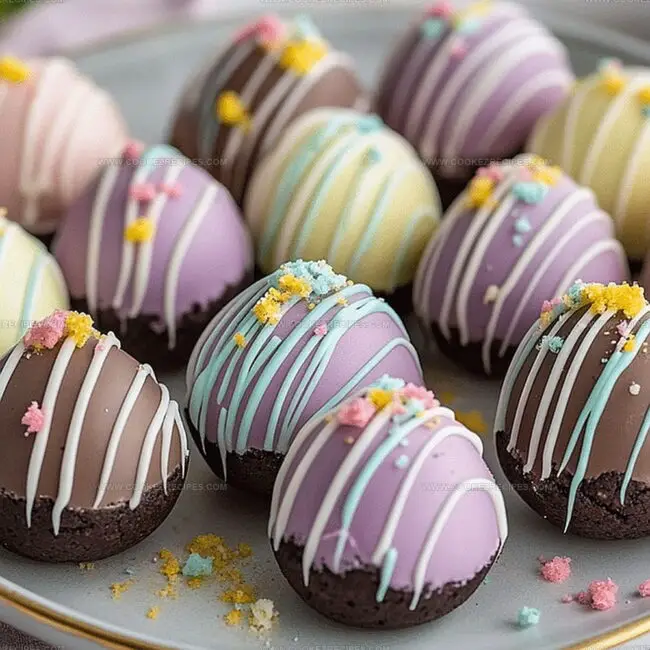
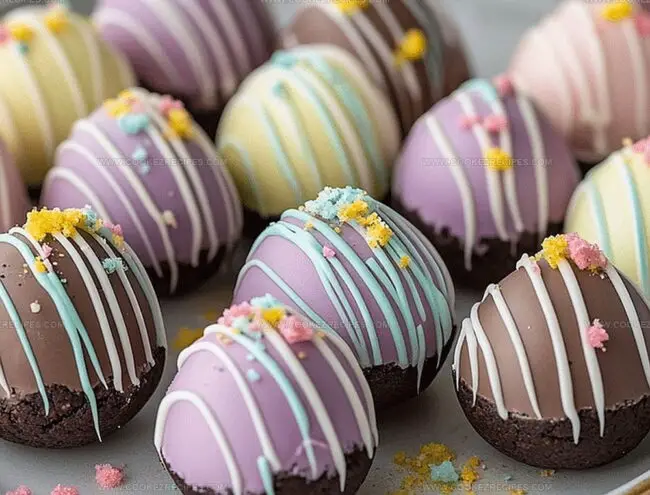
Immediately add decorative elements like:Step 7: Set and Serve
Place the coated Oreo eggs back on the parchment paper.
Allow them to set at room temperature or in the refrigerator until the coating hardens completely.
Serve chilled and enjoy your festive Easter treat.
Easter Oreo Balls Without The Mess
Oreo Egg Balls That Stay Sweet and Chewy
Fun Picks For Oreo Balls
Oreo Ball Flavor Mixes For Easter
FAQs
Yes! You can experiment with flavored Oreos like mint, peanut butter, or birthday cake to create unique Oreo balls.
Lightly grease your hands with cooking spray or wear disposable gloves to prevent sticking when rolling the mixture.
Add a small amount of coconut oil or vegetable shortening to thin out the candy melts, making them smoother and easier to coat.
You can prepare these Oreo balls up to 5 days in advance and store them in an airtight container in the refrigerator until ready to serve.
Print
Easter Egg Oreo Balls Recipe
- Total Time: 15 minutes
- Yield: 36 1x
Description
Sweet chocolate Easter egg oreo balls blend creamy richness with playful seasonal charm. These festive treats combine classic oreo crumbs and cream cheese, rolled into adorable egg shapes and elegantly coated in smooth chocolate to delight you.
Ingredients
Easter Egg Main Ingredients:
- 36 Oreo cookies
- 8 ounces (226 grams) cream cheese, softened
- 16 ounces (454 grams) candy melts (assorted pastel colors)
Decorative Ingredients:
- Sprinkles
- Edible glitter
- Decorative toppings
Instructions
- Pulverize the Oreo cookies into ultra-fine crumbs using a food processor or place them in a sealed bag and crush with a rolling pin until completely broken down.
- Transfer the cookie crumbs to a mixing bowl and incorporate softened cream cheese, stirring thoroughly until the mixture achieves a consistent, moldable texture.
- Gently shape the combined mixture into small egg-like forms, carefully rolling between palms to create smooth, uniform Easter egg shapes.
- Arrange the shaped eggs on a parchment-lined baking sheet and transfer to the freezer for approximately 25 minutes to solidify and enhance structural integrity.
- Prepare candy melts by melting them in separate microwave-safe bowls, stirring periodically to ensure a smooth, glossy consistency.
- Remove chilled eggs from the freezer and use a dipping fork or skewer to fully submerge each egg into the melted candy coating, allowing excess to drip off for an even layer.
- Immediately embellish the coated eggs with festive sprinkles, delicate edible glitter, or contrasting candy melt drizzles while the coating remains wet.
- Position the decorated eggs on fresh parchment paper and allow them to set completely at room temperature or expedite the process by chilling in the refrigerator.
Notes
- Crumble Oreos thoroughly to ensure a smooth, even texture without large cookie chunks for better coating and bite.
- Soften cream cheese at room temperature to mix seamlessly with cookie crumbs, preventing lumpy or uneven filling.
- Chill the mixture before shaping helps maintain egg-like form and makes handling easier without sticky hands.
- Use room temperature candy melts for smoother, thinner coating that adheres cleanly to the Oreo eggs.
- Work quickly when dipping to prevent chocolate from hardening and creating uneven surfaces.
- Experiment with different colored candy melts or white chocolate for festive variations matching seasonal themes.
- Store in refrigerator to maintain firmness and prevent melting, especially in warmer environments.
- Create gluten-free version by using gluten-free sandwich cookies and checking coating ingredients for potential wheat contamination.
- Prep Time: 15 minutes
- Cook Time: 0 minutes
- Category: Desserts, Snacks
- Method: Chilling
- Cuisine: American
Nutrition
- Serving Size: 36
- Calories: 130
- Sugar: 9 g
- Sodium: 50 mg
- Fat: 7 g
- Saturated Fat: 4 g
- Unsaturated Fat: 3 g
- Trans Fat: 0 g
- Carbohydrates: 17 g
- Fiber: 0.5 g
- Protein: 1 g
- Cholesterol: 10 mg


Daniel Bruns
Founder & Culinary Innovator
Expertise
Recipe development for home cooks, Nutritional analysis and meal planning, Culinary education and food writing
Education
Auguste Escoffier School of Culinary Arts
Diploma in Culinary Arts and Operations
Focus: Classical and contemporary cooking techniques, Culinary entrepreneurship and kitchen management, Menu development and food cost analysis
Daniel’s story started with flour on his face and a pie in the oven at his grandma’s house. He later sharpened his skills at the Auguste Escoffier School of Culinary Arts.
His goal? Recipes so simple you’ll want to cook every night. When he’s not whipping up one-pan wonders, Daniel’s outside picking herbs, hosting neighborhood cook-offs, or baking chocolate cakes with his kids, messy, sweet, and unforgettable.