
Classic Toffee Dessert Recipe Made Easy at Home
Sweet memories often dance around a classic toffee that melts hearts and sparks joy.
Buttery caramel notes whisper nostalgic stories from grandma’s kitchen.
Crafting this delectable treat requires minimal ingredients and simple techniques.
Sugar transforms into golden magic under careful attention.
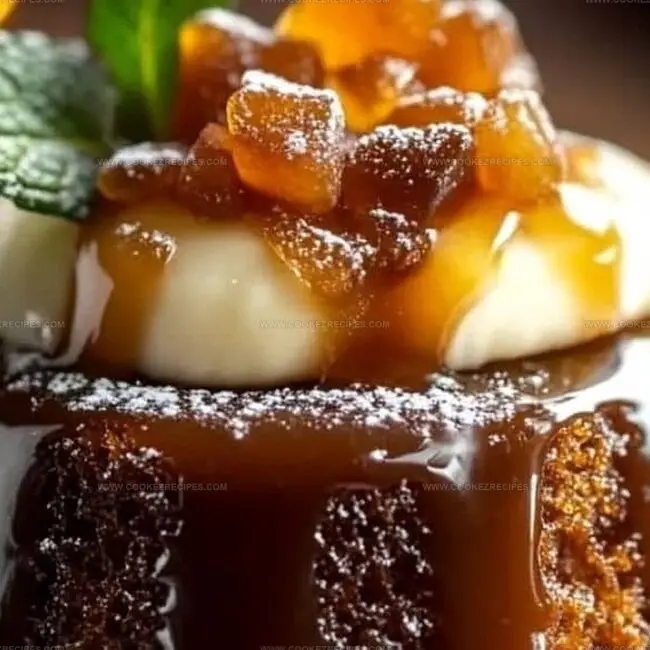
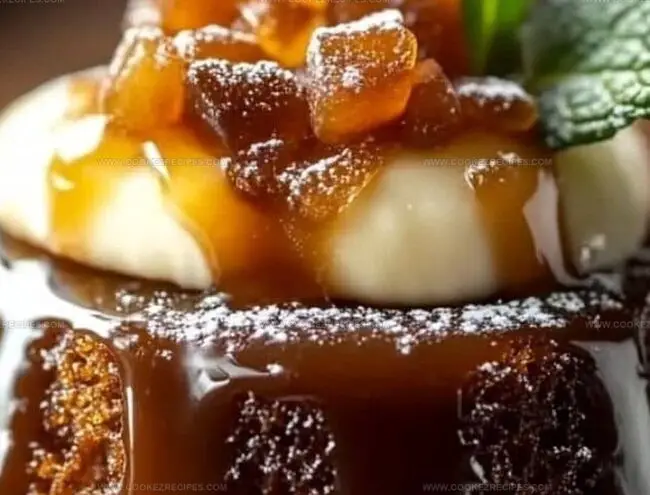
Each golden square promises a rich, indulgent experience that connects generations.
Crisp textures and deep amber colors make this dessert irresistible.
You’ll want to savor every delightful bite of this timeless confection.
Toffee That Shows Why Some Desserts Never Go Out of Style
Classic Toffee Dessert Ingredients
Base Ingredients:Flavor Enhancers:Topping Ingredients:Preparation Essentials:Toffee Dessert Quick Method
Step 1: Create the Toffee Workspace
Grab a baking sheet and line it with parchment paper or a silicone mat.
This will be your toffee’s landing zone.
Step 2: Craft the Golden Toffee Base
In a heavy saucepan, start melting your butter over medium heat.
Add sugar and salt, stirring until they become best friends.
Keep stirring as the mixture transforms, watching for a gorgeous golden amber color.
Use a candy thermometer to track the temperature until it hits 300°F (hard crack stage).
This magical process takes about 10-15 minutes.
Pull the pan off the heat and quickly splash in vanilla extract for an extra flavor punch.
Step 3: Spread the Liquid Gold
Pour the molten toffee onto your prepared baking sheet.
Grab a spatula and spread the mixture into a smooth, thin layer that looks like liquid sunshine.
Step 4: Chocolate and Nut Transformation
Immediately shower chocolate chips over the blazing hot toffee.
Give the chips 2-3 minutes to melt into a smooth blanket.
Use your spatula to create an even chocolate layer.
Sprinkle your chosen nuts across the chocolate:Gently press the nuts so they nestle into the chocolate.
Step 5: Cool and Break into Delicious Pieces
Let the toffee cool completely at room temperature.
If you’re feeling impatient, pop it in the refrigerator to set faster.
Once hardened, break the toffee into random, delightful pieces.
Store in an airtight container to keep the magic fresh.
Classic Dessert Tips for Homemade Toffee
Storing Classic Toffee Dessert
Easy Pairings for Toffee Desserts
Easy Classic Toffee Dessert Guide Sweet Versions
FAQs
Butter and sugar are the key flavor foundations, with high-quality butter ensuring a rich taste. Using pure vanilla extract and fresh chopped nuts enhance the overall depth and complexity of the dessert’s flavor profile.
Constant stirring and using a heavy-bottomed saucepan are crucial. Maintain medium heat and watch the color carefully, aiming for a golden amber shade. A candy thermometer helps ensure precise temperature control at 300°F.
The 300°F temperature (hard crack stage) ensures the perfect texture – crisp and brittle without being too soft or too hard. This specific temperature guarantees the classic toffee snap and smooth mouthfeel that defines a great toffee dessert.
Absolutely! While the recipe suggests chocolate chips and chopped nuts, you can experiment with different chocolate types like dark, milk, or white chocolate. Almonds, pecans, or walnuts work beautifully as nut alternatives.
Print
Easy Classic Toffee Dessert Guide Recipe
- Total Time: 20 minutes
- Yield: 8 1x
Description
Indulgent caramel toffee squares deliver pure sweet nostalgia with buttery crunch and rich chocolate layers. Homemade comfort beckons dessert enthusiasts to savor each delectable bite crafted with simple ingredients and classic technique.
Ingredients
Primary Ingredients:
- 1 cup (225 grams) unsalted butter
- 1 cup (200 grams) granulated sugar
- 1 cup (170 grams) semisweet or dark chocolate chips
Flavor Enhancers:
- 1 teaspoon (5 milliliters) vanilla extract
- 1/4 teaspoon (1.5 grams) salt
Topping:
- 1/2 cup (60 grams) chopped nuts (almonds, pecans, or walnuts)
Instructions
- Prepare a baking sheet by lining it with parchment paper or a silicone mat, ensuring a smooth, non-stick surface for the toffee creation.
- Select a heavy-bottomed saucepan and melt butter over medium heat, creating a smooth liquid base for the confection.
- Incorporate sugar and salt into the melted butter, stirring consistently to blend the ingredients into a harmonious mixture.
- Maintain constant stirring while cooking the mixture, watching carefully as it transforms into a rich, golden amber hue.
- Monitor the temperature using a candy thermometer, aiming precisely for 300°F, which represents the critical hard crack stage of toffee making.
- Remove the saucepan from heat the moment the desired color and temperature are achieved, preventing any risk of burning.
- Swiftly introduce vanilla extract, stirring quickly to distribute the flavor throughout the molten toffee.
- Immediately transfer the hot toffee mixture onto the prepared baking sheet, using a spatula to create an even, thin layer across the surface.
- Sprinkle chocolate chips generously over the still-hot toffee, allowing them to melt naturally from the residual heat.
- After 2-3 minutes, use a spatula to spread the now-melted chocolate into a smooth, uniform coating covering the entire toffee surface.
- Generously distribute chopped nuts across the chocolate layer, gently pressing them to ensure they adhere to the chocolate surface.
- Allow the toffee to cool completely at room temperature, or expedite the process by placing it in the refrigerator.
- Once fully hardened, break the toffee into irregular, bite-sized pieces using gentle pressure.
- Store the finished toffee in an airtight container to maintain its crisp texture and rich flavor.
Notes
- Use a heavy-bottomed pan to prevent burning and ensure even heat distribution for the perfect golden caramel color.
- Monitor the temperature closely with a reliable candy thermometer to achieve the ideal hard crack stage without scorching.
- Consider using unsalted butter for better control of the salt content and to prevent potential bitter flavors.
- Experiment with different nut varieties like almonds, pecans, or pistachios to add unique texture and flavor profiles to your toffee.
- Prep Time: 5 minutes
- Cook Time: 15 minutes
- Category: Desserts
- Method: Baking
- Cuisine: American
Nutrition
- Serving Size: 8
- Calories: 300
- Sugar: 24 g
- Sodium: 30 mg
- Fat: 21 g
- Saturated Fat: 13 g
- Unsaturated Fat: 7 g
- Trans Fat: 0 g
- Carbohydrates: 29 g
- Fiber: 1 g
- Protein: 2 g
- Cholesterol: 60 mg
Katherine Pierce
Recipe Curator & Food Educator
Expertise
Education
Boston University Metropolitan College
Certificate Program in the Culinary Arts
Focus: French and international cuisine techniques, Hands-on culinary training with industry professionals, Food industry insights and operations
Katherine grew up believing every dish has a story. She studied the art of food at Boston University and explored the history behind it. She loves pulling easy recipes from every corner of the world and putting them at your fingertips.
When Katherine’s not writing or testing new flavors, she’s teaching cooking classes, baking colorful mooncakes, or dreaming up new ways to mix old favorites with new twists.