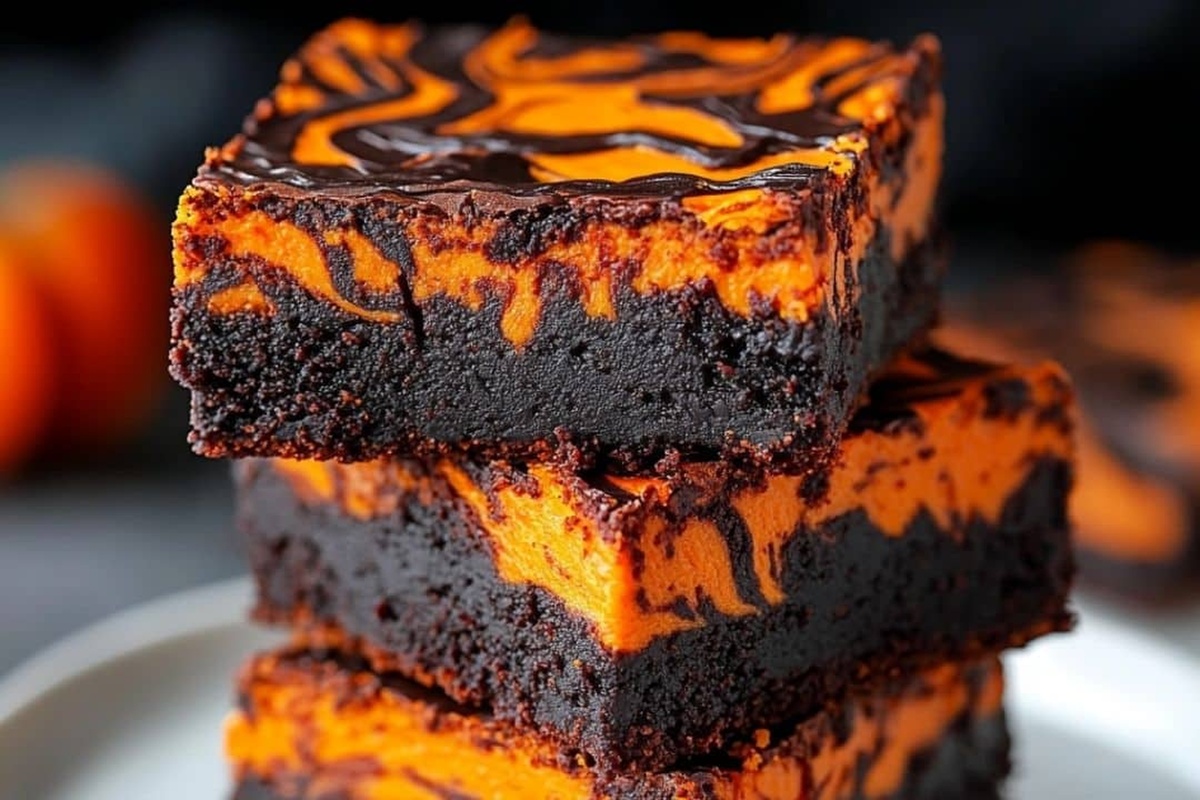
Spooky-Sweet Halloween Brownies Recipe for Festive Bakers
Spooky and delectable halloween brownies can turn any ordinary dessert into a ghoulish delight.
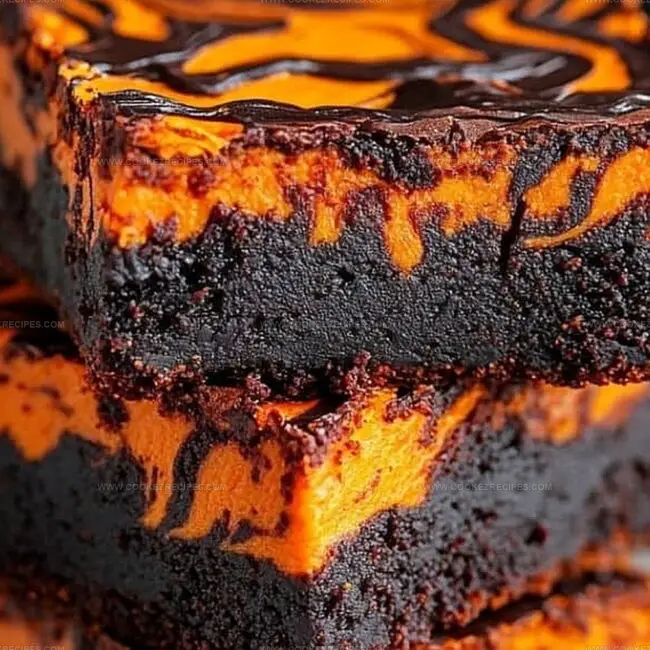
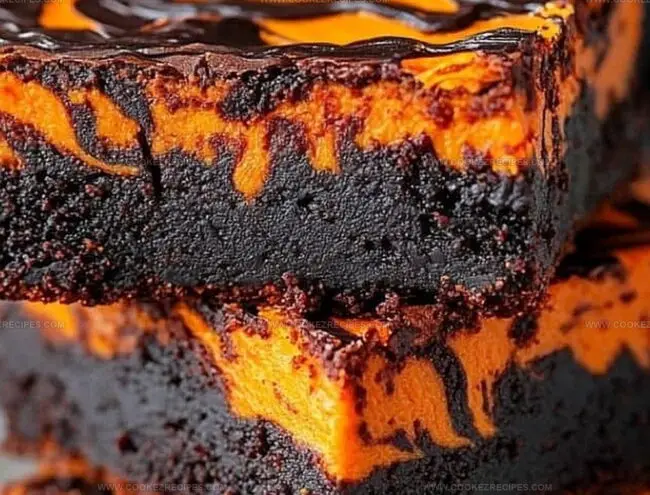
Dark chocolate mingles with eerie decorations, creating a festive treat that sends shivers down your spine.
Creepy designs emerge from rich, fudgy layers of decadent chocolate goodness.
Scary sprinkles and playful candy decorations transform these brownies into a wickedly fun dessert.
Chocolate lovers will adore the intense, dark flavor that screams Halloween spirit.
Monsters and goblins couldn’t resist these wickedly delicious squares of pure indulgence.
Let the Halloween baking adventure begin with these spine-tingling, irresistible brownies that promise to enchant every sweet tooth.
Halloween Brownies Rich In Chocolate And Fun
Halloween Brownie Ingredient Combo
Main Base Ingredients:Decorative Ingredients:Storage and Preservation Ingredients:Halloween Brownies – Steps to Prepare
Step 1: Bake Delectable Brownies
Whip up your favorite chewy brownie recipe in a square baking pan.
Let the brownies cool completely at room temperature.
For easier cutting, place the pan in the refrigerator to firm up the edges.
Step 2: Slice Into Haunting Shapes
Remove the cooled brownies from the pan and slice into perfect squares.
You can create either 9 large or 16 smaller brownie pieces depending on your preference.
Step 3: Melt Ghostly White Coating
Grab white candy melts or white chocolate chips.
Use a microwave-safe bowl and melt the coating in short bursts.
Stir gently between each 30-second interval until the mixture becomes silky smooth and completely liquid.
Step 4: Prepare Piping Tools
Transfer the melted white coating into a piping bag or a clean zip-top bag.
If using a zip-top bag, carefully snip a tiny corner to create a small opening for precise decorating.
Step 5: Design Spooky Spider Webs
Hold each brownie piece steady.
Start piping delicate white lines in a crisscross pattern across the surface.
Connect the lines with gentle curved arches to create realistic spider web designs.
Step 6: Let Webs Solidify
Allow the white web decorations to dry completely at room temperature.
The coating should become firm and glossy.
Step 7: Store Halloween Treats
Place the decorated brownies in an airtight container.
Layer with parchment paper between each brownie to prevent sticking.
These spooky treats can be stored at room temperature for 3 days or refrigerated for up to 5 days.
Brownie Ideas For Spooky Halloween Bakes
Halloween Brownies Store Moist and Rich Overnight
Sweet Sips For Halloween Brownies
Halloween Brownies Takes
FAQs
These brownies are surprisingly easy to create, even for beginners. The process involves basic brownie baking and simple decorating techniques with candy melts that anyone can master with minimal baking experience.
You’ll need a piping bag or zip-top bag, a small piping tip (like Wilton #3), and white candy melts. If you don’t have a piping tip, you can cut a small hole in the bag to create the design.
Yes, white baking chocolate works perfectly as an alternative to candy melts. Just ensure it’s melted carefully and smoothly to create clean spiderweb lines on the brownies.
The decorations typically dry within 15-30 minutes at room temperature. You’ll know they’re ready when the white lines become firm and no longer look glossy.
Print
Halloween Brownies Recipe
- Total Time: 3 hours
- Yield: 12 1x
Description
Spooky season calls for killer Halloween Brownies that bring ghoulish delight to dessert tables. Chocolatey squares adorned with festive decorations will make party guests howl with excitement and satisfy sweet-tooth cravings for spine-chilling treats.
Ingredients
Main Ingredients:
- 1 batch of best ever chewy brownies (or favorite brownie recipe)
Decoration Ingredients:
- 1/3 cup (56 grams) white candy melts
- 1/3 cup (56 grams) white baking chocolate
Instructions
- Craft a batch of rich, decadent brownies using your favorite recipe, ensuring a fudgy and dense texture.
- Permit the brownies to cool entirely at room temperature, allowing them to set and firm up naturally.
- For precision cutting, transfer the cooled brownies to the refrigerator and chill for approximately 30 minutes until they become slightly rigid.
- Slice the chilled brownies into symmetrical squares, choosing between 9 large or 16 smaller portions based on your preference.
- Select white candy melts or white baking chocolate for the spiderweb decoration, preparing a microwave-safe bowl for melting.
- Melt the white confectionery using 50% microwave power, stirring every 30 seconds to prevent scorching and ensure a smooth consistency.
- Transfer the molten white chocolate into a piping bag or resealable plastic bag, snipping a tiny corner to create a fine decorating tip.
- Position each brownie on a clean surface, ready for intricate spiderweb design.
- Pipe delicate lines across the brownie surface, starting from the center and creating interconnected curved arches to mimic a spiderweb pattern.
- Continue decorating each brownie with precision, ensuring consistent and elegant web designs.
- Allow the white chocolate decorations to set and dry completely at room temperature.
- Arrange the decorated brownies in an airtight container, separating layers with parchment paper to prevent sticking.
- Store the Halloween brownies at room temperature for up to 3 days or refrigerate for extended freshness of up to 5 days.
Notes
- Chill brownies in the refrigerator for at least 30 minutes before decorating to ensure clean, crisp spider web design and prevent crumbling.
- Use a squeeze bottle or piping bag with a very thin tip for precise and delicate spiderweb lines, creating professional-looking Halloween treats.
- Experiment with different colored candy melts like orange, purple, or green to match Halloween color schemes and add festive variety to the brownies.
- For gluten-free version, substitute regular flour with almond or gluten-free flour blend in the brownie recipe, maintaining the same rich chocolate texture.
- Prep Time: 30 minutes
- Cook Time: 2 hours 30 minutes
- Category: Desserts, Snacks
- Method: Baking
- Cuisine: American
Nutrition
- Serving Size: 12
- Calories: 150
- Sugar: 10 g
- Sodium: 100 mg
- Fat: 7 g
- Saturated Fat: 4 g
- Unsaturated Fat: 3 g
- Trans Fat: 0 g
- Carbohydrates: 20 g
- Fiber: 1 g
- Protein: 2 g
- Cholesterol: 30 mg
Daniel Bruns
Founder & Culinary Innovator
Expertise
Recipe development for home cooks, Nutritional analysis and meal planning, Culinary education and food writing
Education
Auguste Escoffier School of Culinary Arts
Diploma in Culinary Arts and Operations
Focus: Classical and contemporary cooking techniques, Culinary entrepreneurship and kitchen management, Menu development and food cost analysis
Daniel’s story started with flour on his face and a pie in the oven at his grandma’s house. He later sharpened his skills at the Auguste Escoffier School of Culinary Arts.
His goal? Recipes so simple you’ll want to cook every night. When he’s not whipping up one-pan wonders, Daniel’s outside picking herbs, hosting neighborhood cook-offs, or baking chocolate cakes with his kids, messy, sweet, and unforgettable.