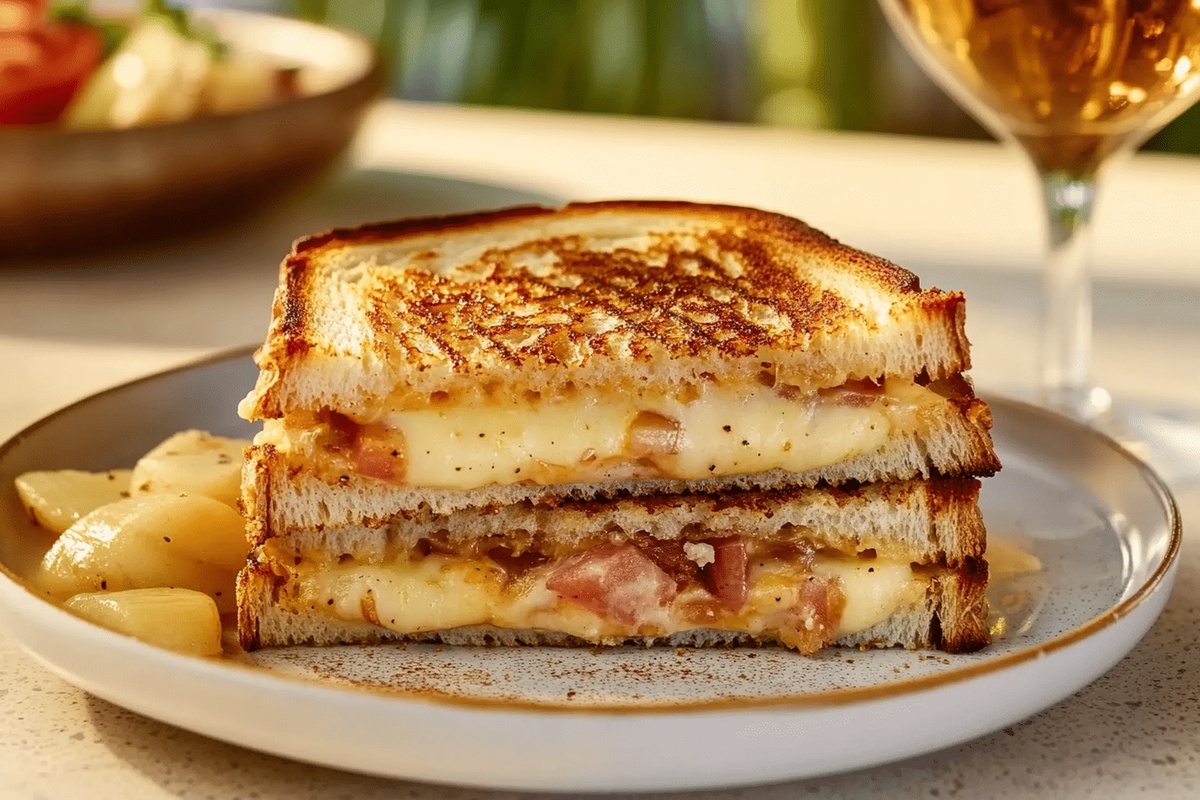
Tropical Paradise Hawaiian Grilled Cheese Recipe
Crafting a mouthwatering hawaiian grilled cheese sandwich promises an unexpected culinary adventure that breaks all traditional comfort food rules.
Melted cheese mingles with sweet pineapple chunks, creating a flavor explosion that surprises and delights.
Island-inspired ingredients dance together between crispy, golden-brown bread slices.
Tangy ham adds a savory depth that perfectly complements the fruity notes.
Creamy cheese creates a luscious backdrop for the vibrant tropical elements.
Each bite transports you to a sunny beach with its bold, playful combination.
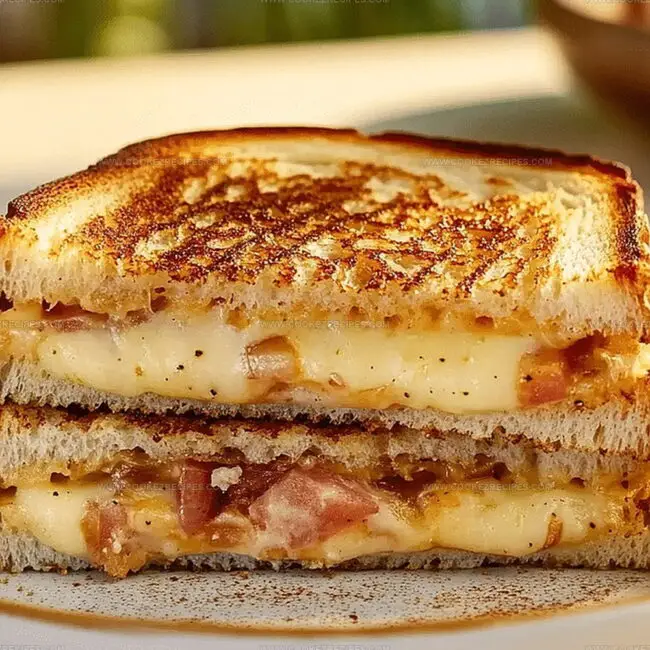
Hawaiian Grilled Cheese That Combines Sweet And Savory
Layers in Hawaiian Grilled Cheese
Bread and Spreads:Proteins and Cheese:Unique Topping:Hawaiian Grilled Cheese How-to Steps
Step 1: Prepare Bread Seasoning
Spread a generous layer of butter on one side of each bread slice.
Sprinkle fresh parsley and oregano herbs evenly across the buttered surface for an aromatic boost of flavor.
Step 2: Layer Delicious Fillings
On the unbuttered side of two bread slices, spread a hearty portion of shredded cheese.
Add your choice of protein – turkey, chicken, or salami – creating a savory foundation.
Top the protein with sweet, juicy pineapple slices for a tropical twist.
Step 3: Complete Sandwich Assembly
Place the remaining bread slices on top, ensuring the buttered side faces upward.
Press gently to secure all the delectable ingredients inside.
Step 4: Warm Up the Cooking Surface
Set a griddle or frying pan over medium-low heat.
Allow the surface to warm evenly, creating the perfect environment for toasting your sandwich.
Step 5: Grill to Golden Perfection
Carefully place the assembled sandwich onto the heated surface.
Cook until the bottom transforms into a beautiful golden-brown color.
Gently flip the sandwich to toast the opposite side.
Step 6: Finish and Serve
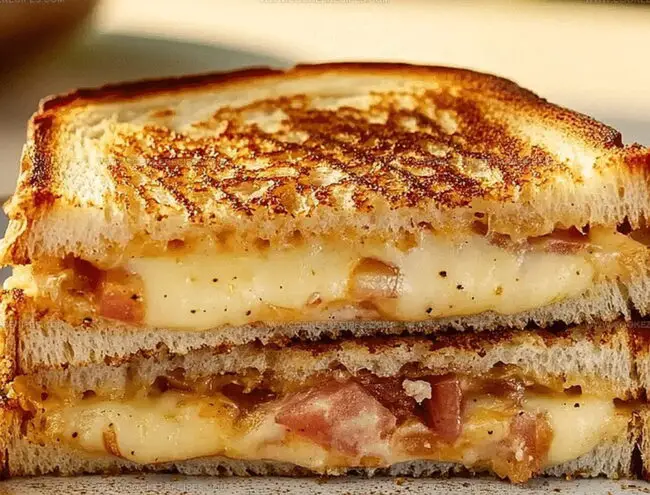
Continue cooking until the bread becomes wonderfully crispy and the cheese melts into a creamy, gooey consistency.
The sandwich should have a gorgeous golden-brown exterior and a molten center.
Remove from heat and serve immediately while warm.
Grilled Cheese Flavor Tips With Pineapple
Preserve Hawaiian Grilled Cheese for a Quick Toast-Up
Light Complements For Grilled Cheese
Enhance Hawaiian Grilled Cheese Pairing
Grilled Cheese Sweet-Savory Swaps
FAQs
These herbs add a layer of aromatic flavor that complements the savory meat and sweet pineapple, giving the grilled cheese more depth and complexity.
Absolutely! Turkey, chicken, and salami work great, but you can also experiment with ham or roast beef depending on your preference.
Cook the sandwich on medium-low heat and cover the pan briefly to help the cheese melt evenly while preventing the bread from burning.
Fresh pineapple provides the best flavor and texture, but well-drained canned pineapple works as a convenient alternative.
Print
Hawaiian Grilled Cheese Recipe
- Total Time: 10 minutes
- Yield: 2 1x
Description
Gooey Hawaiian grilled cheese brings tropical paradise onto your plate with melted swiss and sweet pineapple between golden, buttery bread. Crisp edges and tangy-sweet flavors make this sandwich a quick escape to island comfort without leaving home.
Ingredients
Protein:
- 3 slices turkey, chicken, or salami
Bread and Dairy:
- 4 slices bread
- 1/2 cup Monterey Jack cheese, grated
- 2 tablespoons (30 milliliters) butter, softened
Produce and Herbs:
- 3 slices pineapple (fresh or canned)
- 1/4 teaspoon (1.25 milliliters) oregano
- 1/4 teaspoon (1.25 milliliters) parsley
Instructions
- Enhance bread slices with a luxurious butter coating, delicately dusting each surface with fragrant parsley and oregano for an aromatic foundation.
- Generously distribute shredded cheese across the inner surface of two bread slices, creating a melty base.
- Layer succulent protein selections – whether tender turkey, juicy chicken, or savory salami – atop the cheese foundation.
- Arrange vibrant pineapple slices strategically over the protein, introducing a tropical sweetness to the sandwich composition.
- Crown the layered creation with remaining bread slices, ensuring buttered exterior faces outward for optimal toasting potential.
- Activate a griddle or frying pan, setting the temperature to a gentle medium-low heat to ensure controlled, even cooking.
- Position the assembled sandwich onto the heated surface, allowing the first side to transform into a golden, crisp texture.
- Carefully execute a precise flip, revealing the beautifully bronzed side and continuing the toasting process on the opposite surface.
- Monitor the sandwich attentively, rotating as needed, until both sides achieve a perfect crispy exterior and the cheese melts into a luxurious, creamy consistency.
- Transfer the completed Hawaiian grilled cheese to a serving plate, presenting a warm, inviting culinary masterpiece ready for immediate enjoyment.
Notes
- Herb-Infused Twist: Gently crush dried parsley and oregano between your fingers before sprinkling to release more intense flavors and aromatic oils.
- Cheese Melting Hack: Let cheese sit at room temperature for 15-20 minutes before assembling to ensure smoother, more even melting.
- Protein Flexibility: Swap deli meats with grilled tofu, tempeh, or plant-based protein slices for vegetarian and vegan alternatives.
- Pineapple Pro Tip: Pat pineapple slices dry with paper towels to prevent excess moisture from making the sandwich soggy, ensuring a crispy texture.
- Prep Time: 5 minutes
- Cook Time: 5 minutes
- Category: Breakfast, Lunch, Snacks
- Method: Frying
- Cuisine: Hawaiian
Nutrition
- Serving Size: 2
- Calories: 500
- Sugar: 5 g
- Sodium: 800 mg
- Fat: 28 g
- Saturated Fat: 15 g
- Unsaturated Fat: 10 g
- Trans Fat: 0 g
- Carbohydrates: 42 g
- Fiber: 2 g
- Protein: 22 g
- Cholesterol: 60 mg
Daniel Bruns
Founder & Culinary Innovator
Expertise
Recipe development for home cooks, Nutritional analysis and meal planning, Culinary education and food writing
Education
Auguste Escoffier School of Culinary Arts
Diploma in Culinary Arts and Operations
Focus: Classical and contemporary cooking techniques, Culinary entrepreneurship and kitchen management, Menu development and food cost analysis
Daniel’s story started with flour on his face and a pie in the oven at his grandma’s house. He later sharpened his skills at the Auguste Escoffier School of Culinary Arts.
His goal? Recipes so simple you’ll want to cook every night. When he’s not whipping up one-pan wonders, Daniel’s outside picking herbs, hosting neighborhood cook-offs, or baking chocolate cakes with his kids, messy, sweet, and unforgettable.