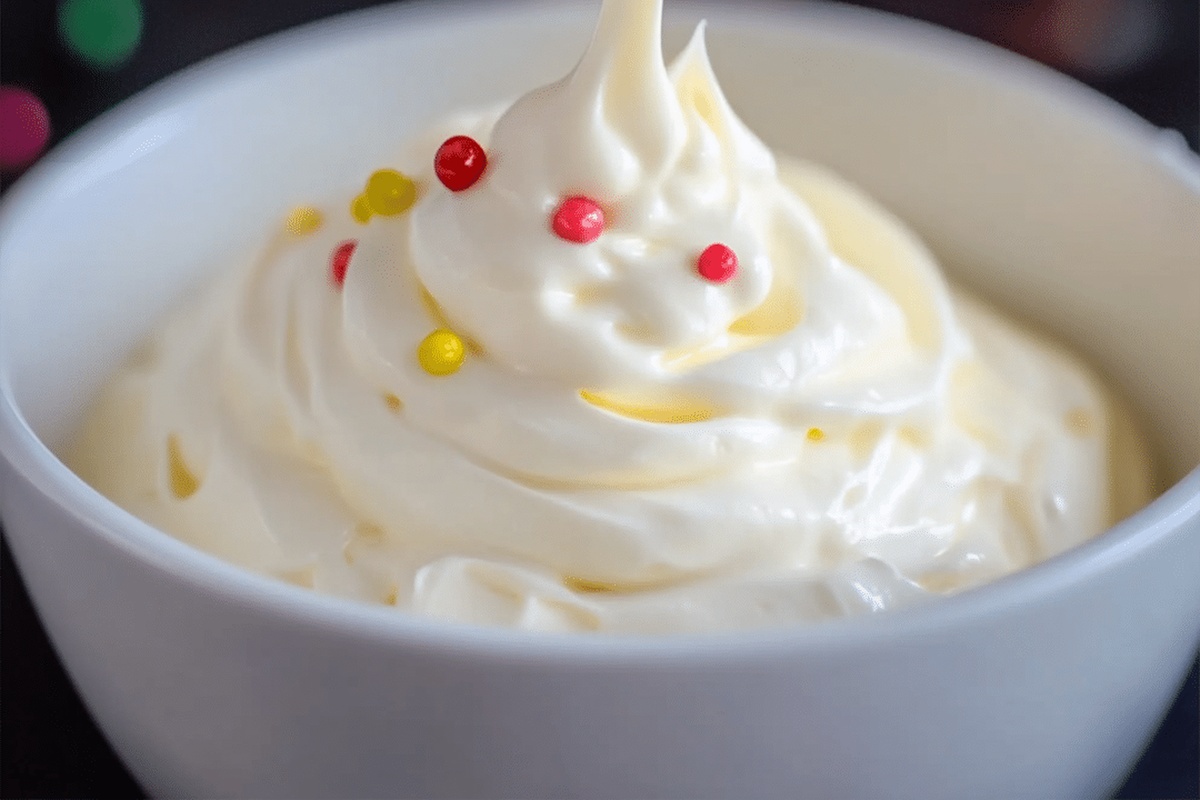
Heavy Whipping Cream Recipe for Fluffy Sweet Treats
Whipping up a delectable dessert becomes effortless with heavy whipping cream as your secret ingredient.
Culinary magic starts when you pour this rich, velvety liquid into your mixing bowl.
Soft peaks and luxurious textures emerge from its creamy potential.
Professional chefs and home cooks alike understand its versatile nature.
Whisking brings out incredible volume and smoothness in countless recipes.
Silky smoothness awaits you in every dollop and swirl.
Let’s unlock the delicious possibilities hidden within this kitchen staple.
Heavy Whipping Cream Perfect For Toppings Or Baking
Heavy Whipping Cream Base Recipes
Dairy Base:Fat Component:Optional Extras:Learn How To Use Heavy Whipping Cream
Step 1: Combine Butter and Milk
Grab a small saucepan and gently combine your butter and milk.
Warm the ingredients over low heat, stirring constantly to ensure even melting.
Watch carefully and remove from heat as soon as the butter completely dissolves, preventing any burning or separation.
Step 2: Transform the Mixture
Pour the warm butter and milk blend into a blender.
Secure the lid tightly and blast on high speed for a full minute.
The mixture will transform, becoming smoother and developing a slightly thicker consistency.
Keep blending until everything looks perfectly combined and silky.
Step 3: Allow Natural Cooling
Let the creamy mixture rest and cool down to room temperature.
Cover the container completely with a tight-fitting lid or plastic wrap.
This prevents any unwanted moisture from forming on the surface and keeps your mixture clean and pure.
Step 4: Chill and Set
Transfer the covered mixture to the refrigerator.
Let it sit overnight or until thoroughly chilled.
The cooling process helps the cream develop its rich, luxurious texture and allows all the flavors to meld together beautifully.
Step 5: Enjoy Your Creation
Your homemade heavy whipping cream is now ready for culinary adventures!
Use it in various recipes or whip it into soft, dreamy peaks.
Store your fresh cream in the refrigerator and enjoy within five days for maximum freshness and flavor.
Cream Tips With Heavy Whipping Ease
Whipping Cream Stores Best When Sealed Tightly
Ideas That Go With Whipping Cream
Whipped Cream Prep Options
FAQs
Yes, you can use whole milk, 2% milk, or even non-dairy alternatives like almond or oat milk, but the fat content will affect the final texture and richness of the cream.
While homemade versions are delicious, they might not be as stable as commercial heavy whipping cream due to lower fat content and different processing methods.
A hand mixer or whisk can work, but you’ll need to blend thoroughly to ensure the butter and milk are completely incorporated and smooth.
Chilling allows the mixture to stabilize, thicken, and develop a more consistent texture similar to traditional heavy whipping cream.
Print
Heavy Whipping Cream Recipe
- Total Time: 10 minutes
- Yield: 2 1x
Description
Creamy Whipped Delight dances across palates with silky smoothness and rich indulgence. Cool clouds of whipped perfection will elevate desserts and drinks for you.
Ingredients
Main Ingredients:
- 150 g (5.3 ounces) heavy whipping cream
- 150 g (1 1/3 sticks or 10.5 ounces) unsalted butter
- 150 ml (about 1/2 cup + 2 tablespoons or 5.1 fluid ounces) whole milk
Instructions
- Gently melt butter in a small saucepan over low heat, incorporating milk while stirring consistently until fully liquefied. Maintain careful temperature control to prevent scorching.
- Transfer the warm liquid mixture into a blender, securing the lid tightly. Pulse and blend at high intensity for approximately 60 seconds, ensuring complete integration and developing a smooth, slightly thickened consistency.
- Remove blender container and allow the mixture to gradually reach ambient room temperature. Cover the container with a secure lid or tightly stretched plastic wrap, creating a protective seal that prevents moisture accumulation.
- Carefully place the covered mixture into the refrigerator, positioning it in a stable location. Allow the cream to rest and chill thoroughly overnight or for a minimum of 8-10 hours to achieve optimal texture and temperature.
- After complete chilling, inspect the mixture for a consistent, creamy appearance. The homemade heavy whipping cream is now prepared for culinary applications, whether for direct usage or whipping into delicate peaks. Consume within 5 days and store continuously refrigerated for maximum freshness and quality.
Notes
- Choose unsalted butter for better control of the recipe’s overall saltiness and flavor profile.
- Ensure the butter and milk are at similar temperatures to prevent curdling during blending.
- Use a high-powered blender to achieve the smoothest and most consistent texture for your homemade heavy whipping cream.
- Avoid over-blending, which can cause the mixture to separate or become grainy, compromising the cream’s silky consistency.
- Prep Time: 5 minutes
- Cook Time: 5 minutes
- Category: Snacks, Desserts
- Method: Blending
- Cuisine: American
Nutrition
- Serving Size: 2
- Calories: 496
- Sugar: 3 g
- Sodium: 62 mg
- Fat: 53 g
- Saturated Fat: 34 g
- Unsaturated Fat: 19 g
- Trans Fat: 0 g
- Carbohydrates: 4 g
- Fiber: 0 g
- Protein: 2 g
- Cholesterol: 166 mg


Daniel Bruns
Founder & Culinary Innovator
Expertise
Recipe development for home cooks, Nutritional analysis and meal planning, Culinary education and food writing
Education
Auguste Escoffier School of Culinary Arts
Diploma in Culinary Arts and Operations
Focus: Classical and contemporary cooking techniques, Culinary entrepreneurship and kitchen management, Menu development and food cost analysis
Daniel’s story started with flour on his face and a pie in the oven at his grandma’s house. He later sharpened his skills at the Auguste Escoffier School of Culinary Arts.
His goal? Recipes so simple you’ll want to cook every night. When he’s not whipping up one-pan wonders, Daniel’s outside picking herbs, hosting neighborhood cook-offs, or baking chocolate cakes with his kids, messy, sweet, and unforgettable.