Homemade Crunch Bars Recipe for Chocolate Lovers
Sweet memories of childhood snacks come alive with these delectable homemade crunch bars that capture pure nostalgia.
Chocolate lovers understand the magical allure of crispy, smooth layers melting on your tongue.
Crafting these treats becomes an intimate kitchen adventure you’ll savor from start to finish.
Minimal ingredients combine to create something extraordinary that surpasses store-bought versions.
Simple techniques mean anyone can master this delightful recipe with confidence.
Crunchy, rich textures await your culinary exploration, promising a delightful escape into sugary bliss.
Each bite promises a moment of pure, unapologetic indulgence that beckons you closer.
Homemade Crunch Bars That Are Better Than Store Bought
Layers in Homemade Crunch Bars
Base Ingredients:Crunchy Component:Preparation Support:How to Make Homemade Crunch Bars
Step 1: Melt Chocolatey Goodness
In a cozy saucepan, combine chocolate and peanut butter over gentle low heat.
Stir the mixture constantly, watching it transform into a silky, glossy pool of deliciousness.
Keep the heat low to prevent burning and maintain a smooth texture.
Step 2: Add Crispy Crunch
Remove the melted chocolate mixture from the heat.
Quickly fold in the crispy rice cereal, ensuring every single piece gets a luxurious chocolate coating.
Stir with enthusiasm, making sure no cereal is left behind.
Step 3: Shape Your Treat
Grab a baking pan and lightly grease it to prevent sticking.
Pour the chocolatey cereal mixture into the pan.
Use a spatula or the back of a spoon to spread the mixture evenly, creating a smooth and inviting surface.
Step 4: Chill and Set
Let your creation cool at room temperature for a relaxed setting, or speed things up by popping it in the refrigerator.
Wait patiently until the bars become firm and solid, which typically takes about 30 minutes.
Step 5: Slice and Savor
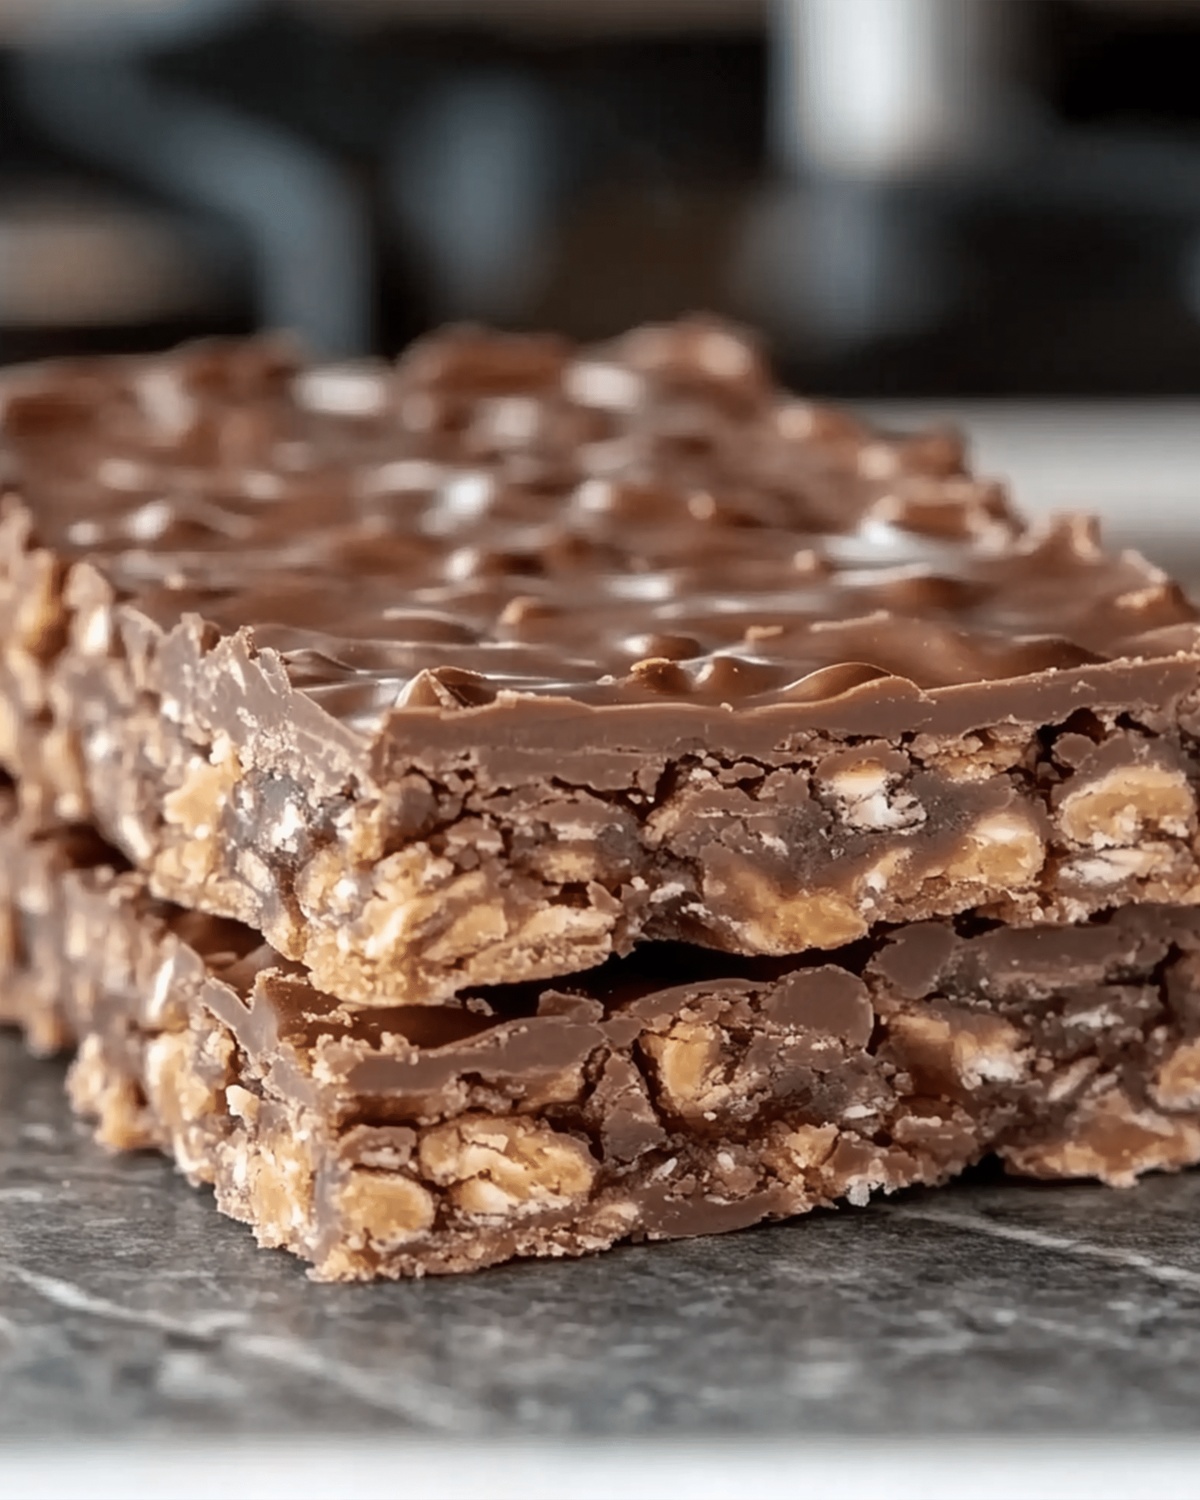
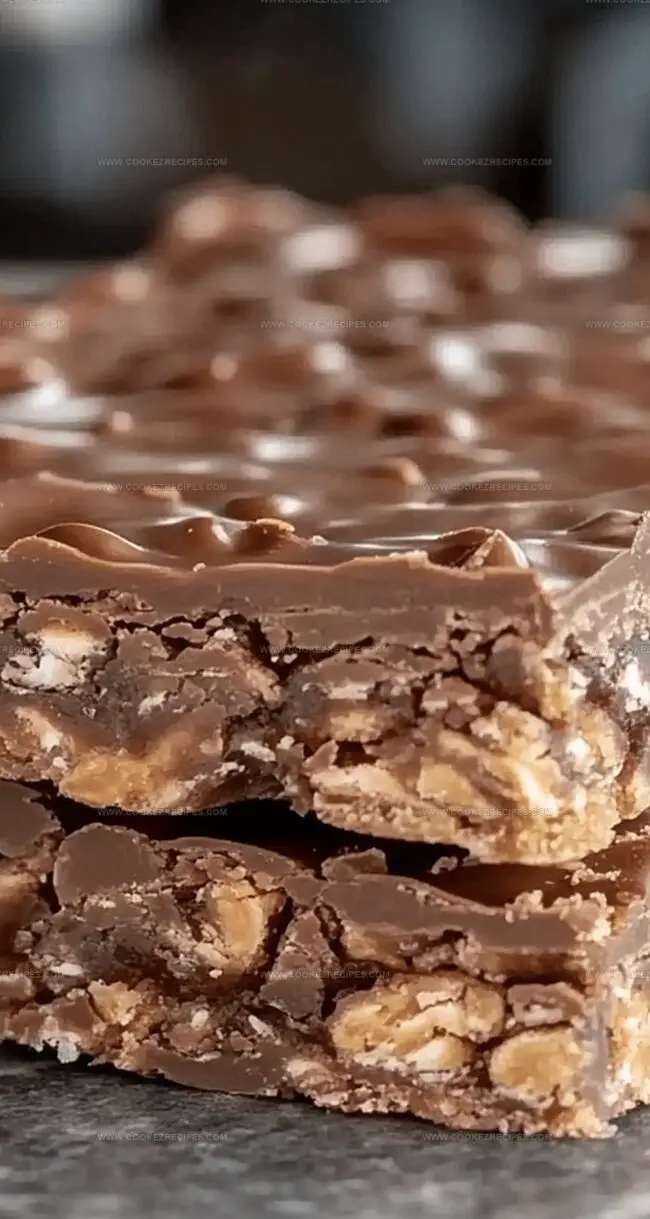
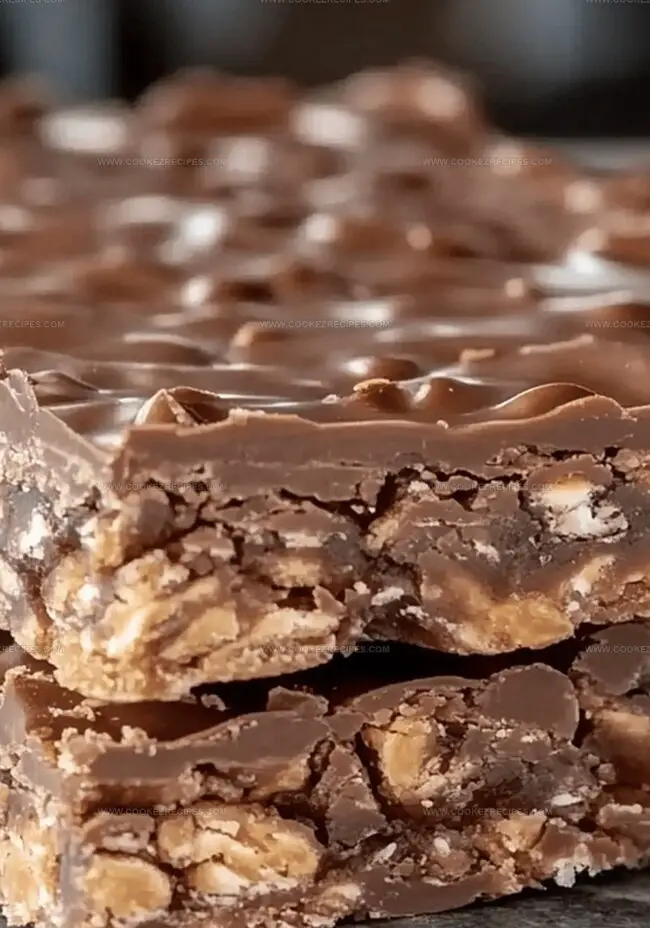
Once the bars are completely set, use a sharp knife to cut them into perfect squares.
Each bite promises a delightful crunch and rich chocolate flavor that will make your taste buds dance with joy.
Crunch Bar Tips For Homemade Texture
Crunch Bars That Stay Snappy and Sweet
Crunchy Combos For Homemade Bars
Crunch Bar Add-Ons
FAQs
No, you can substitute with cornflakes, graham cracker crumbs, or crushed pretzels for similar crunch and texture.
Yes, you can use alternative nut butters like almond butter or sunflower seed butter for a different flavor profile.
When stored in an airtight container at room temperature, they will remain fresh for about 5-7 days.
Absolutely! Kids can help with mixing ingredients and pressing the mixture into the pan, making it a fun family cooking activity.
Print
Homemade Crunch Bars Recipe
- Total Time: 10 minutes
- Yield: 12 1x
Description
Chocolate lovers rejoice with these homemade crunch bars, a simple treat that elevates crispy rice cereal and silky chocolate into pure indulgence. Snap, break, and savor each delightful piece of nostalgia that connects sweet memories with delectable craft.
Ingredients
Main Ingredients:
- 1 cup peanut butter (creamy or natural)
- 1 cup chocolate chips (semi-sweet or dark)
- 3 cups Rice Krispies cereal
This recipe does not have additional ingredients beyond the main components.
Instructions
- Create a smooth, glossy chocolate-peanut butter base by gently melting chocolate chips and peanut butter in a saucepan, whisking continuously to prevent scorching.
- Immediately transfer the molten mixture from heat and fold crispy rice cereal into the liquid, ensuring every grain receives a thorough chocolate coating.
- Pour the chocolatey cereal mixture into a prepared square pan, using a spatula to distribute the contents uniformly and create an even layer with consistent thickness.
- Allow the confection to stabilize and solidify at ambient temperature, which typically requires 30-45 minutes, or accelerate the setting process by placing the pan in the refrigerator for approximately 15-20 minutes.
- Once the chocolate mixture has completely hardened and maintains structural integrity, use a sharp knife to slice the slab into precise rectangular or square segments.
- Serve the crunch bars chilled or at room temperature, savoring the delightful combination of crisp cereal and rich chocolate-peanut butter flavor.
Notes
- Maintain low heat while melting chocolate and peanut butter to prevent burning or seizing, which can ruin the smooth texture.
- Use a rubber spatula for stirring to ensure even coating of Rice Krispies and prevent chocolate from sticking to the pan.
- Grease the pan thoroughly with butter or cooking spray for easy bar removal and clean cutting.
- Experiment with different nut butters like almond or cashew butter for unique flavor variations that cater to personal preferences.
- For a gluten-free version, verify that your Rice Krispies are certified gluten-free, as some brands may contain malt extract.
- Chill the bars in the refrigerator for a firmer, crunchier texture that holds together better when cut and served.
- Prep Time: 5 minutes
- Cook Time: 5 minutes
- Category: Snacks, Desserts
- Method: Blending
- Cuisine: American
Nutrition
- Serving Size: 12
- Calories: 200
- Sugar: 10 g
- Sodium: 150 mg
- Fat: 12 g
- Saturated Fat: 3 g
- Unsaturated Fat: 9 g
- Trans Fat: 0 g
- Carbohydrates: 22 g
- Fiber: 1 g
- Protein: 6 g
- Cholesterol: 0 mg
Daniel Bruns
Founder & Culinary Innovator
Expertise
Recipe development for home cooks, Nutritional analysis and meal planning, Culinary education and food writing
Education
Auguste Escoffier School of Culinary Arts
Diploma in Culinary Arts and Operations
Focus: Classical and contemporary cooking techniques, Culinary entrepreneurship and kitchen management, Menu development and food cost analysis
Daniel’s story started with flour on his face and a pie in the oven at his grandma’s house. He later sharpened his skills at the Auguste Escoffier School of Culinary Arts.
His goal? Recipes so simple you’ll want to cook every night. When he’s not whipping up one-pan wonders, Daniel’s outside picking herbs, hosting neighborhood cook-offs, or baking chocolate cakes with his kids, messy, sweet, and unforgettable.