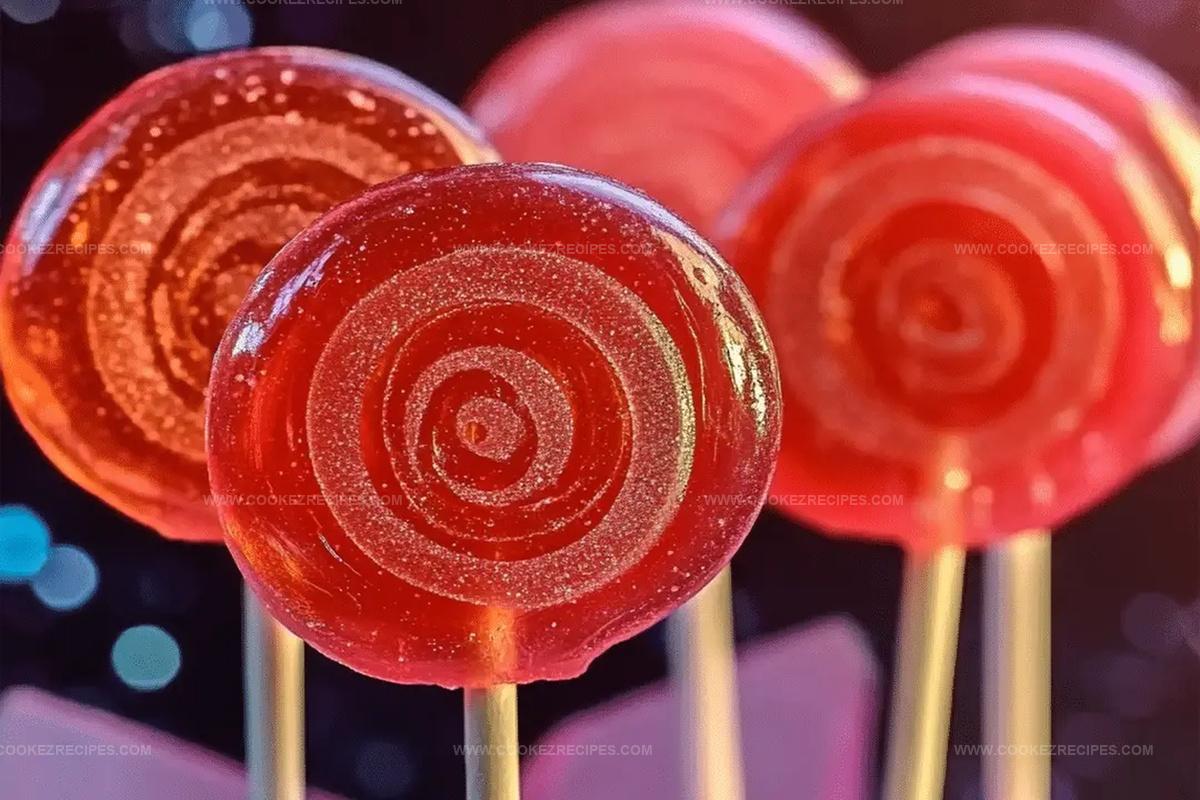
Homemade Koolaid Lollipops Recipe That’s Fun to Make
Crafting these colorful koolaid lollipops at home feels like pure magic waiting to happen.
Sweet memories from childhood dance through my kitchen whenever I unwrap the packets.
Vibrant flavors burst from each crystalline sugar creation that emerges from my pot.
Curious hands will love mixing and stirring these simple treats that sparkle with whimsy.
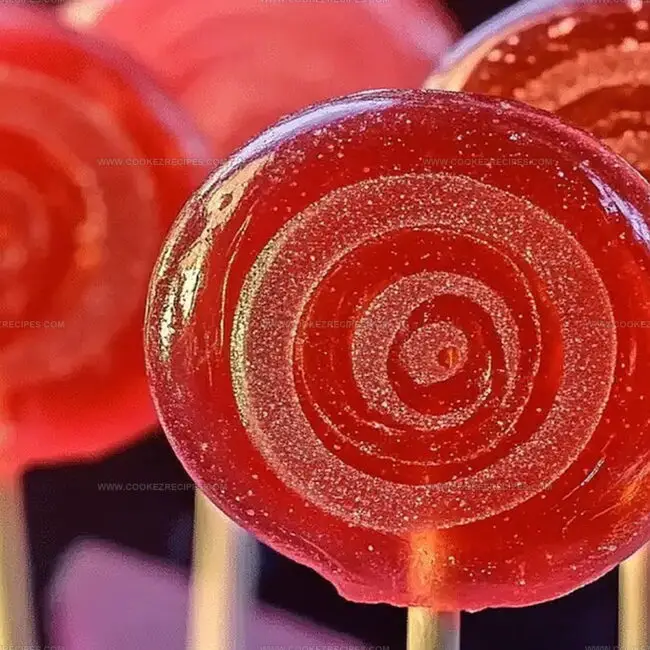
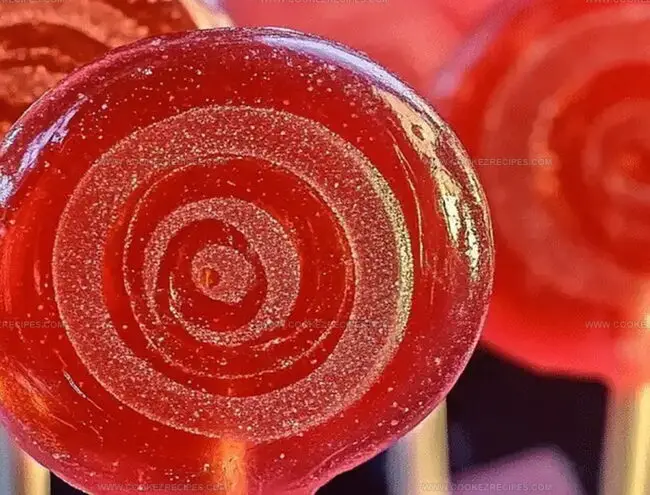
Kids absolutely adore watching sugar transform into glossy, transparent discs of pure delight.
Unexpected and playful, these homemade candies invite everyone to experience a little culinary joy.
Don’t miss the chance to create something spectacularly sweet that makes people smile.
Homemade Koolaid Lollipops That Feel Nostalgic And Fun
Koolaid Lollipop Candy Ingredients
Main Ingredients:Flavor and Color Ingredients:Make Homemade Koolaid Lollipops Like This
Step 1: Prepare Lollipop Foundation
Set up your workspace with a silicone mat or special lollipop molds.
Carefully position lollipop sticks in the center of each mold or across the mat, ensuring they’re secure and ready for sweet magic.
Step 2: Combine Sugary Base
Grab a medium saucepan and add:Stir the mixture gently over medium heat, watching as the sugar dissolves completely into a smooth, glossy liquid.
Step 3: Boil to Candy Perfection
Stop stirring and let the mixture bubble away.
Attach a candy thermometer to track the temperature precisely.
Cook until the mixture reaches a sizzling 300°F, which candy makers call the hard crack stage.
Step 4: Infuse with Flavor and Color
Quickly remove the pan from heat.
Sprinkle in:Stir rapidly to blend the vibrant flavor and create a stunning color pop.
Step 5: Mold Your Sweet Creations
Pour the molten syrup with extreme care into your prepared molds or around the lollipop sticks.
Move swiftly, as the mixture begins to set almost immediately.
Step 6: Cool and Solidify
Allow the lollipops to rest at room temperature.
They’ll transform from liquid to solid over 30-60 minutes, depending on their size.
Step 7: Finish and Store
Gently release the lollipops from their molds.
Wrap each treat in clear cellophane or plastic wrap.
Store in an airtight container, keeping them fresh and ready to enjoy.
Lollipop Tips With Koolaid Candy Shine
Tips for Keeping Koolaid Lollipops Fresh
Fun Pairings With Koolaid Lollipops
Fun Flavors for Homemade Koolaid Lollipops
FAQs
You can use white granulated sugar. Avoid using brown sugar or alternative sweeteners as they may affect the texture and hardness of the lollipops.
Use a candy thermometer and cook until it reaches exactly 300°F (hard crack stage). If you don’t have a thermometer, drop a small amount of syrup into cold water – it should immediately harden and become brittle.
Always use oven mitts when handling hot sugar syrup. Keep children and pets away from the cooking area. Work carefully to avoid splashing or burning yourself with the extremely hot mixture.
This usually happens if the sugar mixture didn’t reach the full 300°F temperature. Always use a candy thermometer and cook the syrup to the exact hard crack stage to ensure proper hardness.
Print
Homemade Koolaid Lollipops Recipe
- Total Time: 30 minutes
- Yield: 12 1x
Description
Sweet and nostalgic koolaid lollipops bring childhood memories to life with their bright, playful colors and intense fruity flavors. Crafted with simple ingredients and a touch of sugar, these homemade treats will transport you straight back to carefree summer days.
Ingredients
Primary Ingredients:
- 2 cups granulated sugar
- 3/4 cup water
- 2/3 cup light corn syrup
Flavor and Color Ingredients:
- 12 packets Kool-Aid (any flavor; adjust for flavor intensity)
Additional Tools and Optional Ingredients:
- Lollipop sticks
- Optional: food coloring (for enhanced color, though Kool-Aid often suffices)
Instructions
- Meticulously arrange lollipop sticks within silicone molds or position them strategically on a clean silicone mat, ensuring even spacing for free-form confections.
- Combine granulated sugar, water, and corn syrup in a medium saucepan, stirring gently over moderate heat until the sugar crystals completely dissolve into a transparent liquid.
- Cease stirring and allow the mixture to reach a rolling boil, carefully monitoring the temperature with a candy thermometer until it precisely hits 300°F, signaling the hard crack stage.
- Immediately remove the molten syrup from heat, swiftly incorporating Kool-Aid powder for vibrant flavor and optional food coloring to enhance the visual appeal.
- Execute precision pouring of the scorching mixture into prepared molds, encircling lollipop sticks with calculated movements to ensure even distribution and minimize air bubbles.
- Allow the lollipops to naturally cool and solidify at ambient temperature, which typically requires 30-45 minutes depending on the size and thickness of each treat.
- Once completely hardened, delicately extract the lollipops from their molds, separating them with gentle twisting motions.
- Individually wrap each lollipop in cellophane or clear plastic wrap to preserve freshness and prevent moisture absorption, then store in a sealed container at room temperature.
Notes
- Swap Kool-Aid for natural fruit powders like hibiscus or berry to create artisan, less artificial pops with deeper flavor profiles.
- Use silicone molds with intricate designs for professional-looking lollipops that elevate the candy’s visual appeal and make them gift-worthy.
- Monitor sugar temperature precisely with a digital candy thermometer to avoid burning and ensure consistent texture across every batch of lollipops.
- Prevent sugar crystallization by avoiding stirring once the mixture reaches boiling point, which helps maintain a smooth, glossy candy finish.
- Prep Time: 10 minutes
- Cook Time: 20 minutes
- Category: Snacks, Desserts
- Method: Boiling
- Cuisine: American
Nutrition
- Serving Size: 12
- Calories: 120
- Sugar: 22 g
- Sodium: 0 mg
- Fat: 0 g
- Saturated Fat: 0 g
- Unsaturated Fat: 0 g
- Trans Fat: 0 g
- Carbohydrates: 30 g
- Fiber: 0 g
- Protein: 0 g
- Cholesterol: 0 mg


Daniel Bruns
Founder & Culinary Innovator
Expertise
Recipe development for home cooks, Nutritional analysis and meal planning, Culinary education and food writing
Education
Auguste Escoffier School of Culinary Arts
Diploma in Culinary Arts and Operations
Focus: Classical and contemporary cooking techniques, Culinary entrepreneurship and kitchen management, Menu development and food cost analysis
Daniel’s story started with flour on his face and a pie in the oven at his grandma’s house. He later sharpened his skills at the Auguste Escoffier School of Culinary Arts.
His goal? Recipes so simple you’ll want to cook every night. When he’s not whipping up one-pan wonders, Daniel’s outside picking herbs, hosting neighborhood cook-offs, or baking chocolate cakes with his kids, messy, sweet, and unforgettable.