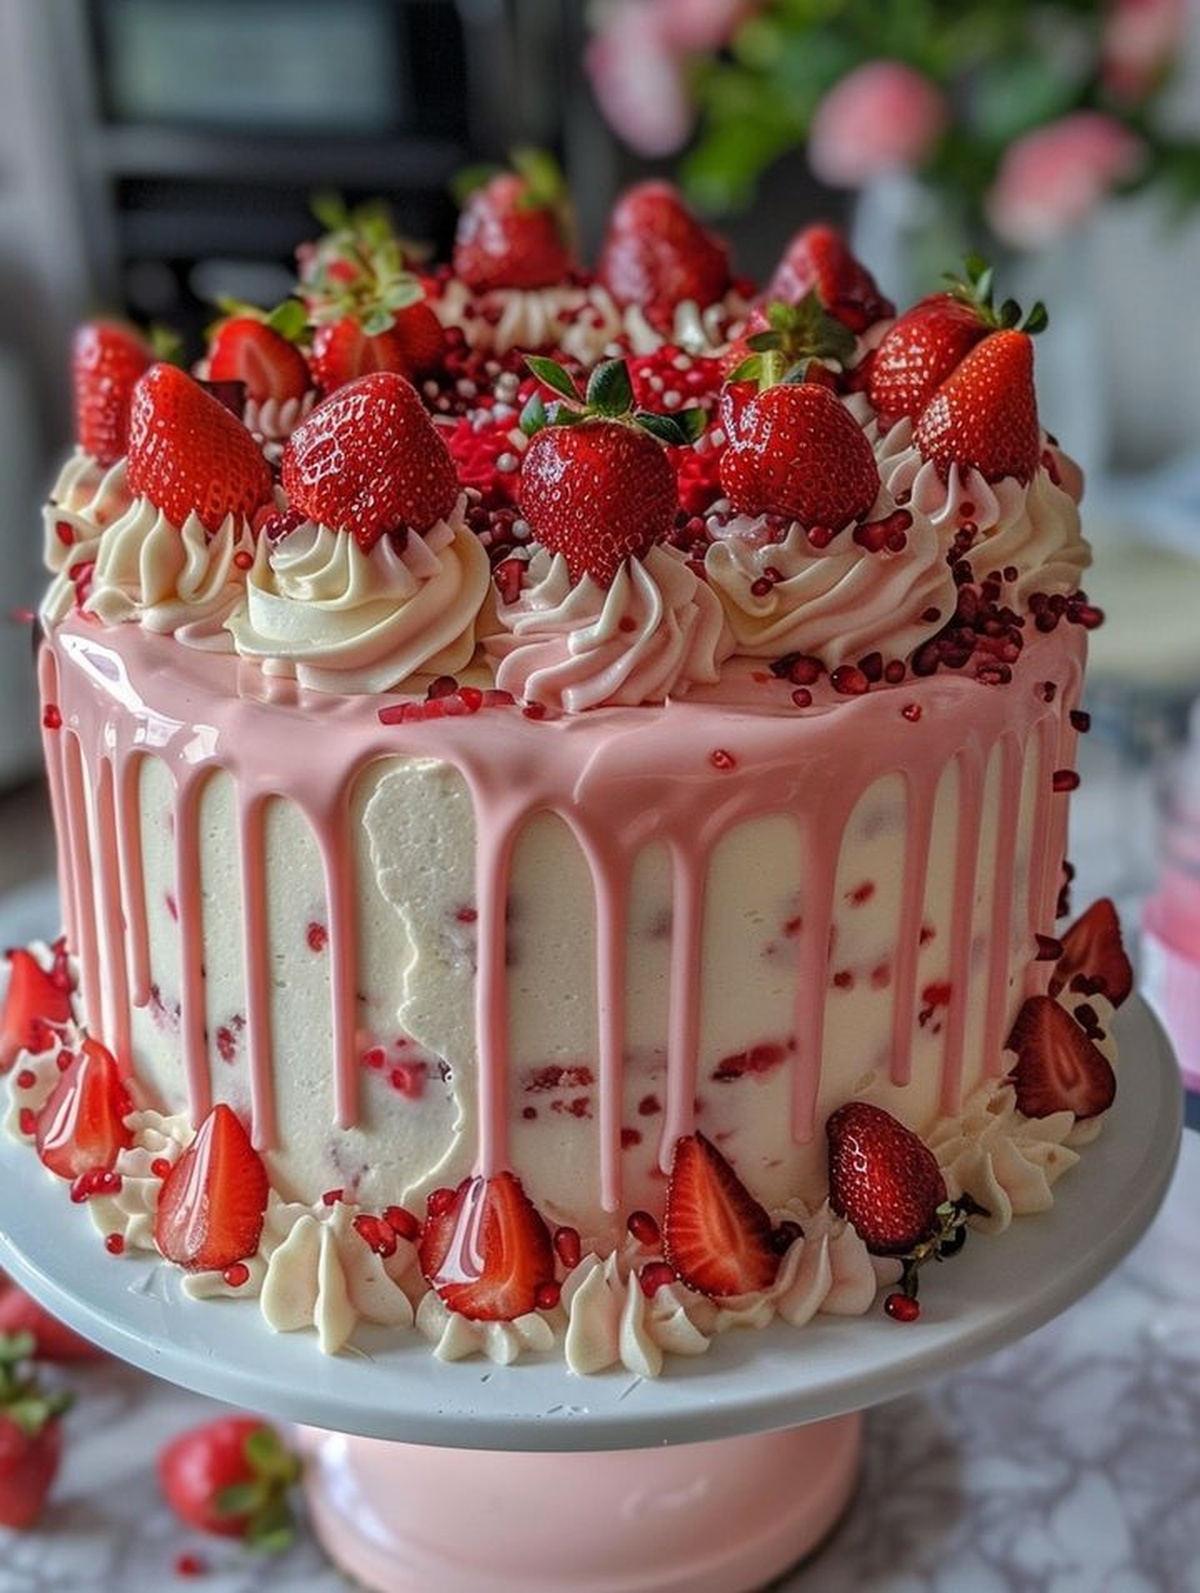
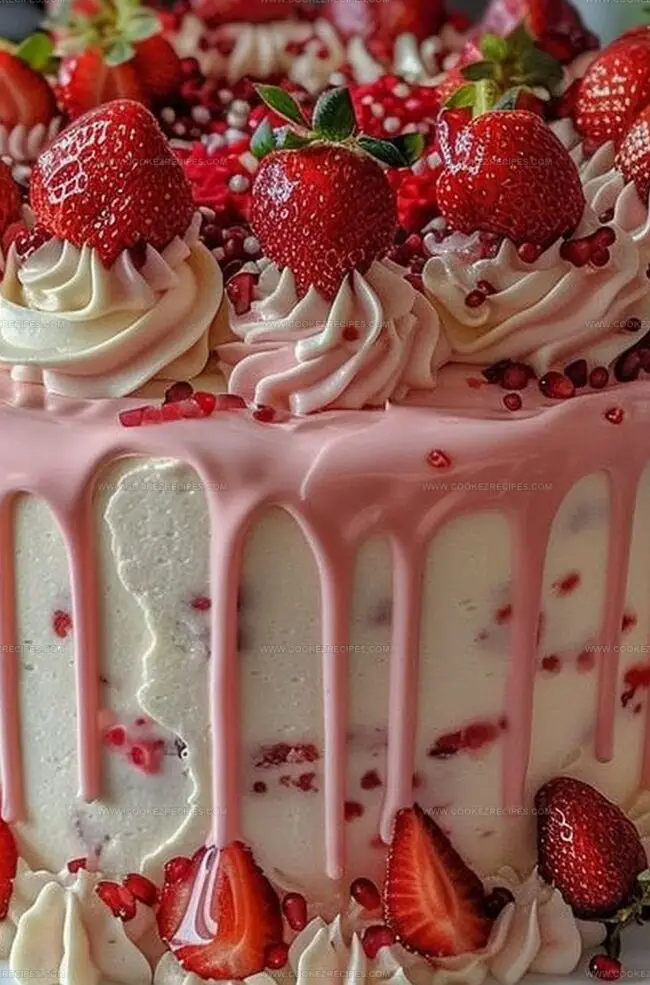
Strawberry Seismic Cake Recipe for a Fun Party Treat
Sweet strawberry seismic cake offers a delightful culinary adventure that breaks traditional dessert boundaries.
Unexpected flavor combinations dance across your palate with each incredible slice.
Professional bakers and home cooks alike will adore this innovative treat.
Vibrant red berries peek through layers of soft, moist cake.
Delicate textures and bright fruit notes create a memorable experience.
Rich cream and fresh ingredients combine in a spectacular celebration of summer flavors.
We promise this recipe will spark joy and impress everyone at your table.
Strawberry Seismic Cake Recipe Highlights

Essential Ingredients for Strawberry Seismic Cake Recipe
Cake Base:Filling and Topping:Finishing Layer:Step-by-Step Guide to Strawberry Seismic Cake Recipe
Step 1: Prepare Baking Arena
Crank up the oven to a toasty 350F. Grab your 9×13-inch baking pan and give it a generous coating of grease to prevent any cake sticking drama.
Step 2: Blend Cake Base
Grab a massive mixing bowl and dump in:Whip everything together until the mixture looks smooth and dreamy.
Step 3: Bake The Foundation
Pour the batter into the greased pan. Slide it into the hot oven and bake until a toothpick comes out clean – typically following package guidelines.
Step 4: Create Pudding Magic
While cake bakes, whisk instant vanilla pudding mix with cold milk until it transforms into a thick, creamy wonderland.
Step 5: Create Cake Craters
Once cake cools for 10 minutes, take a wooden spoon handle and poke holes everywhere. Think Swiss cheese, but delicious.
Step 6: Flood With Pudding
Gently pour pudding over the cake, ensuring it seeps into every single hole.
Step 7: Jam Layer Adventure
Spread strawberry jam evenly across the pudding landscape.
Step 8: Strawberry Shower
Scatter fresh sliced strawberries across the cake surface.
Step 9: Whipped Cloud Topping
Blanket the entire cake with fluffy whipped topping.
Step 10: Chill And Thrill
Refrigerate for minimum 2 hours. The longer it chills, the more incredible the flavors become.
Expert Tips for Strawberry Seismic Cake Recipe
Creative Twists on Strawberry Seismic Cake Recipe
Best Pairings with Strawberry Seismic Cake Recipe
Storing Strawberry Seismic Cake Recipe Like a Pro
Strawberry Seismic Cake Recipe FAQs Answered
No, instant pudding works best because it sets quickly and has the right consistency to fill cake holes without making the cake soggy.
Yes, simply use a gluten-free strawberry cake mix and ensure all other ingredients like pudding mix and whipped topping are also gluten-free.
Cover the entire cake surface with holes about 1 inch apart. Use the end of a wooden spoon to create consistent-sized holes that allow pudding to penetrate evenly.
While whipped cream works, it might not hold up as well and could become watery. Whipped topping provides better stability and longer-lasting texture for this dessert.
Print
Lively Strawberry Seismic Cake Recipe
- Total Time: 2 hours 50 minutes – 2 hours 55 minutes
- Yield: 12 1x
Description
Indulgent Strawberry Seismic Cake blends California coastal vibes with rich strawberry layers and creamy frosting. Delightful dessert promises sweet adventure with each silky slice that connects mountain peaks of flavor and ocean whispers.
Ingredients
Cake Ingredients:
- 1 box strawberry cake mix
- 3 large eggs
- 1/2 cup (120 milliliters) vegetable oil
- 1 cup (240 milliliters) water
Filling and Topping Ingredients:
- 1 box instant vanilla pudding mix
- 2 cups (480 milliliters) cold milk
- 1/2 cup (120 milliliters) strawberry jam
- 1 cup fresh strawberries, sliced
- 1 tub whipped topping
Garnish:
- No additional garnish ingredients listed
Instructions
- Preheat the oven to 350F (175C) and prepare a 9×13-inch baking dish with a light grease coating.
- In a spacious mixing bowl, thoroughly blend the strawberry cake mix with eggs, vegetable oil, and water until achieving a uniform, silky consistency.
- Transfer the velvety batter into the greased baking dish, ensuring an even distribution.
- Bake in the preheated oven for the duration specified on the cake mix package, or until a toothpick inserted into the center emerges clean and dry.
- During the baking process, vigorously whisk the instant vanilla pudding mix with cold milk until it transforms into a thick, creamy texture.
- Once baked, allow the cake to cool for approximately 10 minutes at room temperature.
- Create multiple strategic holes across the cake’s surface using the rounded end of a wooden spoon, ensuring deep penetration.
- Carefully cascade the prepared vanilla pudding over the cake, watching it seep into the created holes, saturating the interior.
- Gently spread strawberry jam across the pudding layer, creating a vibrant fruity coating.
- Arrange delicate slices of fresh strawberries atop the jam layer for visual appeal and added flavor.
- Crown the cake with a generous, even layer of whipped topping, covering the entire surface.
- Refrigerate the assembled dessert for a minimum of 2 hours to allow flavors to meld and set completely before serving.
Notes
- Customize the cake mix by using a gluten-free version for those with dietary restrictions.
- Enhance the strawberry flavor by adding a splash of strawberry extract to the cake batter.
- Swap the whipped topping with homemade whipped cream for a fresher, less processed option.
- Reduce sugar content by using sugar-free pudding mix and low-sugar jam for a lighter dessert.
- Prep Time: 15 minutes
- Cook Time: 30-35 minutes
- Category: Desserts
- Method: Baking
- Cuisine: American
Nutrition
- Serving Size: 12
- Calories: 280 kcal
- Sugar: 28 g
- Sodium: 320 mg
- Fat: 12 g
- Saturated Fat: 3.5 g
- Unsaturated Fat: 7.5 g
- Trans Fat: 0.1 g
- Carbohydrates: 38 g
- Fiber: 1.5 g
- Protein: 4 g
- Cholesterol: 45 mg
Katherine Pierce
Recipe Curator & Food Educator
Expertise
Education
Boston University Metropolitan College
Certificate Program in the Culinary Arts
Focus: French and international cuisine techniques, Hands-on culinary training with industry professionals, Food industry insights and operations
Katherine grew up believing every dish has a story. She studied the art of food at Boston University and explored the history behind it. She loves pulling easy recipes from every corner of the world and putting them at your fingertips.
When Katherine’s not writing or testing new flavors, she’s teaching cooking classes, baking colorful mooncakes, or dreaming up new ways to mix old favorites with new twists.