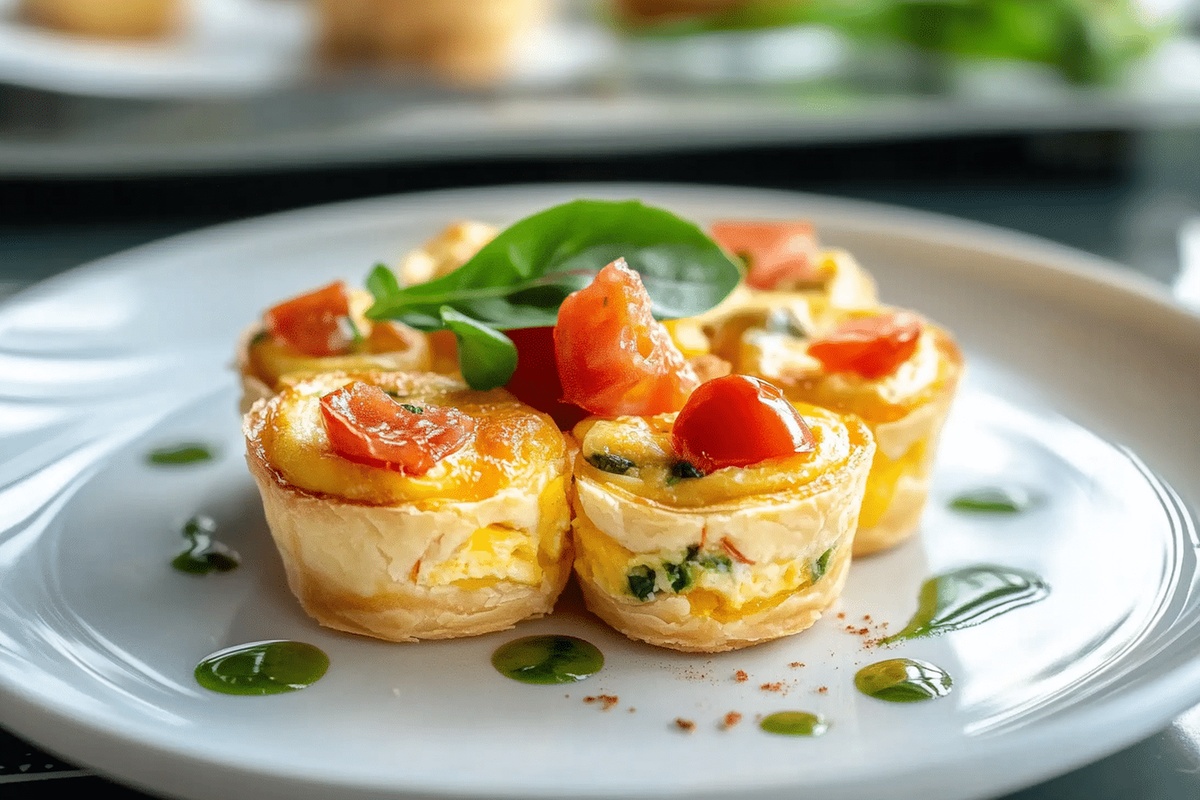
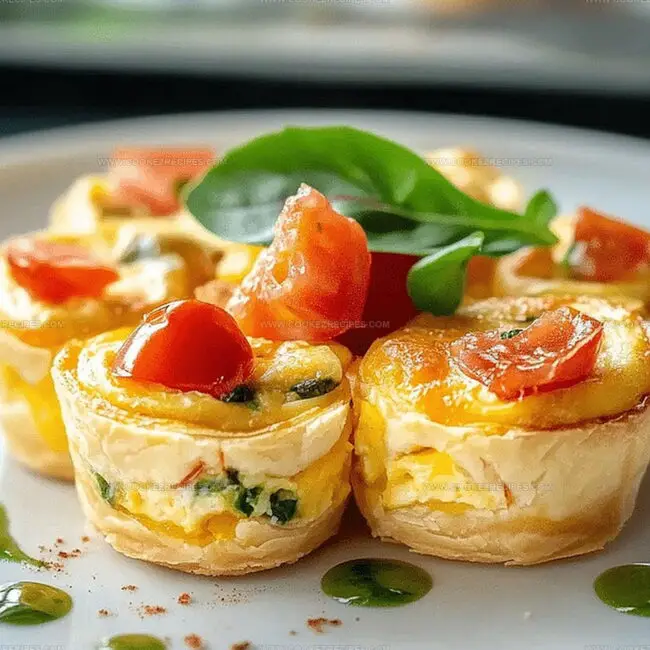
Adorable Mini Quiche Recipe for Brunch Lovers
Savory mini quiche can turn any ordinary gathering into a delightful culinary adventure.
Bite-sized pastry shells cradle creamy egg mixtures that burst with incredible flavors.
Delicate and elegant, these little morsels pack serious gourmet punch without complicated preparation.
Imagine serving something that looks professionally crafted but requires minimal kitchen skills.
Professional chefs and home cooks alike appreciate how simple ingredients create impressive results.
Scattered across a platter, these compact delicacies will spark conversation and spark appetites.
You can quickly become the star of any potluck or brunch with these irresistible small wonders.
Mini Quiche That Feels Fancy And Effortless
Mini Quiche Veggie and Egg Blend
Pastry Base:Protein and Cheese Options:Egg and Dairy Mixture:Optional Vegetable Fillings:Mini Quiche – Baking Instructions
Step 1: Prepare Oven And Pan
Preheat the oven to 375°F.
Lightly spray a 24-cup mini muffin pan with cooking spray to ensure easy removal of the quiches.
Step 2: Shape Pastry Bases
Roll out pie crust or shortcrust pastry.
Cut 3-inch circles using a cookie cutter or measuring cup.
Gently press pastry circles into each muffin tin cup, creating small pastry shells.
Step 3: Select Delicious Fillings
Choose your favorite quiche fillings like:Distribute chosen ingredients evenly across pastry-lined muffin cups.
Step 4: Mix Creamy Egg Blend
In a mixing bowl, whisk together:Blend ingredients until smooth and well combined.
Step 5: Pour Egg Mixture
Carefully pour the whisked egg mixture over the fillings in each muffin cup.
Fill cups completely without overflowing.
Step 6: Bake To Golden Perfection
Bake in preheated oven for 22-25 minutes.
Look for golden brown crusts and set egg filling.
Step 7: Cool And Serve
Let mini quiches cool for a few minutes.
Gently remove from pan and serve warm as a delightful appetizer or brunch treat.
Quiche Tips In Mini Form
Mini Quiche Stay Fluffy When Properly Stored
Savory Bites For Mini Quiche
Mini Quiche Styles
FAQs
Yes, you can prepare mini quiches in advance. Bake them completely, then store in an airtight container in the refrigerator for up to 3 days. Reheat in the oven at 350°F for 5-7 minutes before serving.
Shortcrust pastry or pre-made pie crust are ideal. Ensure the pastry is rolled thin and cut into 3-inch circles to fit perfectly in mini muffin tins.
Lightly spray the mini muffin tin with cooking spray before adding the pastry circles. This ensures easy removal and prevents sticking.
Absolutely! Once baked and cooled, place mini quiches in a freezer-safe container, separating layers with parchment paper. They’ll keep for up to 1 month. Thaw overnight in the refrigerator and reheat in the oven.
Print
Mini Quiche Recipe
- Total Time: 45 minutes
- Yield: 8 1x
Description
Delightful mini quiche elevates brunch with French-inspired elegance, offering bite-sized perfection that promises rich, creamy satisfaction. Crisp pastry shells cradle savory fillings, inviting you to savor each delectable morsel of culinary craftsmanship.
Ingredients
Dairy and Egg Base:
- 4 large eggs (at room temperature)
- 1 cup (240 milliliters / 8 fluid ounces) whole milk or half and half
- 2 ounces (56 grams) grated Swiss cheese
- 2 ounces (56 grams) crumbled feta cheese
Pastry:
- 2 pie crusts (14 ounces / 400 grams) shortcrust pastry
Filling Options:
- 1 cup fresh spinach
- 1/2 cup sliced mushrooms
- 1/2 cup diced ham
- 1/2 cup halved cherry tomatoes
- 1/2 cup diced bell peppers
- 1/4 cup chopped sun-dried tomatoes
- 1/4 cup sliced olives
- 1 teaspoon kosher salt
- 1/4 teaspoon ground black pepper
Instructions
- Warm the oven to 375°F (190°C), adjusting to 170°C for fan ovens. Coat a 24-cup mini muffin pan with light cooking spray to prevent sticking.
- Transform the pastry by rolling it out smoothly, then slice into precise 3-inch circles using a cookie cutter or measuring cup. Carefully nestle each pastry round into the muffin tin cavities, pressing gently to create delicate shells.
- Select your preferred filling combinations and distribute them thoughtfully across the pastry-lined cups, ensuring even placement of ingredients.
- Create a silky custard base by whisking milk, eggs, kosher salt, and black pepper in a mixing bowl until perfectly combined and smooth.
- Carefully cascade the egg mixture over the prepared fillings, filling each miniature pastry shell to the brim without overflowing.
- Transfer the muffin tin to the preheated oven and bake for 22-25 minutes. Watch for a golden-brown crust and a set, trembling custard center that indicates perfect doneness.
- Allow the mini quiches to rest and settle for a few moments after removing from the oven, which helps them maintain their delicate structure before serving.
Notes
- Use cold butter or shortening when making pastry to ensure a flaky, tender crust that crumbles perfectly in your mouth.
- Experiment with gluten-free pie crust or almond flour for those with dietary restrictions, maintaining the same delicate texture.
- Prevent soggy bottoms by pre-baking the pastry shells for 5 minutes before adding fillings, creating a crisp base that holds up beautifully.
- Customize fillings based on seasonal vegetables or leftover ingredients, transforming these mini quiches into a versatile, budget-friendly meal option.
- Prep Time: 20 minutes
- Cook Time: 25 minutes
- Category: Breakfast, Snacks, Appetizer
- Method: Baking
- Cuisine: French
Nutrition
- Serving Size: 8
- Calories: 310
- Sugar: 2 g
- Sodium: 550 mg
- Fat: 20 g
- Saturated Fat: 10 g
- Unsaturated Fat: 10 g
- Trans Fat: 0 g
- Carbohydrates: 24 g
- Fiber: 1 g
- Protein: 9 g
- Cholesterol: 180 mg


Daniel Bruns
Founder & Culinary Innovator
Expertise
Recipe development for home cooks, Nutritional analysis and meal planning, Culinary education and food writing
Education
Auguste Escoffier School of Culinary Arts
Diploma in Culinary Arts and Operations
Focus: Classical and contemporary cooking techniques, Culinary entrepreneurship and kitchen management, Menu development and food cost analysis
Daniel’s story started with flour on his face and a pie in the oven at his grandma’s house. He later sharpened his skills at the Auguste Escoffier School of Culinary Arts.
His goal? Recipes so simple you’ll want to cook every night. When he’s not whipping up one-pan wonders, Daniel’s outside picking herbs, hosting neighborhood cook-offs, or baking chocolate cakes with his kids, messy, sweet, and unforgettable.