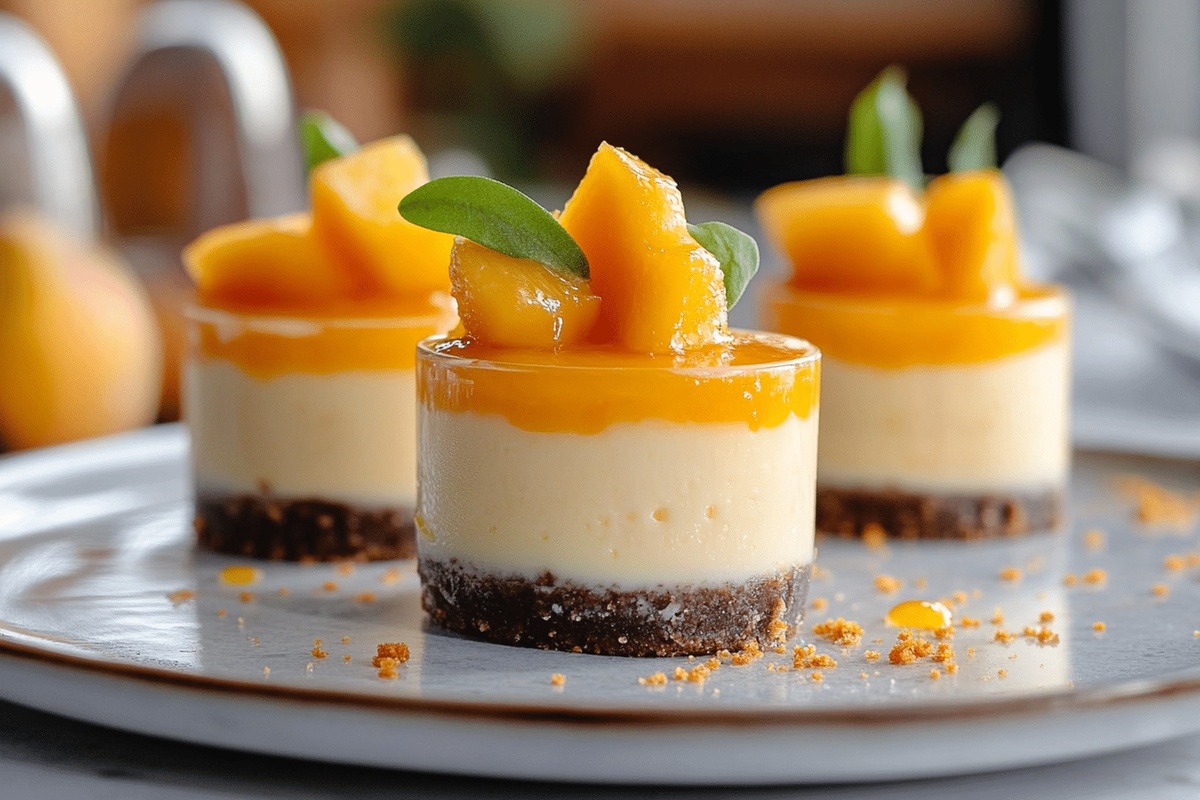
No-Bake Mango Cheesecake Cups Recipe for Sweet Flavor
Sweet summer memories dance through these delightful no-bake mango cheesecake cups that promise instant happiness.
Creamy layers blend tropical flavors into a dessert worth celebrating.
Soft cheese mingles with ripe mango pulp, creating a silky smooth texture that melts perfectly.
Chilled desserts often feel like magic, and this recipe brings pure joy to your table.
Cool kitchen shortcuts make these cups an effortless treat anyone can master.
Vibrant colors and rich tastes will make you the star of any gathering.
Mango Cheesecake Cups – Sweet Tropical Layers
What’s Blended into Mango Cheesecake Cups
Base Ingredients:Filling Ingredients:Whipping and Topping Ingredients:How to Assemble No-Bake Mango Cheesecake Cups
Step 1: Crush Cookie Base
Toss Nilla wafers into a food processor and pulse until they transform into fine, sandy crumbs.
The texture should resemble delicate beach sand ready to form a delicious foundation.
Step 2: Bind Cookie Crumbs
Pour melted butter over the cookie crumbs and gently mix until the mixture resembles wet sand.
The butter helps the crumbs stick together beautifully.
Step 3: Create Crust Layer
Distribute the buttery cookie crumbs evenly across individual dessert cups.
Use a flat-bottomed glass to press down and compact the crumbs into a smooth, even layer.
Refrigerate while preparing the filling.
Step 4: Prepare Gelatin Mixture
Sprinkle gelatin over cold water in a small bowl.
Allow it to sit and bloom for 5-10 minutes, creating a smooth gelatin base for the cheesecake filling.
Step 5: Whip Cream Cheese Base
In a large mixing bowl, beat cream cheese until silky smooth.
Add sugar and vanilla, continuing to mix until the mixture becomes light and creamy.
Scrape down the bowl’s sides to ensure everything is perfectly combined.
Step 6: Incorporate Mango Flavor
Strain mango pulp to remove any stringy bits, then gently fold into the cream cheese mixture.
Mix carefully to maintain the smooth texture.
Step 7: Dissolve Gelatin
Microwave the gelatin mixture for 10-15 seconds until completely dissolved.
Slowly stir into the cheesecake filling on low speed to create a uniform mixture.
Step 8: Whip Heavy Cream
In a separate bowl, whip chilled heavy cream until it forms stiff, cloud-like peaks.
This will add incredible lightness to the cheesecake.
Step 9: Combine Filling
Delicately fold the whipped cream into the cheesecake mixture, creating a fluffy, airy filling.
Ensure everything is well incorporated but avoid overmixing.
Step 10: Fill Dessert Cups
Carefully divide the mango cheesecake filling among the prepared cookie crust cups.
Tap the cups gently to remove any air bubbles and create a smooth surface.
Step 11: Chill and Set
Refrigerate the cheesecake cups for at least 6 hours or overnight, allowing them to set into a perfect, creamy consistency.
Step 12: Add Mango Topping
Before serving, spoon 1-2 tablespoons of fresh mango pulp over each cheesecake cup, spreading evenly for a burst of fruity flavor.
Step 13: Pipe Whipped Cream
Pipe additional whipped cream on top of each cup for an elegant finishing touch.
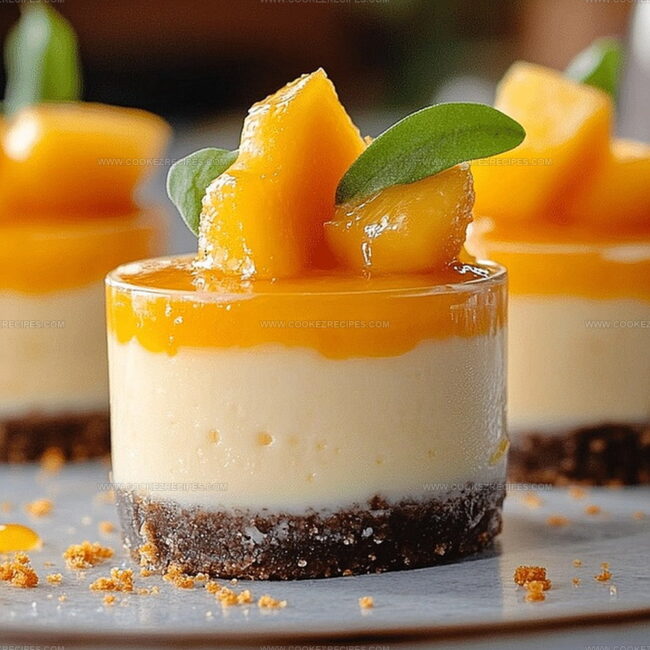
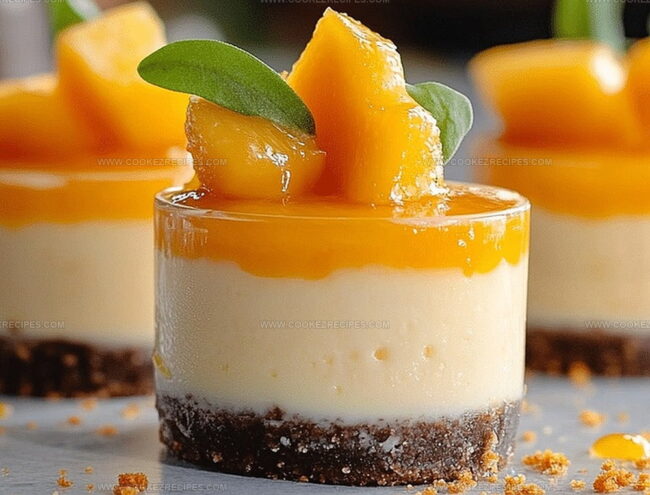
Step 14: Garnish and Serve
Decorate with fresh mango cubes on top.
Serve chilled and enjoy this tropical, creamy dessert!
Mango Cheesecake Tips That Chill Right
Mango Cheesecake Cups That Keep Their Shape
Fruity Complements For Mango Cups
Mango Cup Cheesecake Alternatives
FAQs
Gelatin is a protein derived from collagen that helps set and stabilize the cheesecake filling, ensuring a smooth and firm texture without baking.
Yes, you can blend fresh ripe mangoes to create a smooth pulp. Just ensure it’s strained to remove any fibrous bits for a silky cheesecake filling.
Stiff peaks hold their shape when the whisk or beater is lifted. The cream should stand straight up without drooping and look glossy and thick.
You can substitute with graham crackers, digestive biscuits, or any similar sweet, crisp cookie that easily crumbles for the base.
Print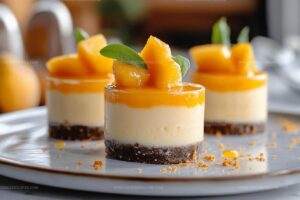
No-Bake Mango Cheesecake Cups Recipe
- Total Time: 20 minutes
- Yield: 4 1x
Description
Silky smooth no-bake mango cheesecake cups bring tropical paradise to dessert lovers with creamy layers of pure bliss. Sweet mango puree and tangy cream cheese create an irresistible summer treat perfect for cooling down and indulging.
Ingredients
Main Base Ingredients:
- 2 blocks cream cheese, room temperature (16 ounces or 450 grams)
- 3/4 cup mango pulp, strained (170 grams)
- 1/2 cup heavy cream, chilled (120 grams)
Crust Ingredients:
- 150 grams Nilla wafers (about 40 wafers)
- 40 grams unsalted butter, melted (3 tablespoons)
Binding and Flavoring Ingredients:
- 2 tablespoons cold water + 2 teaspoons gelatin powder
- 1/2 teaspoon vanilla extract
- 24 tablespoons sugar (to taste, depending on mango sweetness)
- 1/2 cup heavy cream, whipped
- 12 mangoes, chopped into small cubes
Instructions
- Crush Nilla wafers into fine, uniform crumbs using a food processor, ensuring a consistent texture for the base.
- Incorporate melted butter into the crumb mixture, stirring until the ingredients bind together seamlessly.
- Distribute the crumb mixture evenly across individual dessert cups, gently compacting with a glass bottom to create a firm, compact layer.
- Refrigerate the prepared bases while preparing the filling.
- Sprinkle gelatin over cold water in a small bowl, allowing it to bloom and soften for 5-10 minutes.
- Using an electric mixer, whip cream cheese, sugar, and vanilla until the mixture becomes smooth and creamy, periodically scraping down the bowl’s sides.
- Strain mango pulp to remove any fibrous bits, then gently fold into the cream cheese mixture, maintaining a delicate incorporation.
- Microwave the gelatin mixture briefly until completely dissolved, then carefully integrate into the cheesecake filling at a low speed.
- In a separate chilled bowl, whip heavy cream until it forms stiff, well-defined peaks.
- Delicately fold the whipped cream into the cheesecake mixture, creating a light, airy texture.
- Carefully portion the filling into the prepared cups, lightly tapping to eliminate air bubbles and ensure even distribution.
- Refrigerate for a minimum of 6 hours, allowing the dessert to set completely and develop its flavor profile.
- Prior to serving, spread a layer of fresh mango pulp atop each cheesecake cup.
- Pipe additional whipped cream decoratively on each dessert.
- Garnish with freshly cubed mango pieces for a vibrant, appetizing presentation.
- Serve chilled and savor the delightful combination of flavors and textures.
Notes
- Choose ripe, sweet mangoes for the most intense flavor and natural sweetness in your cheesecake cups.
- Chill all ingredients beforehand to ensure a smoother, more stable filling that sets perfectly.
- Use room temperature cream cheese to prevent lumps and create a silky-smooth texture.
- Gelatin helps stabilize the no-bake cheesecake, giving it a firm yet creamy consistency that holds its shape.
- For a gluten-free version, swap Nilla wafers with gluten-free graham crackers or almond flour-based cookie crumbs.
- Experiment with different fruit pulps like passion fruit or raspberry for unique flavor variations.
- Avoid overmixing the filling to prevent breaking down the whipped cream and losing its light, airy texture.
- Make ahead and store in the refrigerator for up to 3 days, keeping the topping separate until just before serving to maintain freshness.
- Prep Time: 20 minutes
- Cook Time: 0 minutes
- Category: Desserts
- Method: Chilling
- Cuisine: American
Nutrition
- Serving Size: 4
- Calories: 550
- Sugar: 40g
- Sodium: 200mg
- Fat: 35g
- Saturated Fat: 20g
- Unsaturated Fat: 10g
- Trans Fat: 0g
- Carbohydrates: 50g
- Fiber: 2g
- Protein: 6g
- Cholesterol: 90mg
Daniel Bruns
Founder & Culinary Innovator
Expertise
Recipe development for home cooks, Nutritional analysis and meal planning, Culinary education and food writing
Education
Auguste Escoffier School of Culinary Arts
Diploma in Culinary Arts and Operations
Focus: Classical and contemporary cooking techniques, Culinary entrepreneurship and kitchen management, Menu development and food cost analysis
Daniel’s story started with flour on his face and a pie in the oven at his grandma’s house. He later sharpened his skills at the Auguste Escoffier School of Culinary Arts.
His goal? Recipes so simple you’ll want to cook every night. When he’s not whipping up one-pan wonders, Daniel’s outside picking herbs, hosting neighborhood cook-offs, or baking chocolate cakes with his kids, messy, sweet, and unforgettable.