
Homemade Olive Garden Breadsticks Recipe You Can Bake Fresh
My kitchen always buzzes with excitement when I recreate this Olive Garden breadsticks recipe that reminds me of cozy Italian restaurants.
Memories of warm, buttery bread wafting through dining rooms sweep me back to nostalgic moments.
Restaurants near home never quite matched the soft, golden texture I craved.
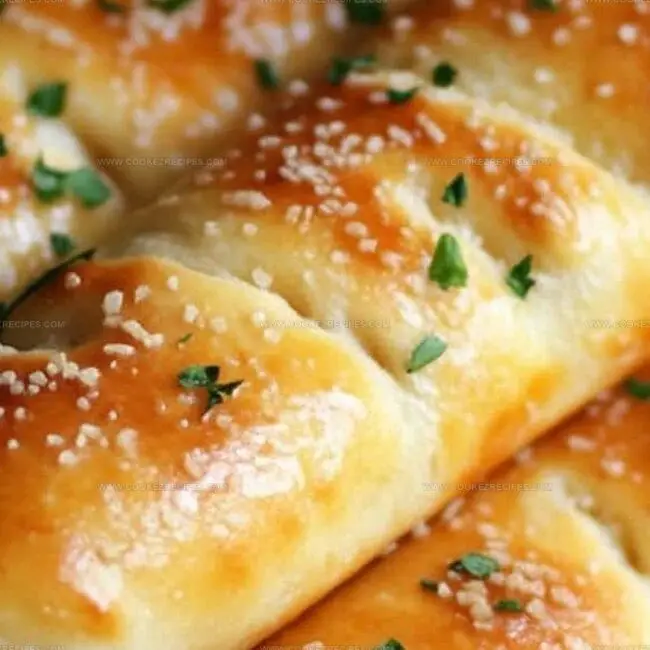
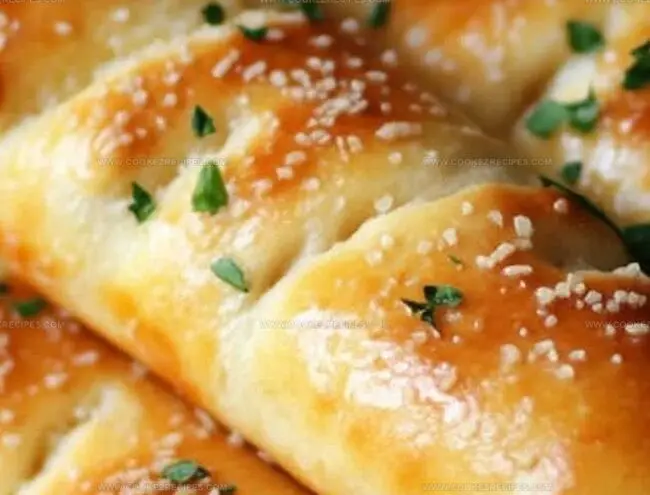
Crispy outside and fluffy inside, these breadsticks capture restaurant magic right in your own cooking space.
Perfect alongside pasta or enjoyed as a standalone snack, they promise comfort in every delicious bite.
Salt, garlic, and butter create an irresistible combination that will make everyone ask for seconds.
You’ll want to bookmark this simple yet incredible recipe that brings restaurant magic directly to your table.
What’s Classic About Olive Garden Breadsticks
Olive Garden Breadsticks Recipe Components
Dough Ingredients:Liquid and Fat Ingredients:Topping Ingredients:Olive Garden Breadsticks Baking Guide
Step 1: Mix Yeast Activation
In a small bowl, dissolve yeast in warm water.
Let it sit for about 5 minutes until the mixture becomes foamy and bubbly, indicating the yeast is active and ready to help the dough rise.
Step 2: Create Dough Base
In a large mixing bowl, combine:Gradually add the yeast mixture and vegetable oil.
Mix until a soft, slightly sticky dough forms.
Step 3: Knead the Dough
Transfer the dough to a lightly floured surface.
Knead vigorously for 7-10 minutes until the dough becomes smooth and elastic.
The texture should feel soft and springy when pressed.
Step 4: First Rise
Place the dough in a greased bowl, covering it with a clean kitchen towel.
Let it rise in a warm, draft-free spot for about 1 hour or until the dough doubles in size.
Step 5: Shape the Breadsticks
Punch down the risen dough and divide it into equal portions.
Roll each portion into a long, smooth rope about 7-8 inches long.
Place the shaped breadsticks on a baking sheet lined with parchment paper.
Step 6: Second Rise
Cover the shaped breadsticks and let them rise again for 30-45 minutes until they look puffy and slightly larger.
Step 7: Prepare for Baking
Preheat the oven to 400°F.
Brush the breadsticks with melted butter and sprinkle with garlic powder and salt.
Step 8: Bake to Golden Perfection
Bake the breadsticks for 12-15 minutes until they turn golden brown.
The edges should look crisp and the surface should have a beautiful, even color.
Step 9: Final Touch
Immediately after removing from the oven, brush the breadsticks with more melted butter and sprinkle with dried parsley for that classic Olive Garden look and flavor.
Breadstick Baking Tips from Olive Garden
Olive Garden Breadsticks That Stay Soft
Dip Ideas for Olive Garden Breadsticks
Breadsticks with Easy Add-Ons
FAQs
Test your yeast by mixing it with warm water and a pinch of sugar. If it becomes foamy and bubbles within 5-10 minutes, it’s active and ready to use.
Yes, you can prepare the dough and let it rise in the refrigerator overnight. Just bring it to room temperature before shaping and baking.
Ensure your water is warm (not hot) and your yeast is fresh. Room temperature and a draft-free environment help the dough rise correctly.
A stand mixer helps, but you can also knead the dough by hand. A baking sheet and parchment paper are useful for baking.
Print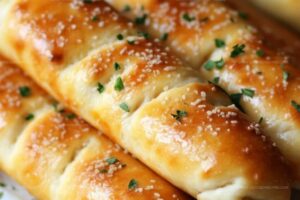
Olive Garden Breadsticks Recipe
- Total Time: 30 minutes
- Yield: 8 1x
Description
Olive Garden Breadsticks invite you on a delicious journey through Italian-American comfort cuisine. Warm, buttery perfection pairs with garlic and herbs, promising a mouthwatering experience you won’t forget.
Ingredients
Main Dry Ingredients:
- 3 cups all-purpose flour
- 1 1/2 teaspoons salt
Wet and Leavening Ingredients:
- 1 cup warm milk (about 110°F or 43°C)
- 2 1/4 teaspoons instant yeast (1 packet)
- 2 tablespoons sugar
- 3 tablespoons unsalted butter, melted
- 4 tablespoons unsalted butter, melted
Seasoning Ingredients:
- 1/2 teaspoon garlic powder
- 1/2 teaspoon salt
Instructions
- Activate yeast in warm water with sugar, allowing it to foam and become frothy for about 5 minutes.
- Combine flour, salt, and softened butter in a large mixing bowl, creating a soft, elastic dough through gentle kneading.
- Let the dough rise in a warm, draft-free environment until it doubles in volume, approximately 1 hour.
- Punch down the risen dough and divide it into equal portions for uniform breadsticks.
- Roll each portion into long, smooth cylinder shapes on a lightly floured surface.
- Place the shaped dough on a prepared baking sheet, leaving space between each breadstick for expansion.
- Allow the shaped breadsticks to proof for an additional 30 minutes, becoming slightly puffy.
- Preheat the oven to the specified temperature, ensuring even heat distribution.
- Brush the breadsticks with melted butter and sprinkle with garlic powder and dried herbs before baking.
- Bake until the breadsticks turn golden brown and develop a crispy exterior with a soft interior.
- Remove from the oven and immediately brush with additional melted butter and a light dusting of garlic salt.
- Serve warm, offering a restaurant-style experience with a side of marinara or alfredo sauce for dipping.
Notes
- Ensure yeast is fresh and activated by checking for foamy texture when mixed with warm water and sugar.
- Knead dough thoroughly for at least 7-8 minutes to develop proper gluten structure and achieve that signature soft texture.
- Let dough rise in a warm, draft-free area to help it double in size and create airy, light breadsticks.
- Brush generously with garlic butter immediately after baking to get that classic Olive Garden golden sheen and rich flavor.
- Prep Time: 15 minutes
- Cook Time: 15 minutes
- Category: Snacks, Appetizer
- Method: Baking
- Cuisine: Italian
Nutrition
- Serving Size: 8
- Calories: 150
- Sugar: 2 g
- Sodium: 210 mg
- Fat: 5 g
- Saturated Fat: 3 g
- Unsaturated Fat: 2 g
- Trans Fat: 0 g
- Carbohydrates: 23 g
- Fiber: 1 g
- Protein: 4 g
- Cholesterol: 10 mg
Katherine Pierce
Recipe Curator & Food Educator
Expertise
Education
Boston University Metropolitan College
Certificate Program in the Culinary Arts
Focus: French and international cuisine techniques, Hands-on culinary training with industry professionals, Food industry insights and operations
Katherine grew up believing every dish has a story. She studied the art of food at Boston University and explored the history behind it. She loves pulling easy recipes from every corner of the world and putting them at your fingertips.
When Katherine’s not writing or testing new flavors, she’s teaching cooking classes, baking colorful mooncakes, or dreaming up new ways to mix old favorites with new twists.