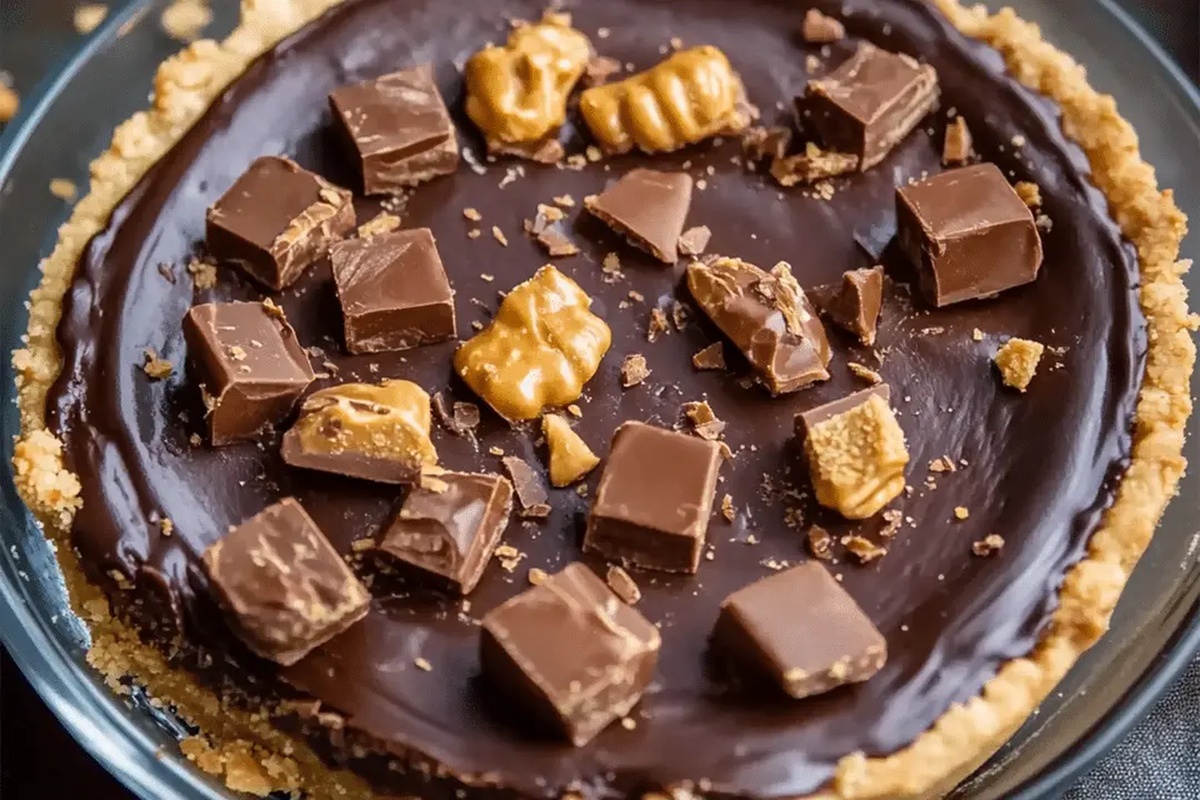
Peanut Butter Cup Pie Recipe for Sweet-Tooth Joy
Craving a decadent peanut butter cup pie that melts in your mouth?
Silky chocolate and creamy peanut butter create an irresistible dance of flavors.
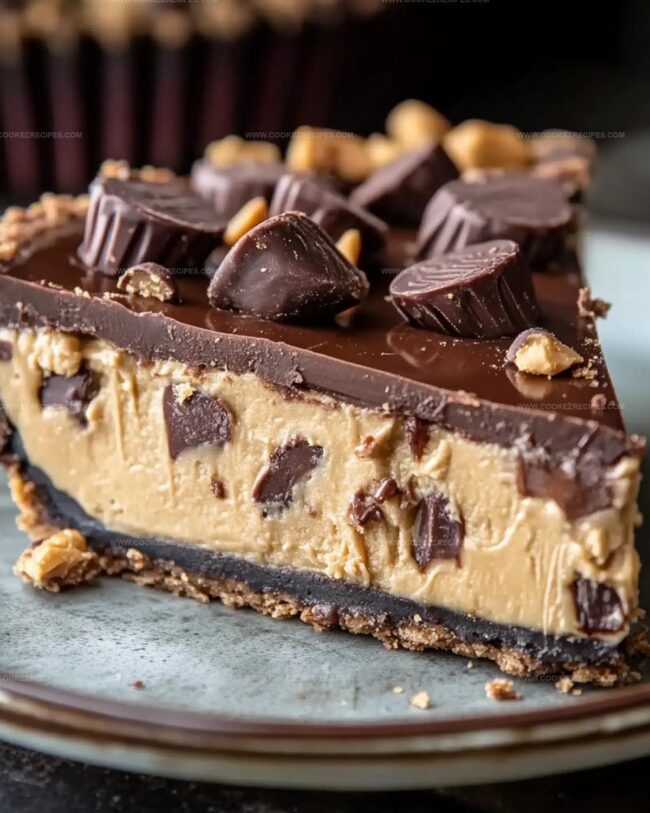
Layers of rich ganache blend seamlessly with smooth peanut butter filling.
Each bite promises a symphony of indulgent textures that will make taste buds sing.
Chocolate lovers and peanut butter enthusiasts will absolutely adore this dreamy dessert.
Sweet memories emerge with every forkful of this incredible pie.
You won’t be able to resist cutting a generous slice and savoring every single delectable moment.
Reasons Peanut Butter Cup Pie Hits The Spot
What’s Blended into Peanut Butter Cup Pie
Chocolate Layer:Peanut Butter Filling:Tart Pan:Peanut Butter Cup Pie Directions
Step 1: Prepare Chocolate Base
Create a smooth chocolate foundation by melting chocolate chips and shortening in a microwave-safe bowl.
Stir every 30 seconds until chocolate transforms into a silky liquid.
Work carefully to prevent burning.
Step 2: Create Chocolate Shell
Generously coat a tart pan with the melted chocolate mixture, ensuring complete coverage of bottom and sides.
Carefully rotate the pan to distribute chocolate evenly.
Place in refrigerator to solidify.
Step 3: Whip Creamy Peanut Butter Filling
Combine ingredients for the filling:Blend ingredients until achieving a velvety, uniform consistency.
Mix thoroughly to eliminate any lumps.
Step 4: Layer Peanut Butter Mixture
Gently transfer the peanut butter mixture into the chilled chocolate shell.
Use a spatula to spread the filling smoothly, creating an even surface.
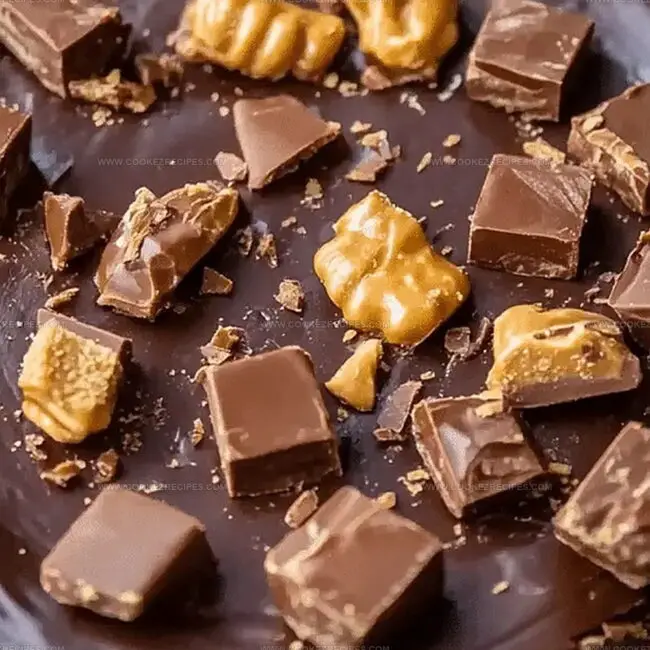
Step 5: Crown with Chocolate Ganache
Melt remaining chocolate chips and shortening using the same microwave technique.
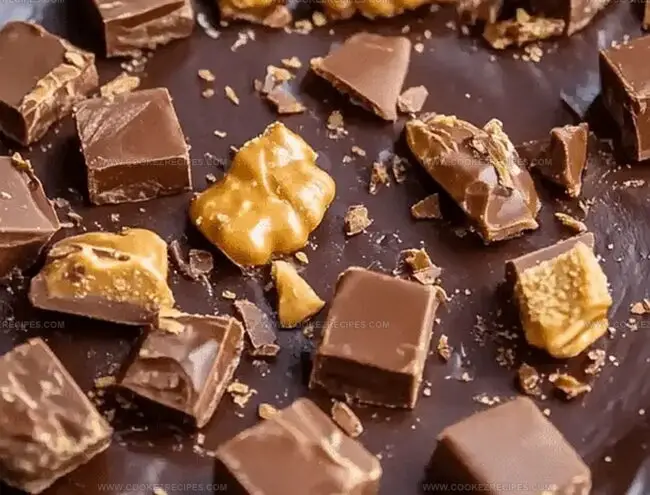
Pour the glossy chocolate over the peanut butter layer, ensuring complete and uniform coverage.
Step 6: Chill and Set
Return the pie to the refrigerator.
Allow chocolate to completely firm up, typically requiring about one hour of cooling time.
Step 7: Slice and Serve
Remove pie from refrigerator.
Cut into elegant slices and serve chilled for maximum flavor and texture enjoyment.
Pie Tips That Elevate Peanut Butter Cup Flavor
Peanut Butter Pie Stores Smooth and Easy
What Works With Cup Pie
Fun Twists on Peanut Butter Cup Pie
FAQs
Yes, you can substitute dark, milk, or semi-sweet chocolate chips based on your preference. Just ensure they melt smoothly and have good quality.
A 10-inch tart pan, microwave-safe bowl, and refrigerator are the main tools you’ll need. A hand mixer or whisk helps blend the peanut butter filling smoothly.
Most ingredients are naturally gluten-free. Just double-check your chocolate chips and ensure they are certified gluten-free. Use gluten-free powdered sugar to guarantee the entire recipe is safe.
Always melt chocolate in short intervals, stirring between each 30-second burst. Add a small amount of shortening to help maintain a smooth, glossy texture and prevent burning.
Print
Peanut Butter Cup Pie Recipe
- Total Time: 10 minutes
- Yield: 12 1x
Description
Sweet and creamy peanut butter cup pie delivers a chocolate lover’s dream dessert. Silky chocolate ganache and rich peanut butter filling create a heavenly slice perfect for satisfying deep dessert cravings you’ll savor to the last bite.
Ingredients
Main Ingredients:
- 2 cups creamy peanut butter
- 4 cups milk chocolate chips
Secondary Ingredients:
- 2 cups powdered sugar, sifted
Binding/Preparation Ingredients:
- 8 tablespoons (1/2 cup) butter, softened
- 2 tablespoons vegetable shortening
Instructions
- Prepare a smooth chocolate base by gently melting chocolate chips with shortening in a microwave, stirring at brief intervals until completely liquefied.
- Create a chocolate shell by carefully pouring the molten chocolate into a tart pan, ensuring complete coverage of bottom and sides, then refrigerate until firmly set.
- Craft a creamy peanut butter filling by blending peanut butter, powdered sugar, and softened butter until achieving a silky, uniform consistency.
- Delicately transfer the peanut butter mixture into the chilled chocolate-lined tart pan, using a spatula to distribute evenly and create a level surface.
- Generate a glossy chocolate ganache by remelting chocolate chips with shortening, then elegantly drizzle and spread over the peanut butter layer, guaranteeing total and smooth coverage.
- Allow the pie to rest in the refrigerator, permitting the chocolate topping to solidify completely, which typically requires approximately one hour.
- Once set, slice the pie into elegant portions and serve chilled, revealing the decadent layers of chocolate and peanut butter.
Notes
- Chocolate Melting Hack: Use low microwave power and stir frequently to prevent burning and ensure smooth, glossy melted chocolate.
- Crust Variation: Swap chocolate base with graham cracker or Oreo cookie crust for different texture and flavor profile.
- Dietary Modification: Replace regular peanut butter with almond or sunflower seed butter for nut-free version, and use dairy-free chocolate for vegan option.
- Decorative Touch: Sprinkle crushed peanut butter cups or sea salt on top before final chocolate layer to enhance visual appeal and add extra crunch.
- Prep Time: 10 minutes
- Cook Time: 0 minutes
- Category: Desserts
- Method: Chilling
- Cuisine: American
Nutrition
- Serving Size: 12
- Calories: 384
- Sugar: 24 g
- Sodium: 150 mg
- Fat: 25 g
- Saturated Fat: 10 g
- Unsaturated Fat: 15 g
- Trans Fat: 0 g
- Carbohydrates: 34 g
- Fiber: 1 g
- Protein: 7 g
- Cholesterol: 30 mg
Daniel Bruns
Founder & Culinary Innovator
Expertise
Recipe development for home cooks, Nutritional analysis and meal planning, Culinary education and food writing
Education
Auguste Escoffier School of Culinary Arts
Diploma in Culinary Arts and Operations
Focus: Classical and contemporary cooking techniques, Culinary entrepreneurship and kitchen management, Menu development and food cost analysis
Daniel’s story started with flour on his face and a pie in the oven at his grandma’s house. He later sharpened his skills at the Auguste Escoffier School of Culinary Arts.
His goal? Recipes so simple you’ll want to cook every night. When he’s not whipping up one-pan wonders, Daniel’s outside picking herbs, hosting neighborhood cook-offs, or baking chocolate cakes with his kids, messy, sweet, and unforgettable.