Soft & Sweet Peanut Butter Kiss Cookies Recipe for All
Sweet memories of childhood baking often revolve around these delightful peanut butter kiss cookies that spark joy in every bite.
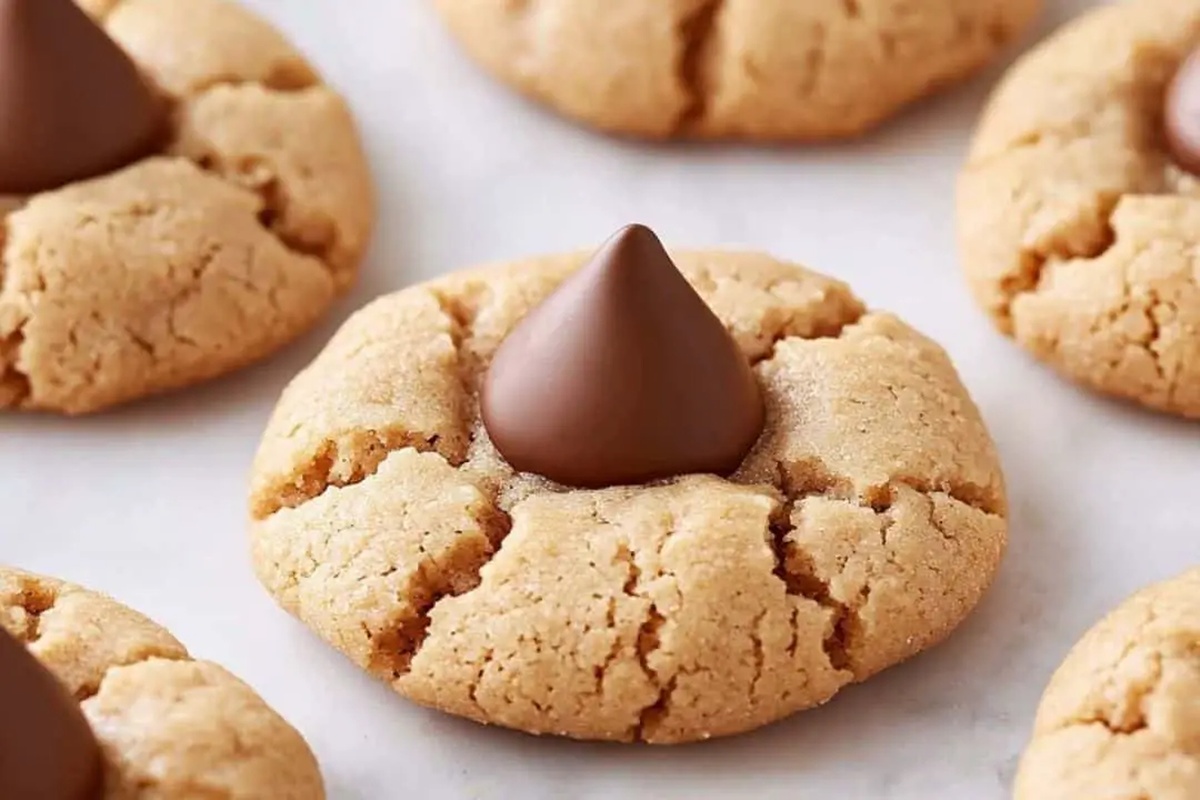
Soft, chewy dough meets a perfect chocolate centerpiece for an irresistible treat.
Grandma’s classic recipe brings warmth to kitchen counters everywhere.
Chocolate kisses nestled atop rich, buttery cookies create an instant smile.
Baking these little gems requires minimal ingredients but delivers maximum happiness.
Quick to assemble and even faster to disappear, these cookies promise to become your new favorite dessert.
Gather your ingredients and let the magic of sweet nostalgia begin!
Peanut Butter Kiss Cookies That Bring Back Memories
Peanut Butter Cookie Kiss Recipe Mix
Main Ingredients:Peanut Butter Kiss Cookies – How to Make
Step 1: Prepare Workspace
Get your baking tools ready and set up your kitchen counter with all necessary equipment like mixing bowl, baking sheet, and wire rack.
Step 2: Create Cookie Mixture
Mix together in a bowl:Blend ingredients until they form a consistent, creamy texture.
Step 3: Shape Delightful Dough Balls
Roll the mixture into small, round balls about the size of a walnut.
If the dough feels sticky, pop it in the refrigerator for 15-20 minutes to firm up.
Step 4: Bake Golden Cookies
Place dough balls on an ungreased cookie sheet, keeping them evenly spaced.
Slide the sheet into a preheated oven at 350°F.
Bake until cookie edges look set and bottoms have a light golden color, approximately 10-12 minutes.
Step 5: Add Chocolate Kisses
Once cookies come out of the oven, immediately press a chocolate kiss into the center of each warm cookie.
The heat will help the chocolate slightly melt and stick perfectly.
Step 6: Cool and Serve
Transfer cookies to a wire cooling rack.
Allow them to cool completely so the chocolate kiss sets in place.
Serve and enjoy these sweet treats!
Cookie Tips For That Perfect Peanut Butter Kiss
Peanut Butter Kiss Cookies Store in Layers
What Matches Kiss Cookies
Peanut Butter Kiss Cookies Versions
FAQs
Chill the dough for 30 minutes before shaping and baking. Cold dough helps cookies maintain their shape and prevents excessive spreading.
Stick to traditional creamy peanut butter with stabilizers. Natural peanut butter can make the dough too oily and cause cookies to spread or become crumbly.
The warm cookie helps the chocolate kiss melt slightly and adhere better to the cookie surface, creating a smooth, integrated look and slightly softened chocolate texture.
Use clean hands and roll gently between your palms. If dough sticks, lightly dampen your hands with water or chill the dough for easier handling.
Print
Peanut Butter Kiss Cookies Recipe
- Total Time: 20 minutes
- Yield: 18 1x
Description
Sweet Peanut Butter Kiss Cookies bring classic holiday charm to cookie plates with rich, creamy peanut butter and chocolate kiss centers. Delightful morsels melt in your mouth, guaranteeing smiles and seconds at family gatherings.
Ingredients
Main Ingredients:
- 1 cup creamy peanut butter
- 1 large egg
- 1 cup white sugar
Baking/Candy Additions:
- 18 milk chocolate candy kisses, unwrapped
Instructions
- Combine granulated sugar, creamy peanut butter, and a single egg in a mixing bowl, whisking thoroughly until a smooth, uniform mixture forms.
- If the dough feels overly soft or sticky, place it in the refrigerator for approximately 30 minutes to firm up and become more manageable.
- Gently roll the chilled dough into small, uniform spheres measuring roughly 1 inch in diameter, ensuring consistent sizing for even baking.
- Arrange the rounded dough balls on an unlined, clean baking sheet, spacing them slightly apart to allow for minimal spreading during cooking.
- Transfer the cookie sheet to a preheated oven set at 350 degrees fahrenheit, allowing the cookies to bake for about 10 minutes until the edges appear lightly set and slightly golden.
- Immediately after removing the cookies from the oven, while they remain warm and soft, delicately press a chocolate kiss into the center of each cookie, creating a slight indentation.
- Allow the decorated cookies to cool completely on a wire cooling rack, permitting the chocolate kiss to set and the cookie base to stabilize at room temperature.
Notes
- Keep dough chilled to prevent sticking and ensure easier handling during shaping.
- Use room temperature ingredients for smoother, more consistent cookie texture.
- Opt for natural peanut butter with minimal added sugar for a richer, less sweet flavor profile.
- Consider using dark chocolate kisses for a slightly more sophisticated taste that balances the sweet cookie base.
- Prep Time: 10 minutes
- Cook Time: 10 minutes
- Category: Desserts, Snacks
- Method: Baking
- Cuisine: American
Nutrition
- Serving Size: 18
- Calories: 139
- Sugar: 7 g
- Sodium: 36 mg
- Fat: 8 g
- Saturated Fat: 2 g
- Unsaturated Fat: 6 g
- Trans Fat: 0 g
- Carbohydrates: 14 g
- Fiber: 1 g
- Protein: 3 g
- Cholesterol: 15 mg
Daniel Bruns
Founder & Culinary Innovator
Expertise
Recipe development for home cooks, Nutritional analysis and meal planning, Culinary education and food writing
Education
Auguste Escoffier School of Culinary Arts
Diploma in Culinary Arts and Operations
Focus: Classical and contemporary cooking techniques, Culinary entrepreneurship and kitchen management, Menu development and food cost analysis
Daniel’s story started with flour on his face and a pie in the oven at his grandma’s house. He later sharpened his skills at the Auguste Escoffier School of Culinary Arts.
His goal? Recipes so simple you’ll want to cook every night. When he’s not whipping up one-pan wonders, Daniel’s outside picking herbs, hosting neighborhood cook-offs, or baking chocolate cakes with his kids, messy, sweet, and unforgettable.