Fluffy Seasoned Biscuits and Gravy Bombs Recipe for Brunch Joy
My latest kitchen adventure with seasoned biscuits and gravy bombs delivers pure comfort on a plate.
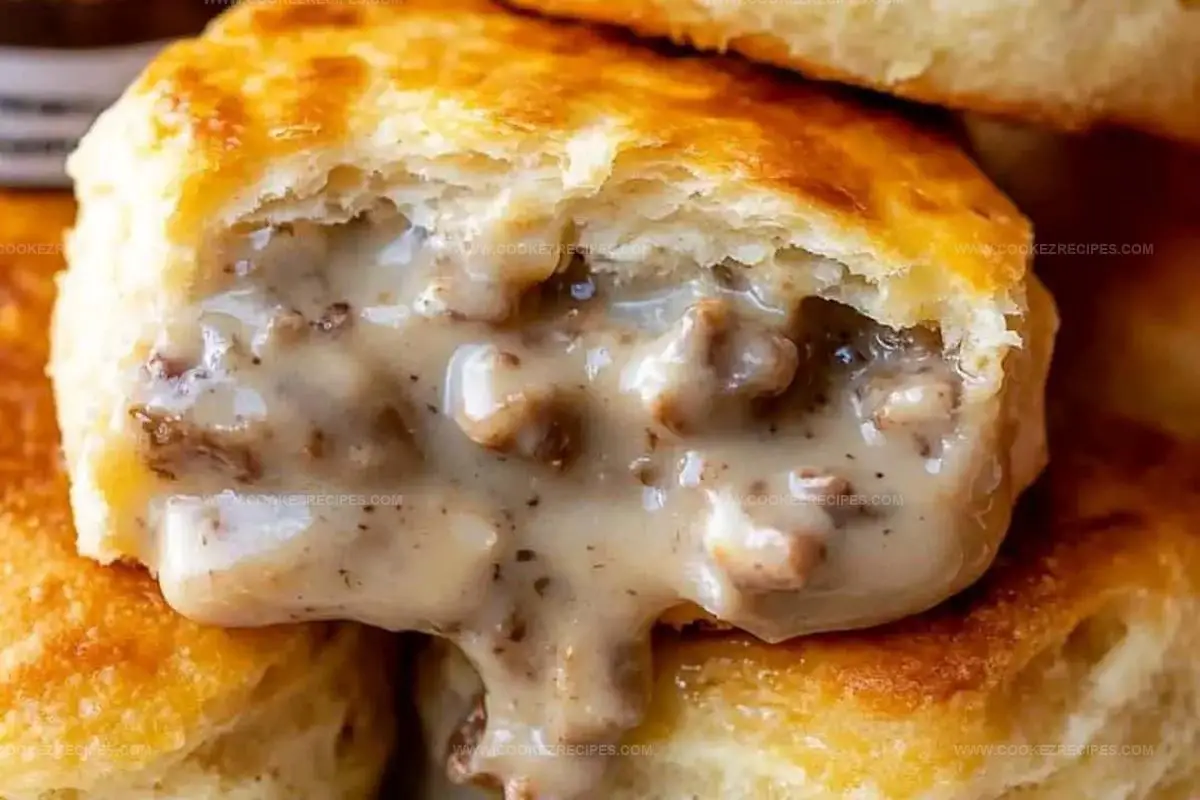
Crispy golden exteriors hide a creamy, savory surprise waiting to burst with flavor.
Southern cooking meets playful presentation in this delightful twist on a classic breakfast staple.
Each bite promises a rich, hearty experience that connects you to generations of home cooking traditions.
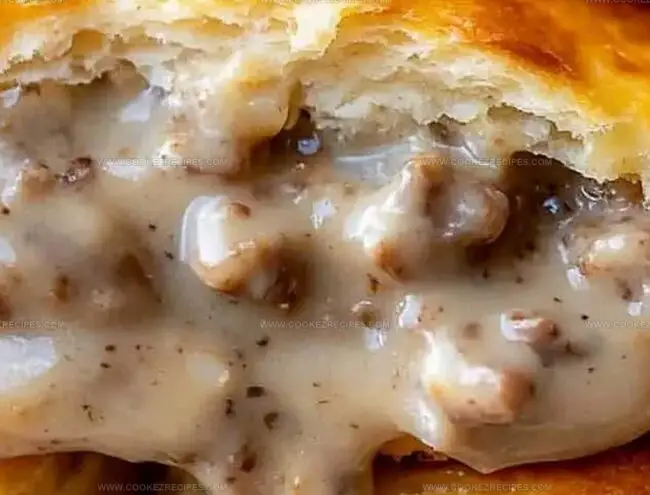
Pillowy biscuit dough encases a molten center of peppered gravy that melts perfectly in your mouth.
Minimal ingredients and simple techniques make this recipe accessible for cooks of all skill levels.
You’ll want to serve these irresistible bombs at your next weekend brunch or lazy morning gathering.
Biscuits and Gravy Bombs That Burst with Savory Goodness
Biscuits & Gravy Bombs Ingredients
Main Ingredients:
Biscuit and Filling Ingredients:Cheese and Seasoning Ingredients:Finishing Ingredients:Biscuits & Gravy Bombs Flavorful Bake Method
Step 1: Fire Up the Oven
Crank the oven to a toasty 375°F.
Grab a baking sheet and line it with parchment paper for a non-stick adventure.
Step 2: Sizzle the Sausage
Toss breakfast sausage into a skillet dancing over medium heat.
Brown that meat until it’s fully cooked and looking deliciously crispy.
Step 3: Whip Up Creamy Gravy
Sprinkle flour over the cooked sausage and mix thoroughly.
Slowly pour milk while stirring constantly.
Let the mixture bubble and thicken into a dreamy gravy.
Season with spices and remove from heat.
Step 4: Create Biscuit Pockets
Gently stretch out each biscuit.
Drop a hearty spoonful of sausage gravy right in the center.
Optional: Sprinkle some shredded cheddar for extra cheesy goodness.
Step 5: Seal the Delicious Packages
Carefully fold biscuit edges over the filling.
Pinch the edges tightly to create secure, stuffed pockets.
Place them seam-side down on the prepared baking sheet.
Step 6: Golden Butter Coating
Brush the tops with melted butter.
This secret weapon creates a stunning golden, crispy exterior that’ll make mouths water.
Step 7: Bake to Perfection
Slide the baking sheet into the oven.
Bake for 12-15 minutes until the biscuit bombs turn a gorgeous golden brown and look irresistibly puffy.
Step 8: Serve and Devour
Let them cool just enough to handle.
Serve these flavor bombs warm with extra gravy on the side for ultimate dipping pleasure.
Breakfast Bomb Tips for Biscuits & Gravy
Keep Biscuit Bombs Soft & Fresh
Biscuits and Gravy Bomb Matches
Seasoned Biscuits and Gravy Bombs Alternatives
FAQs
You’ll need breakfast sausage, flour, milk, garlic powder, onion powder, salt, and black pepper. These simple pantry staples create a rich, flavorful gravy that makes the biscuit bombs delicious.
Yes, store-bought refrigerated biscuit dough works perfectly. It saves time and ensures a consistent texture for your biscuit bombs. Just make sure the dough is thawed before starting.
Seal the edges tightly by pinching and folding the dough over the filling. Press firmly to create a complete seal, and place the bombs seam-side down on the baking sheet to help maintain their shape.
You can prepare the biscuit bombs and refrigerate them before baking. When ready to serve, brush with butter and bake directly from the refrigerator, adding a few extra minutes to the cooking time.
Print
Seasoned Biscuits and Gravy Bombs Recipe
- Total Time: 25 minutes
- Yield: 8 1x
Description
Hearty Southern “biscuits and gravy bombs” pack explosive comfort food flavor into one irresistible bite. Crisp golden exteriors give way to creamy pepper-studded sausage gravy, promising a delightful culinary adventure you’ll savor to the last morsel.
Ingredients
Main Ingredients:
- 1 can refrigerated biscuit dough
- 0.5 pound (226.8 grams) breakfast sausage
- 0.5 cup (113.4 grams) shredded cheddar cheese
Seasoning Ingredients:
- 0.5 teaspoon garlic powder
- 0.5 teaspoon onion powder
- 0.5 teaspoon black pepper
- 0.25 teaspoon salt
Gravy and Topping Ingredients:
- 2 tablespoons unsalted butter, melted (for brushing)
- 2 tablespoons all-purpose flour
- 0.75 cup (177 milliliters) whole milk
Instructions
- Prepare the culinary workspace by warming the oven to 375°F (190°C) and lining a baking sheet with parchment paper for optimal cooking surface.
- Transform the breakfast sausage into crispy, caramelized crumbles by browning thoroughly in a skillet over medium heat, ensuring complete cooking and rich flavor development.
- Create a luxurious gravy foundation by dusting the cooked sausage with flour, then gradually introducing milk while continuously stirring to develop a smooth, velvety consistency.
- Enhance the gravy’s depth by incorporating garlic powder, onion powder, salt, and black pepper, stirring until the mixture thickens and seasonings meld harmoniously.
- Gently manipulate each biscuit dough, flattening it into a delicate canvas ready to cradle the savory filling.
- Strategically place a hearty spoonful of sausage gravy in the center of each biscuit, optionally sprinkling shredded cheddar for an extra layer of indulgence.
- Execute a precise sealing technique by carefully folding the biscuit edges over the filling, meticulously pinching to create a secure enclosure that prevents leakage during baking.
- Position the assembled bombs seam-side down on the prepared baking sheet, ensuring stability and attractive presentation.
- Brush the exterior with melted butter, which will impart a golden, crisp exterior and rich flavor profile.
- Bake in the preheated oven for 12-15 minutes, watching for a beautiful golden-brown transformation that signals perfect doneness.
- Allow a brief cooling period to let the internal temperature stabilize, then serve alongside additional gravy for an indulgent dipping experience.
Notes
- Swap out traditional breakfast sausage with turkey or plant-based sausage for a healthier protein alternative that keeps the flavor profile intact.
- Keep gravy consistency smooth by whisking continuously and adding milk gradually to prevent lumps from forming during thickening process.
- Cold biscuit dough creates cleaner seals and prevents filling from leaking during baking, so refrigerate dough briefly before assembling bombs.
- For gluten-sensitive individuals, use gluten-free flour and biscuit mix to maintain recipe’s delicious taste without compromising dietary restrictions.
- Prep Time: 10 minutes
- Cook Time: 15 minutes
- Category: Breakfast, Snacks
- Method: Baking
- Cuisine: American
Nutrition
- Serving Size: 8
- Calories: 250
- Sugar: 1g
- Sodium: 600mg
- Fat: 15g
- Saturated Fat: 6g
- Unsaturated Fat: 8g
- Trans Fat: 0g
- Carbohydrates: 22g
- Fiber: 1g
- Protein: 9g
- Cholesterol: 30mg


Katherine Pierce
Recipe Curator & Food Educator
Expertise
Education
Boston University Metropolitan College
Certificate Program in the Culinary Arts
Focus: French and international cuisine techniques, Hands-on culinary training with industry professionals, Food industry insights and operations
Katherine grew up believing every dish has a story. She studied the art of food at Boston University and explored the history behind it. She loves pulling easy recipes from every corner of the world and putting them at your fingertips.
When Katherine’s not writing or testing new flavors, she’s teaching cooking classes, baking colorful mooncakes, or dreaming up new ways to mix old favorites with new twists.